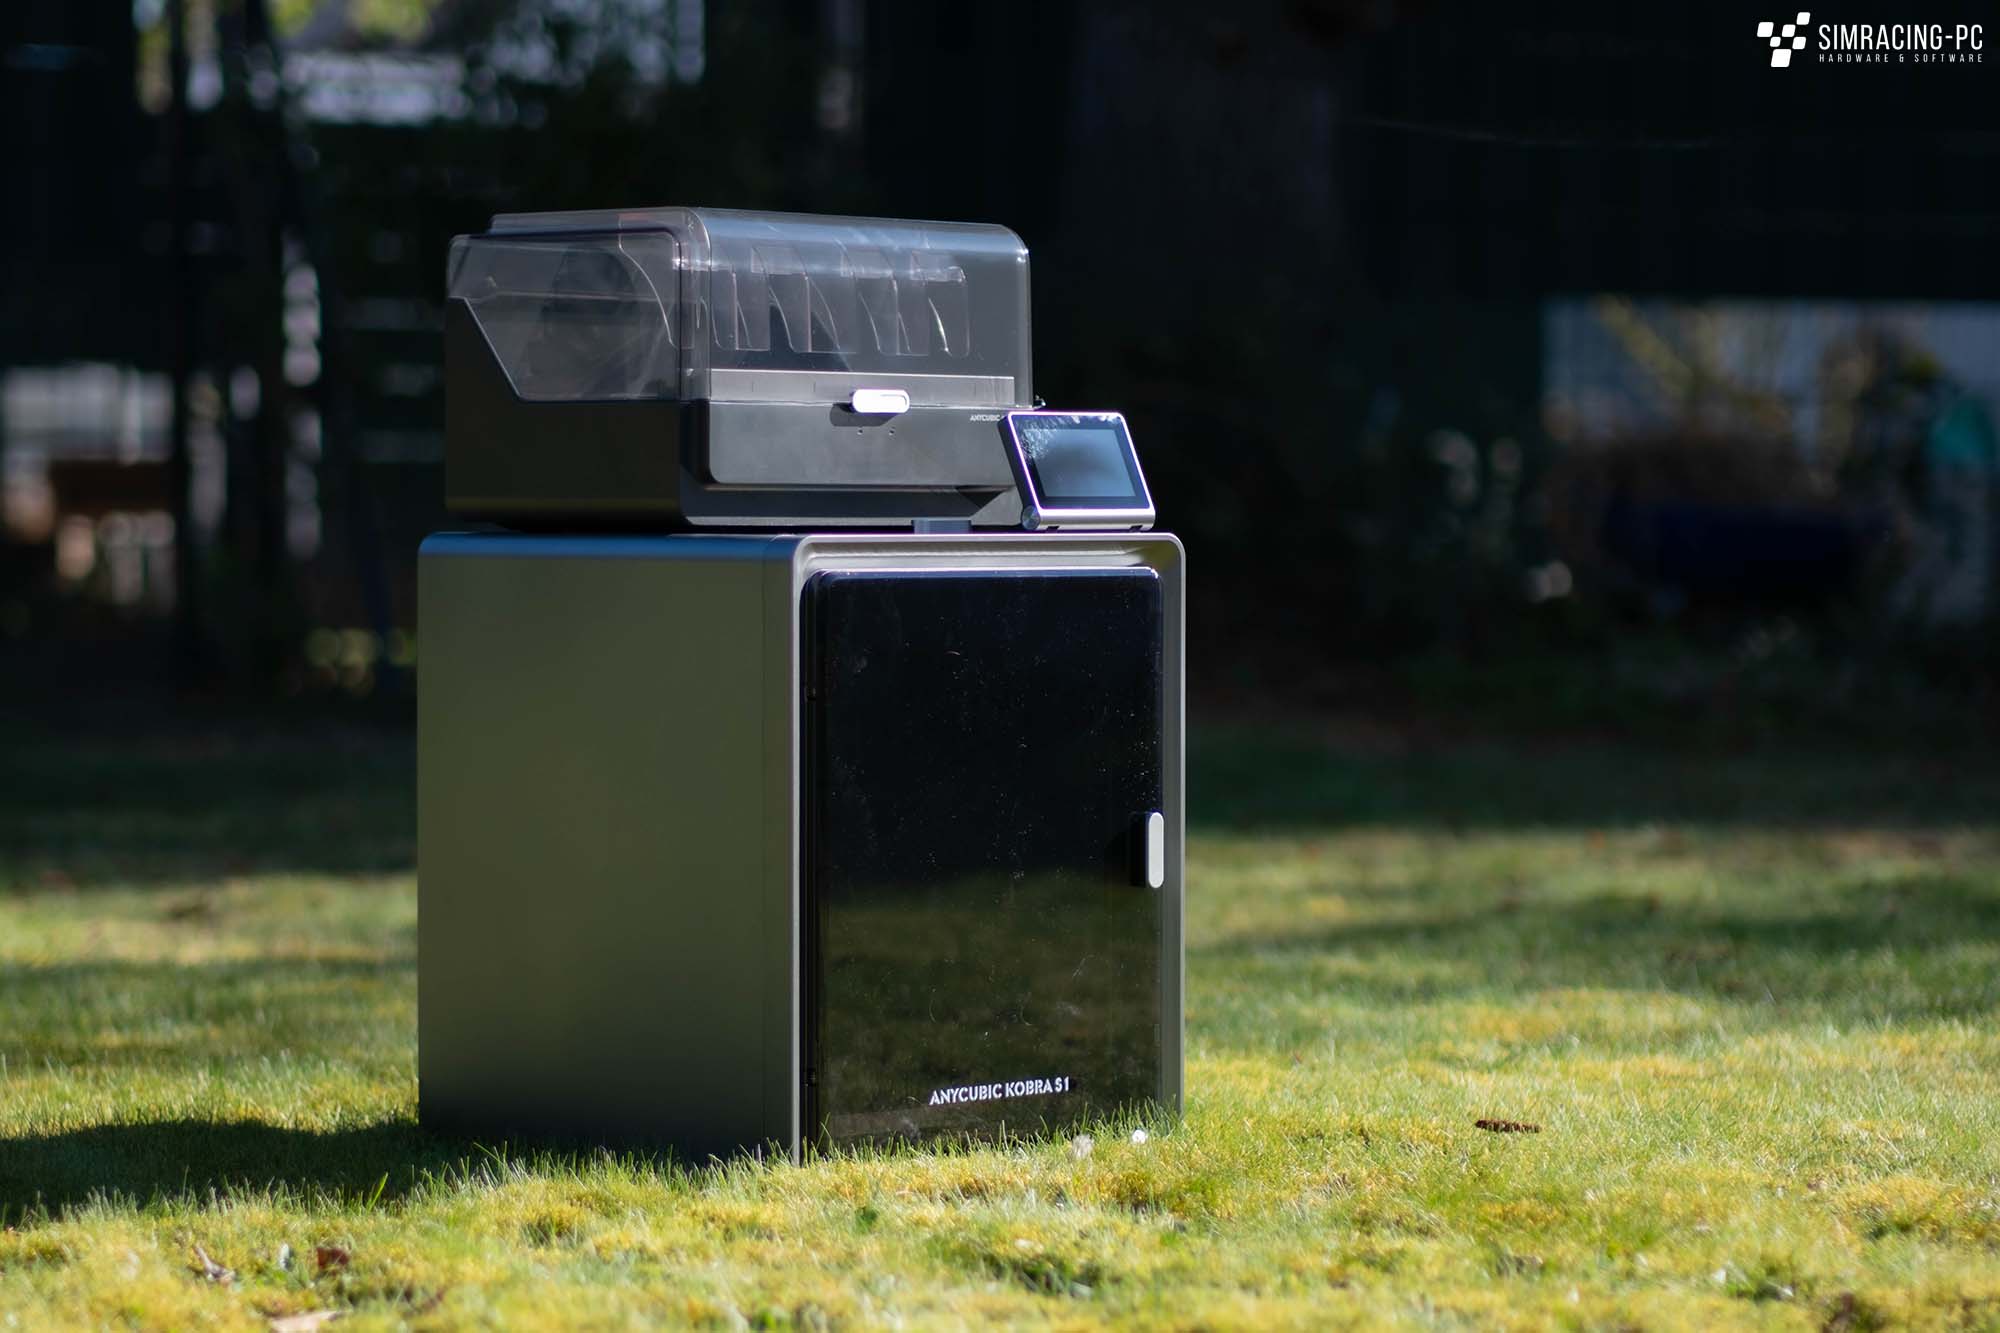
Anycubic Kobra S1 Combo 3D Printer – Review
Following the Anycubic Kobra 3 Combo presented in 2024, the manufacturer is now also attacking the premium segment of 3D printers for home users with the Anycubic Kobra S1 Combo. As a CoreXY printer with housing, the Anycubic Kobra S1 offers an even higher printing speed and has to compete with rivals such as the Bambulab P1S.
Ordering and shipping
The Anycubic printer is available both directly from the manufacturer and from various third-party suppliers. The model tested here was provided by Geekbuying and shipped directly from the EU. There are therefore no additional taxes or customs duties.
Geekbuying currently offers the printer individually and together with the ACE Pro in various packages at prices starting at around €400 or €600, whereby you can save some money by using voucher codes.
The product tested here was provided by the manufacturer. No influence was exerted on this review at any time.
Geekbuying offers
There are currently also various voucher codes available that can be used to save even more money when purchasing different bundles:
- Anycubic Kobra S1 Combo: ~569€ Code ANY30OFF
- Anycubic Kobra S1 Combo + 5kg ERYONE High Speed PLA+ Filament: ~609€ Code DE02241
- Anycubic Kobra S1 Combo 3D-Drucker + 6kg ERYONE High Speed PLA+: ~625€ Code ANYKS16
- Anycubic Kobra S1 3D-Drucker + 2*Ace Pro: ~759€ Code ANYKS1CA
Specs
Below you will find the technical data of the Kobra S1 Combo provided by Anycubic.
| Print Volume | 250*250*250mm | |
| Supporting Filaments | PLA, PETG, TPU[1], ABS, ASA | |
| Print Speed | 600mm/s (Max.) | |
| Recommended Print Speed | 300mm/s | |
| Recommended Acceleration | 10000mm/s² | |
| Maximum Acceleration | 20000mm/s² | |
| Machine Dimension | Kobra S1: 400*410*490mm | ACE Pro: 365.94*282.84*234.5mm | |
| Package Dimensions | S1C: 490*484*593mm, 25.9kg | S1: 490*484*573mm, 20.2kg | |
| Complete Benchy In (according to official) | 15min | |
| Noise | 46dB (Standard mode) 44dB (Quiet mode) | |
| Nozzle Temperature | 320°C | |
| Hotbed Temperature | 120℃ | |
| Nozzle Diameter | Standard 0.4mm Supports 0.2/0.6/0.8mm expansion | |
| Pressure Advance / Flow Calibration | Supported | |
| Firmware Solution | Kobra OS | |
| Construction | CoreXY | |
| X-axis | Light rail | |
| Y-axis | Light rail | |
| Z-axis | Single motor with three guide poles | |
| Extrusion Form | Dual gear short-range extrusion | |
| Hotend | Metal, quick-detachable | |
| Air Filtration | Activated carbon purification | |
| Control Screen | 4.3-inch capacitive touch screen | |
| Power-off Resume Printing | Supported | |
| Filament Detection | Supported | |
| Camera | Included | |
| Video Monitoring | Supported, 480P | |
| Time-lapse Photography | Supported | |
| External Door and Top Cover Material | Full PC | |
| AI Detection | Spaghetti recognition | |
| Skip Objects | Supported | |

Scope of delivery
There are no big surprises in the scope of delivery. The USB stick supplied has a capacity of 4 gigabytes, which is more than sufficient for the very small time-lapse files. It also comes with a few tools, all the necessary cables and a small filament sample.


Assembly / installation
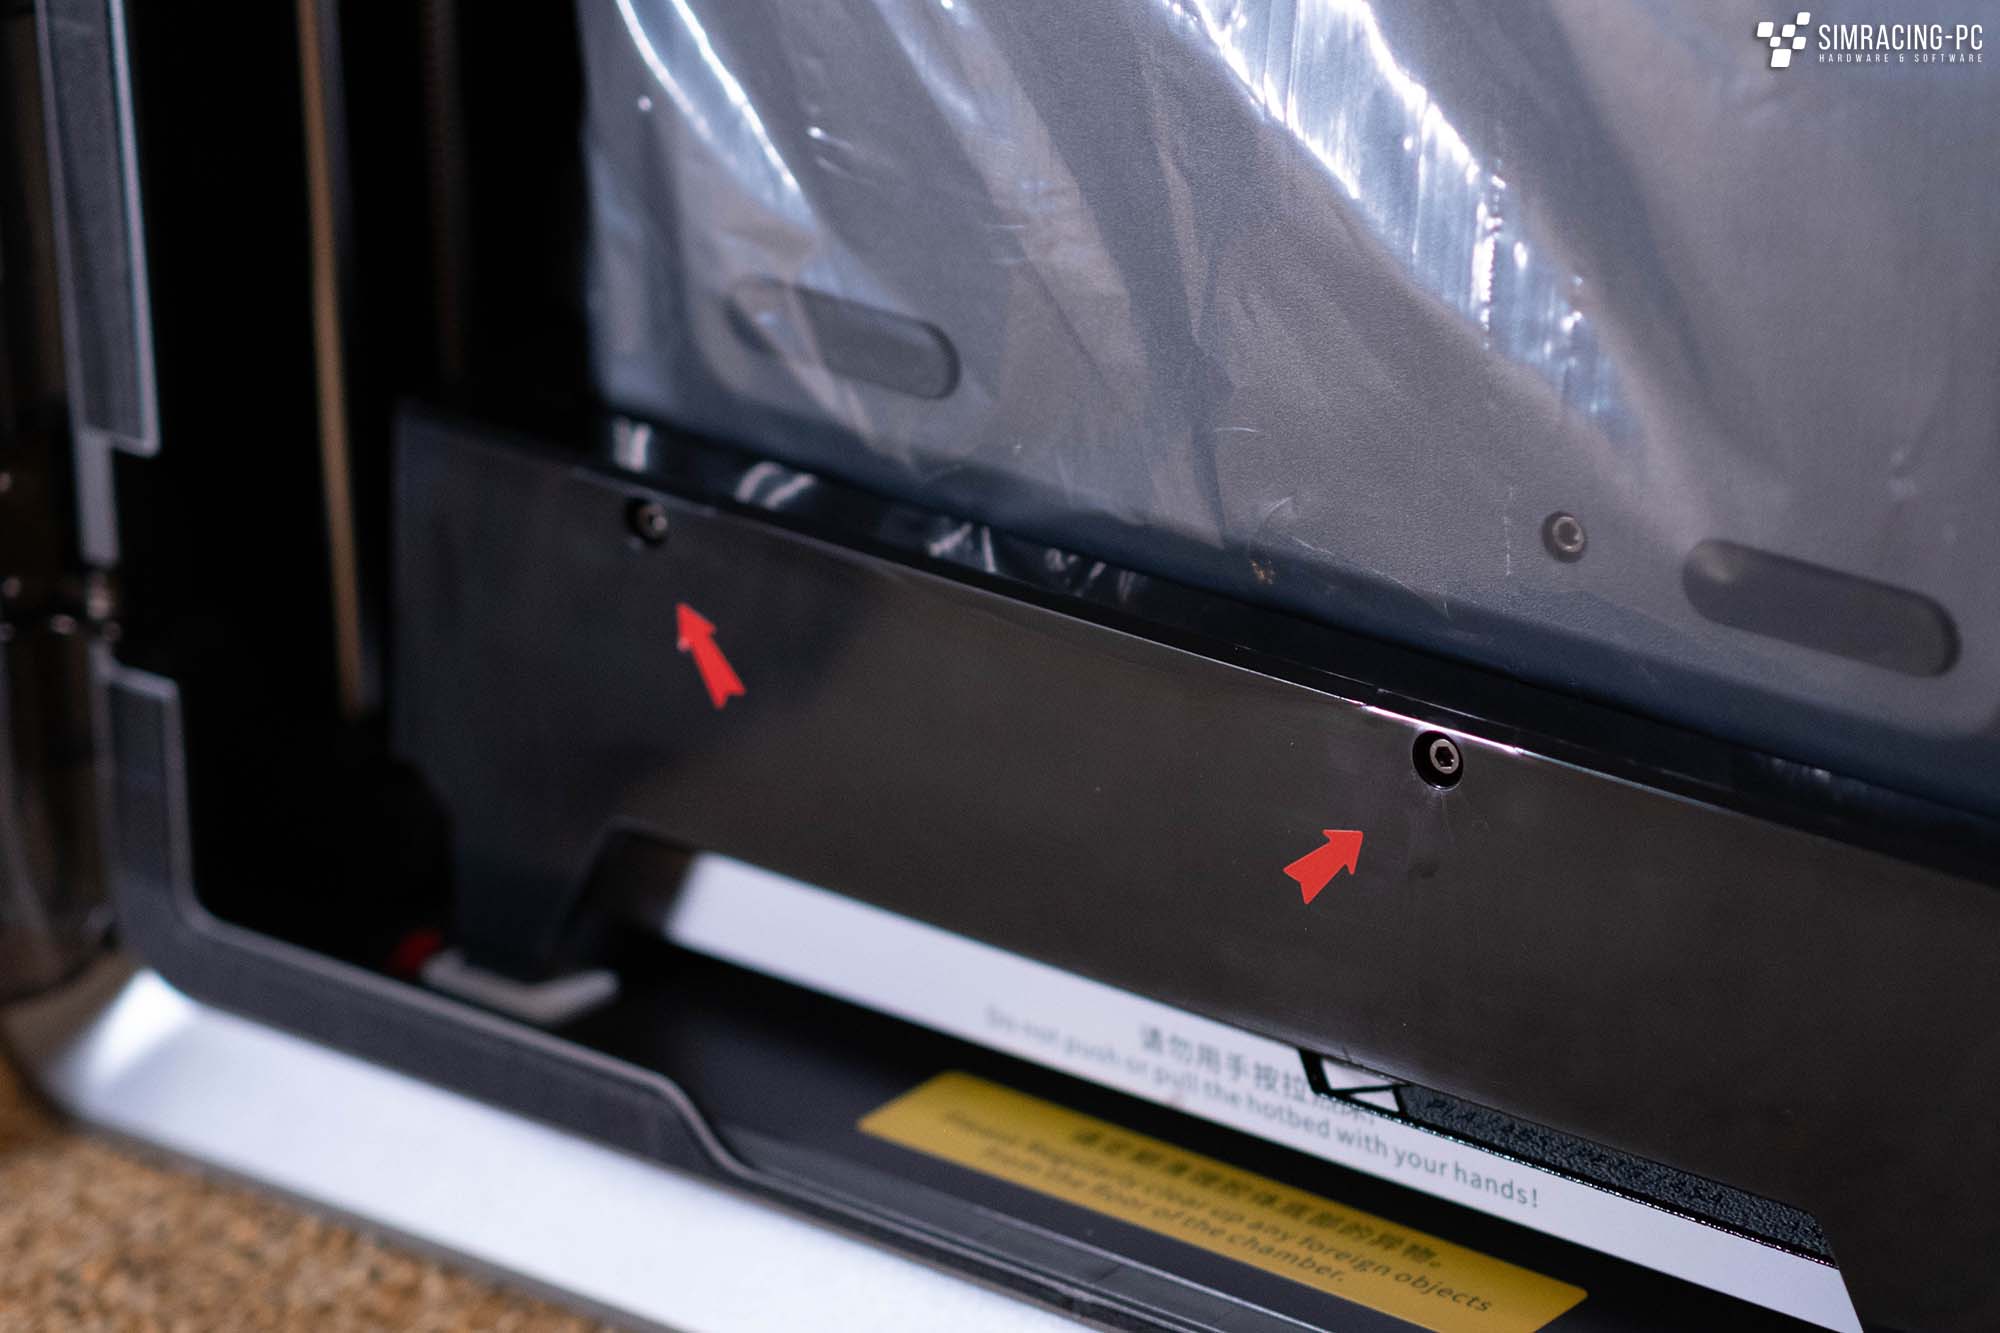
During the set up, a parallel to the CoreXY printers from Bambulab is immediately apparent. Here too, the ACE Pro, as a counterpart to the AMS, is attached to the print chamber with screws and must first be loosened. Next to it is a cardboard box with accessories which, in combination with other packaging material, holds the print head securely in position. All that remains to be done is to insert the activated carbon into the compartment provided and connect the multi-filament system to the printer. All in all, commissioning on the hardware side is completed in just a few minutes. Beginners need have absolutely no fear of a complicated assembly.


Hardware (Features)
The main difference between the Anycubic Kobra S1 Combo and, for example, the recently tested Kobra 3 Combo (review: Anycubic Kobra 3 Combo – Multicolor 3D printer review) is the basic design of the printer. Instead of driving the X and Y axes separately, a combined drive is used here via toothed belts. To move the tool along the X-axis, both motors rotate in the same direction; for movements along the Y-axis, they rotate in opposite directions. For diagonal movements, only one motor rotates at a time. In contrast to the classic design, the printer therefore has less inertial mass to move and the motors are each firmly connected to the housing. This enables higher accelerations and faster speeds (up to 600 mm/s, although this is not usually achieved in practice). In addition, the installation space is now closed but no longer heated, including ventilation.
Anycubic has also integrated a permanently installed camera for time-lapse recordings and very good illumination of the print chamber.


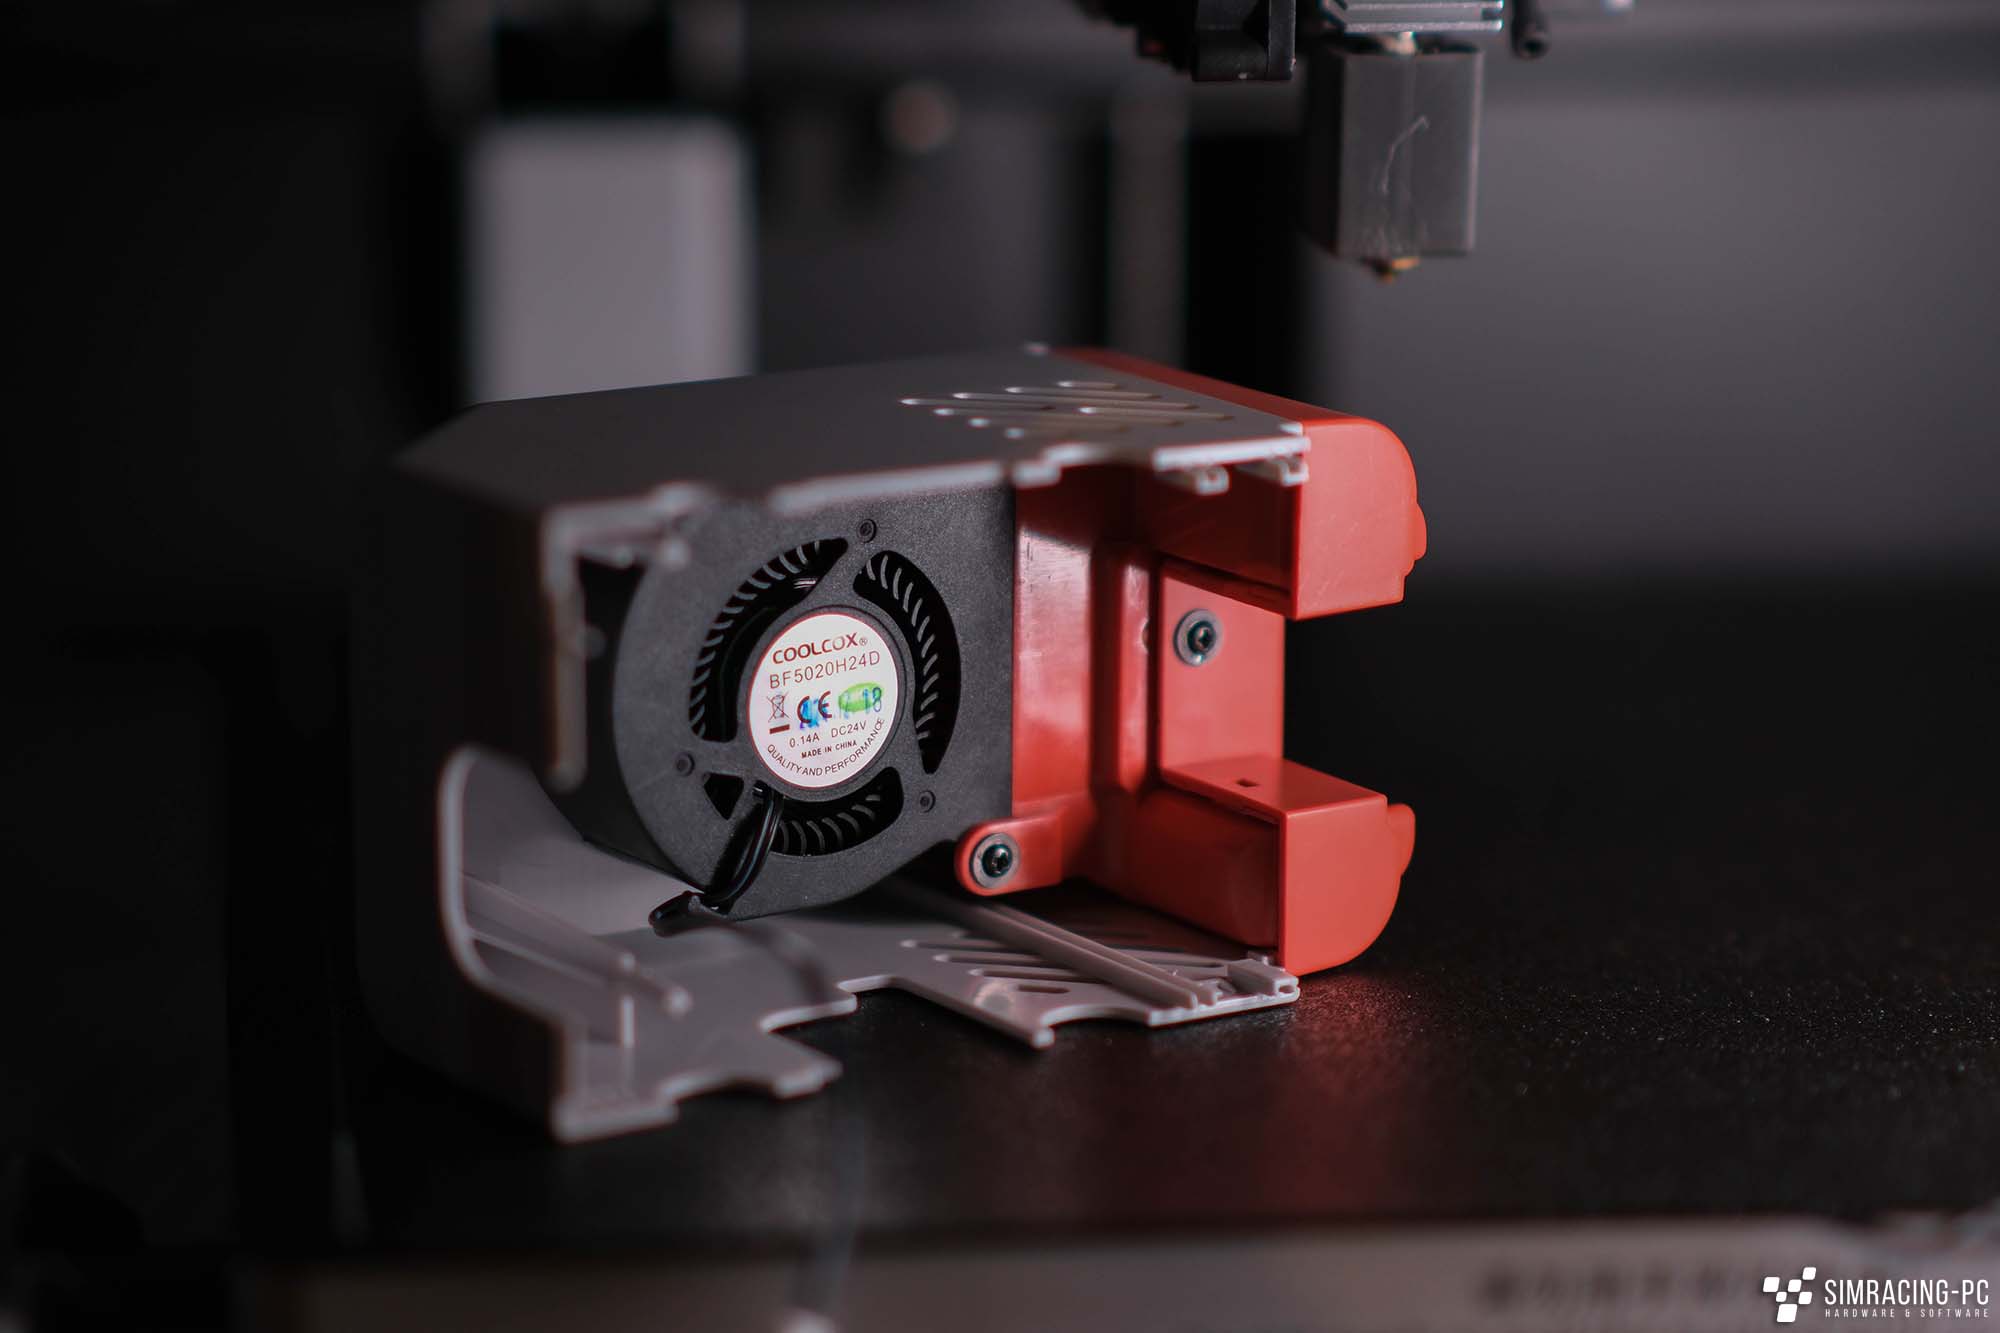
Direct Extruder / Print Head
For the print head, Anycubic has opted for a new development that includes a direct extruder and an all-metal hotend with a standard 0.4 mm brass nozzle. The maximum printing temperature is a comparatively high 320 degrees, so that even very demanding filaments can be used. However, this requires a change to a hardened nozzle for printing ASA, for example, which was only available from third-party suppliers at the time of this review. Doing so requires the hotend to be replaced, but thanks to the integrated lever, this can be done in a few simple steps. The built-in ventilation does a solid job, but was not pushed to its limits during the test period with the rather simple print objects for 3D printing in simracing.


Display
A big plus of the printer is the large, very good display, which can be used to make settings, manage the filament or monitor the print, among other things. The print files are displayed as a preview with 3D visualisations and the desired filaments can also be selected quickly and conveniently when printing via USB. The touchscreen display, which is almost as good as a modern mobile phone display, can be folded back and switches off automatically after a preset time.


Auto-Leveling
Autolevelling (25 points are scanned in sequence and saved as a 3D mesh) is carried out once during the first start-up. After that, it can optionally be carried out before each print, appropriately at the corresponding print temperature. The resulting first layer is excellent and was even slightly more even in the test (see test print) than the competitor P1S from Bambulab. However, there is no adaptive levelling, where only the area required for the print is rescanned.


Print bed
A classic design is used as the print bed, with Anycubic relying on a removable magnetic PEI printing plate that enables prints up to 250 x 250 millimetres in size. Two practical notches are integrated for easy alignment, which automatically aligns the plate correctly.
The adhesion of the printing plate during the printing process is good, with Anycubic describing the materials PLA, ABS, PETG and ASA (TPU was also no problem in the test) as compatible. The visible texture is transferred directly to the underside of the object during printing. However, anyone who prefers a different look can already obtain cost-effective alternatives from the usual third-party providers.
The print bed can be heated up to 120 degrees. At a typical setting of 60 degrees, the measured temperature in the centre of the print bed was almost exactly 60 degrees, while the temperature at the edges was only slightly lower at around 57 to 59 degrees.

Reinigung / Poop Chute
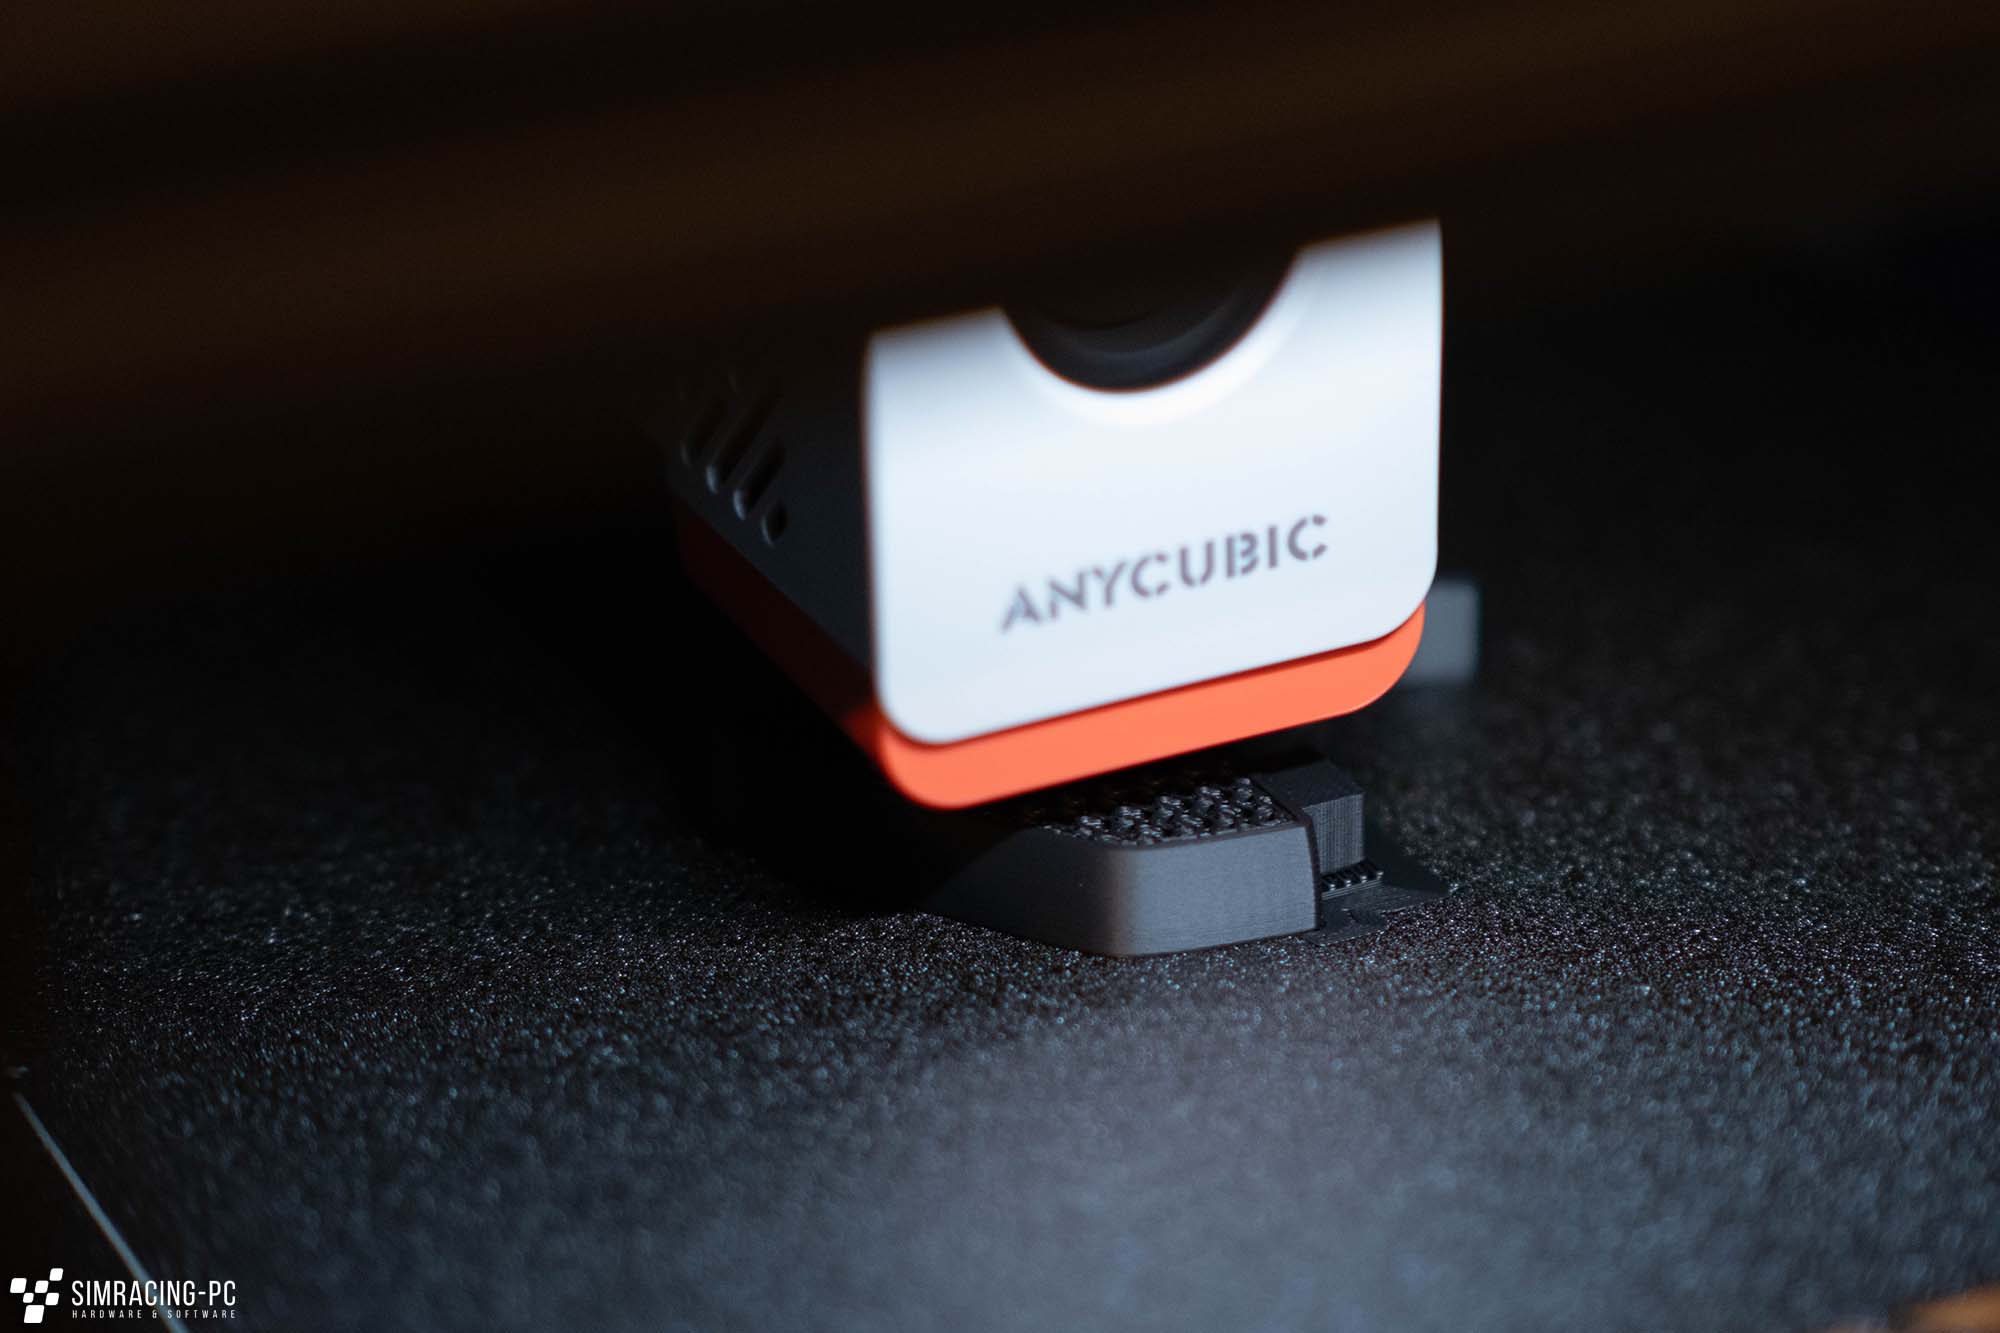
Um die Nozzle zu reinigen und überschüssiges Filament beim Filamentwechsel zu entsorgen, setzt Anycubic auf eine Kombination aus einem Nozzle Cleaning Module (Ersatzteil im Lieferumfang enthalten) und einem Poop Chute, der das Filament an der Rückseite des Druckers auswirft. Hier sollte ein geeigneter Behälter zum Auffangen der Filamentreste aufgestellt werden. Der Drucker verhält sich sowohl beim Reinigen als auch beim Ausspucken des Filaments sehr gut. Zu keinem Zeitpunkt des mehrwöchigen Tests gab es Probleme mit überschüssigem Filament oder Filamentabfall auf dem Boden des Druckers.

Housing / ventilation
The Anycubic Kobra S1 comes in a very stylish design and, as a completely enclosed printer, has dimensions of 400 x 410 x 490 millimetres, whereby additional space must be planned on the right (USB stick) and at the rear (cable + poop chute). If the ACE Pro filament changer is also installed, this results in a correspondingly higher build. The printer is very well made and, in addition to the housing fan with activated carbon, has an additional auxiliary fan that blows onto the printing plate from the right-hand side.
The front door is functionally good and can be latched in any position, but its plastic design somewhat detracts from the otherwise high-quality material appearance of the printer.

ACE Pro
Anycubic relies on its own, slightly revised ACE-Pro system as a filament changing system, which is very similar to Bambu Lab’s AMS, but also allows the filament to be heated up to 55 degrees. It offers space for up to four spools, which can then be loaded by the printer as required. The ACE Pro has a separate power supply and its own on/off switch on the back. However, a relatively large amount of filament is extruded with each colour change in order to clean the nozzle of residue for the next colour.
The individual slots can be managed via the printer’s display or via the software. During our tests, we found that the system does not work well with all types of cardboard spools, as these can have rotation problems when returning the filament. However, how could it be otherwise in the 3D printing community, there are already DIY solutions to solve the problem.


Camera / Lighting
The interior of the printer is very well lit, which is particularly practical for monitoring the printer from a distance. This is where the built-in webcam comes into play, which is ideal for this purpose, but cannot keep up with the quality of current top models when it comes to time-lapse recordings.

Software
In terms of software, Anycubic now relies on Anycubic Slicer Next, its own version of Orca Slicer. After a very short set-up time, everything can be adjusted as usual and the desired colours can also be defined here for multi-colour prints. This is also the only real criticism of the software. When switching between colours, different amounts of filament must be extruded depending on the change so that no residues of the last colour are visible in the print. At present, however, only one value can be set here for all possible colour changes; individual settings per colour are not possible.
The current print can be viewed via the Workbench window. There you can monitor the print via the camera or change parameters such as speed and temperature at a later stage. The prints can be started either locally via WLAN, with the USB stick or via the Anycubic cloud, whereby for this test report only the transmission via the Anycubic Slicer Next cloud function was used.


3D Printing
In addition to all these functions, 3D printing itself naturally takes centre stage:


Quality
First of all, the quality of the prints is at a very good level. The first layer in particular is incredibly reliable, resulting in a very low number of failed prints. The quality is already very good with the standard profiles and can be set with small adjustments (speed reduction in the visible areas of the print) so that it can hardly be improved. The printer is definitely in the top tier here.


Speed
In addition to the quality, the printing speed is of course also a decisive factor. Here, the printer specifies maximum values of 600mm/s or 20,000mm/s^2 on the paper. Of course, these are not achieved in practice; typical PLA printing therefore works at speeds of up to approx. 300mm/s for areas such as the infill. In direct comparison with the Bambu Lab P1S, approx. 10-15% more time can be expected for the same print. Speed benchys in under 20 minutes are therefore possible, as are high-quality prints in an acceptable time.
The following values are preset in the standard PLA profile with 0.2mm layer height:
- First Layer: 50mm/s
- Outer Wall 200mm/s
- Inner Wall: 300mm/s
- Gap Infill: 250mm/s
- Sparse Infill: 270mm/s
- Top Surface: 200mm/s

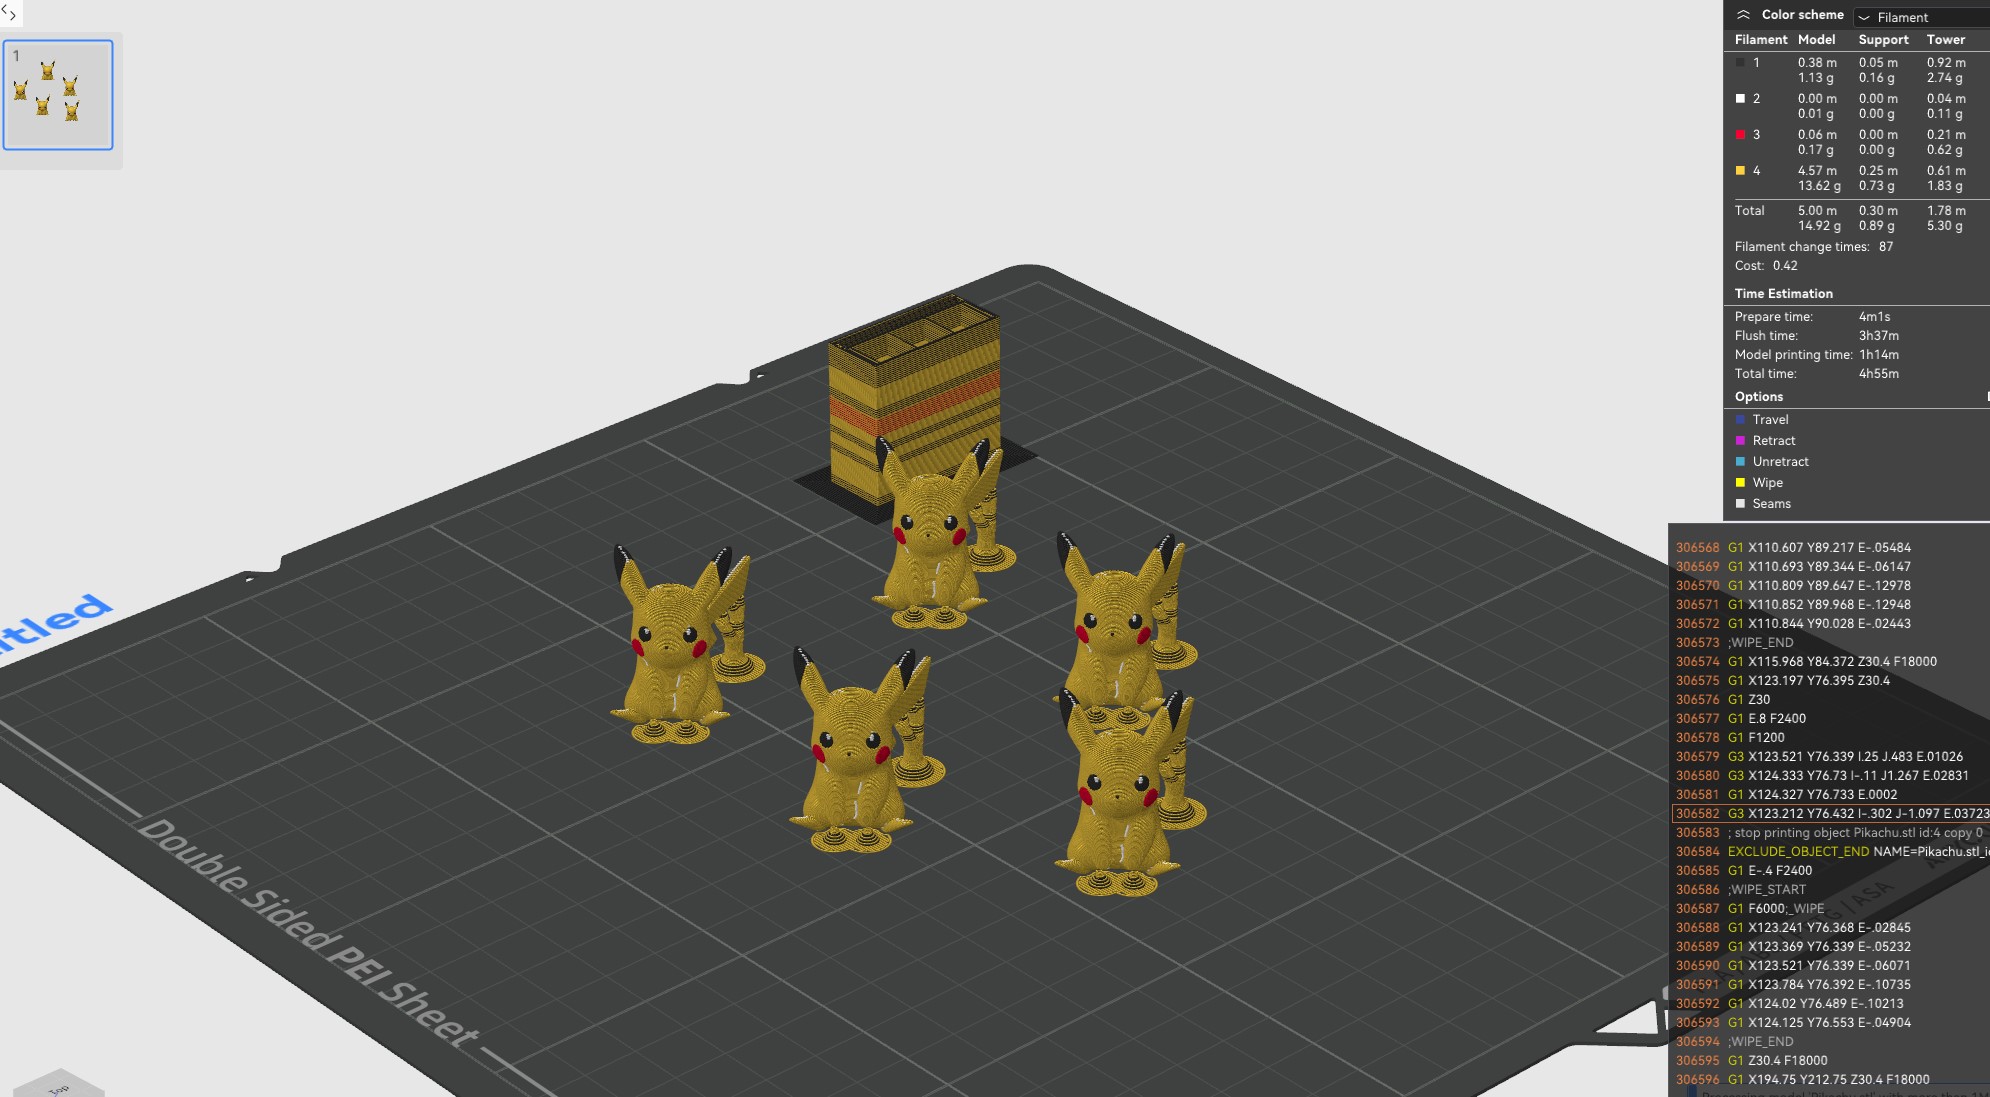
Mehrfabrdruck
Der Mehrfarbendruck liefert hervorragende Ergebnisse, selbst bei kleinsten Details sind keine Verschmutzungen zu erkennen und der (leider mit über zwei Minuten recht langsame) Filamentwechsel funktionierte über den gesamten Testzeitraum (1000+ Wechsel) stets zuverlässig. Leider entsteht konzeptbedingt sehr viel Abfall, so dass es sich lohnt, beim Mehrfarbendruck mehrere identische Modelle gleichzeitig zu drucken.


Conclusion
The Kobra S1 Combo is currently definitely the most interesting offer in Anycubic’s 3D printer range. As a user, you get a very attractive overall package without any significant weaknesses on the printing side. The combination of high speed despite good print quality, the software, which is now fully developed except for minor details, and the printer’s extensive feature list make it a very good choice, especially for beginners.
In direct comparison with the Bambu Lab P1S, which costs around 200 euros more, the Anycubic Kobra S1 Combo definitely has nothing to hide. Even if the overall package is not yet 100% perfect, there are areas such as printer lighting or nozzle cleaning in which the printer from Anycubic currently performs even better than the direct competition. Overall, the new release is therefore a clear recommendation for ambitious DIY fans, especially in view of the very good price-performance ratio.
Pros
- Print speed
- Print quality
- Auto levelling
- Price/performance ratio
- Lighting
- Multi-Colour-Prints
- Scope of delivery
Cons
- Duration of filament change
- Waste with multi-colour prints


Which one should i get with price in mind first? I don’t want muli-colour-prints. P1S or Kobra S1
Hey Marvic,
if price is your number one focus then out of these two printers the Kobra S1 without ACE Pro for ~400€ is the bestter choice in my opinion.
Best regards, Max