DIY Project: VoCore 3.4 Inch Screen / Dashboard
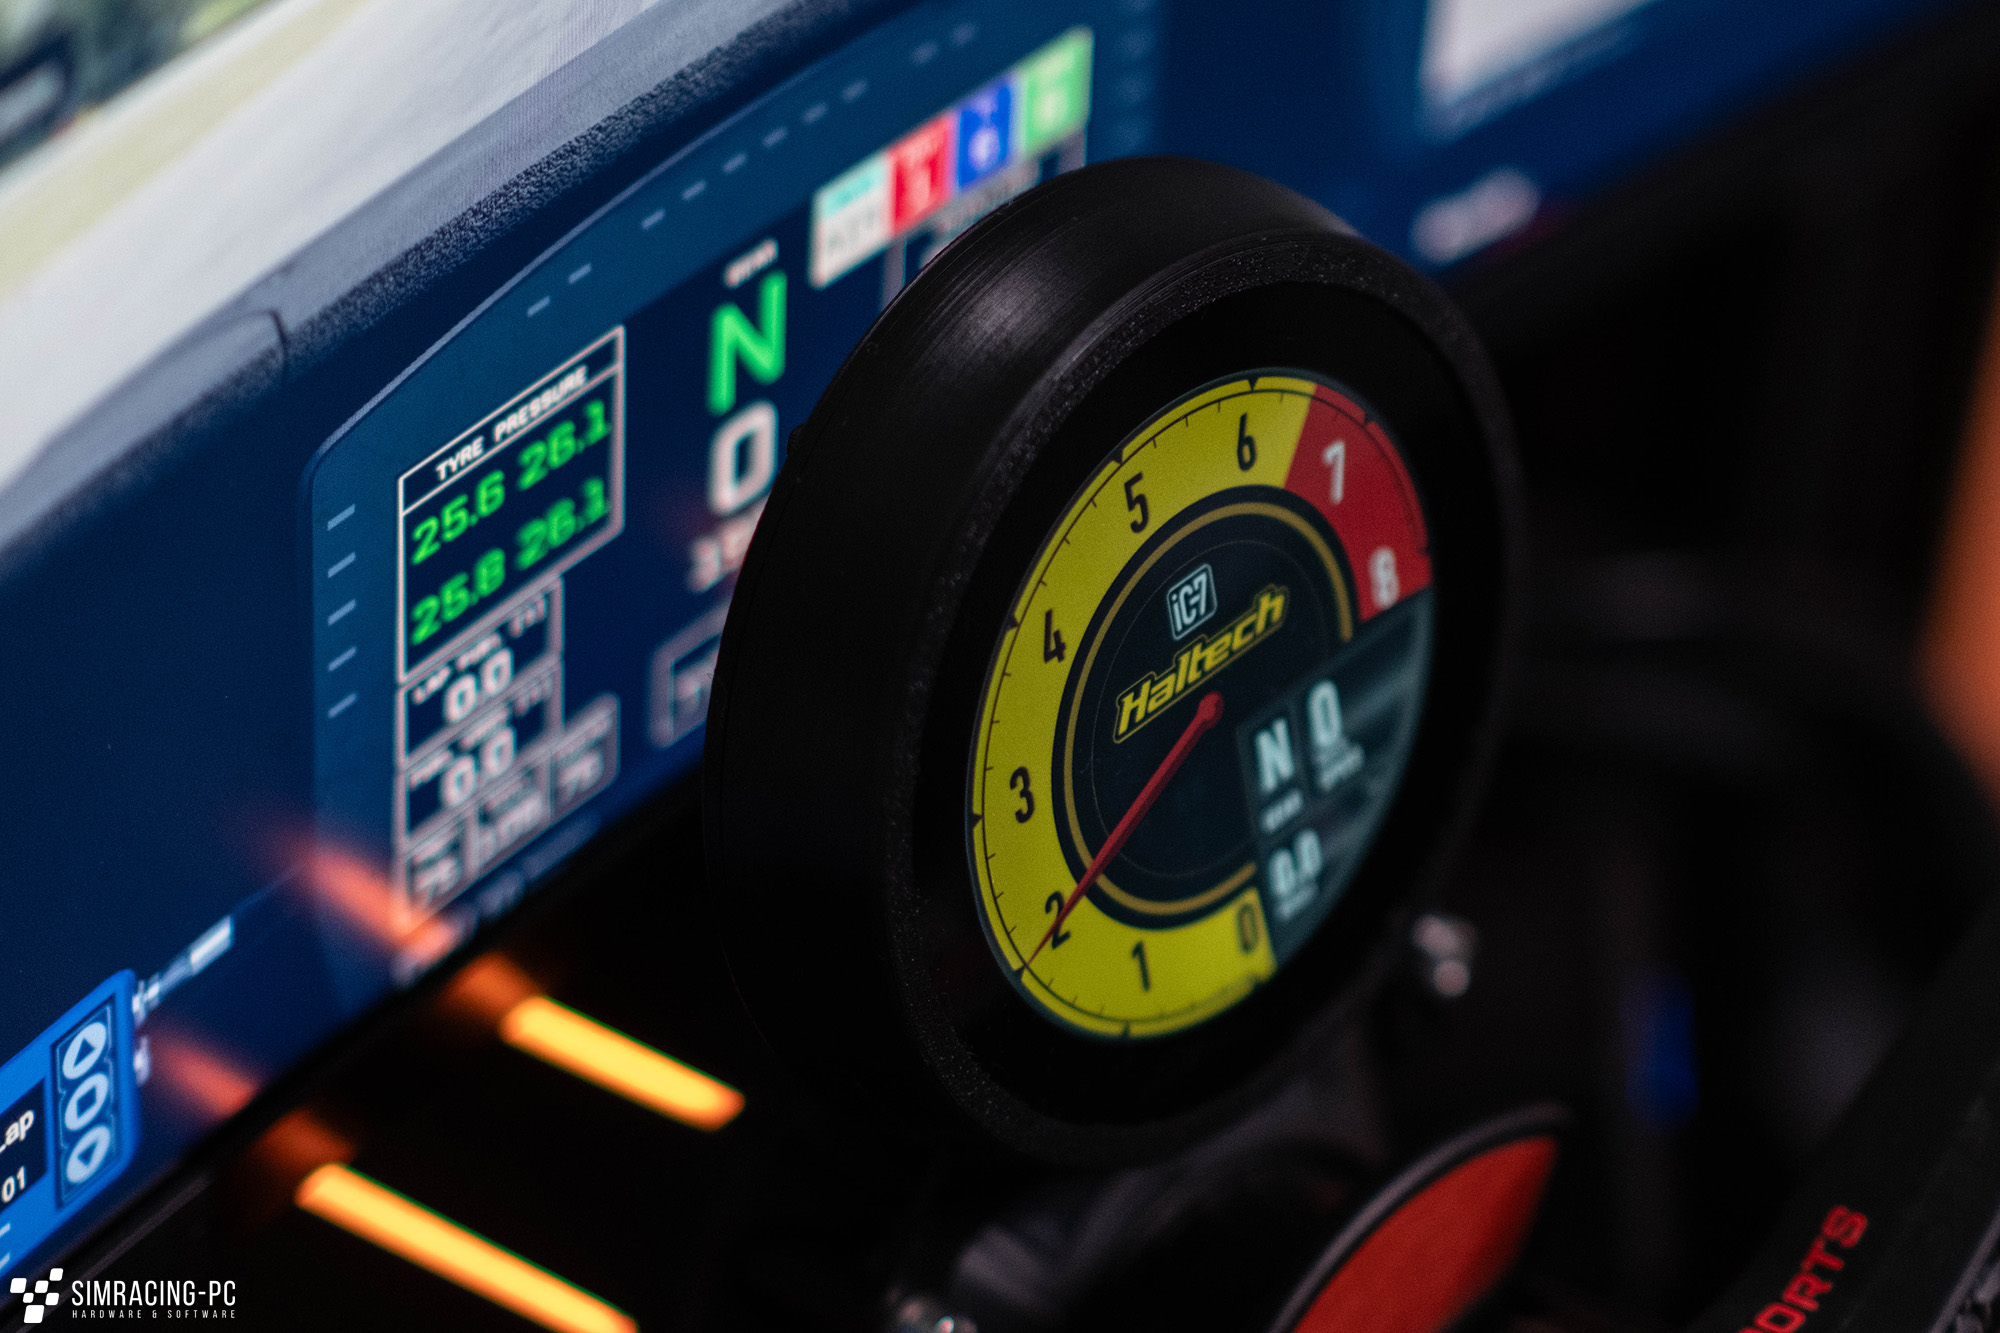
With the 3.4-inch display from VoCore, which has been available for a few months now, completely new possibilities are opening up. The round display is ideal for displaying speedometers, for example. Reason enough to present a small DIY project centred around the display, consisting of an discreet housing and matching brackets.
The project
The DIY project for the new VoCore 3.4-inch screen consists of just a few components and can be realised in a short time without much prior knowledge. Below you will first find the required parts and the corresponding (short) instructions.
Parts list
Only a few parts are needed to complete the project. The total cost is between €70 and €120, depending on where you get the parts and whether you have a 3D printer.
- VoCore Screen 3.4 inch (MPRO)
- M3x8MM cylinder head screws (at least three)
- USB-C cable
- Matching screws for the corresponding base
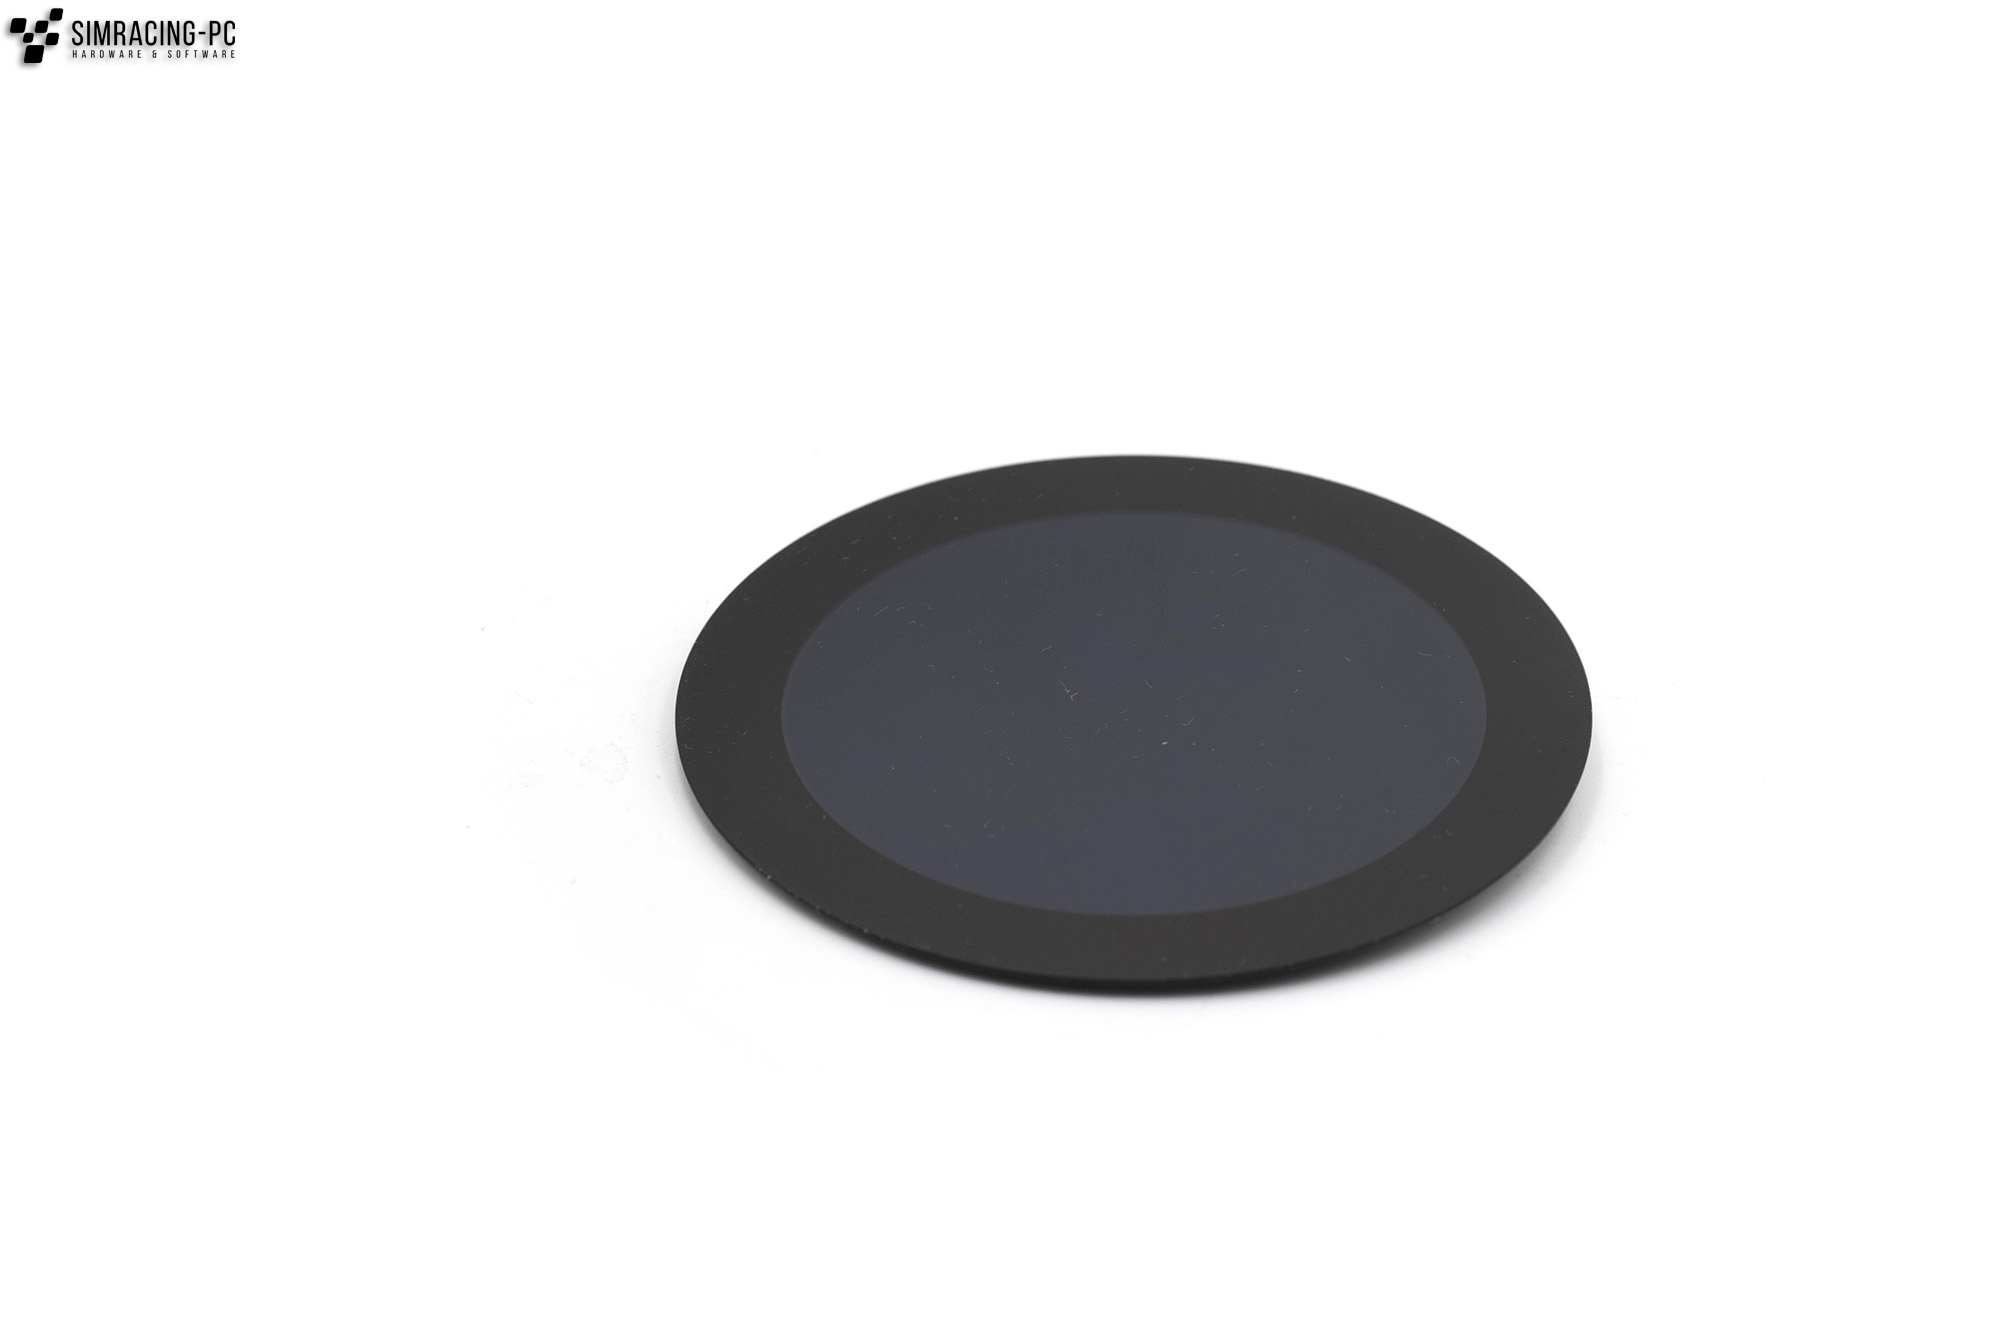
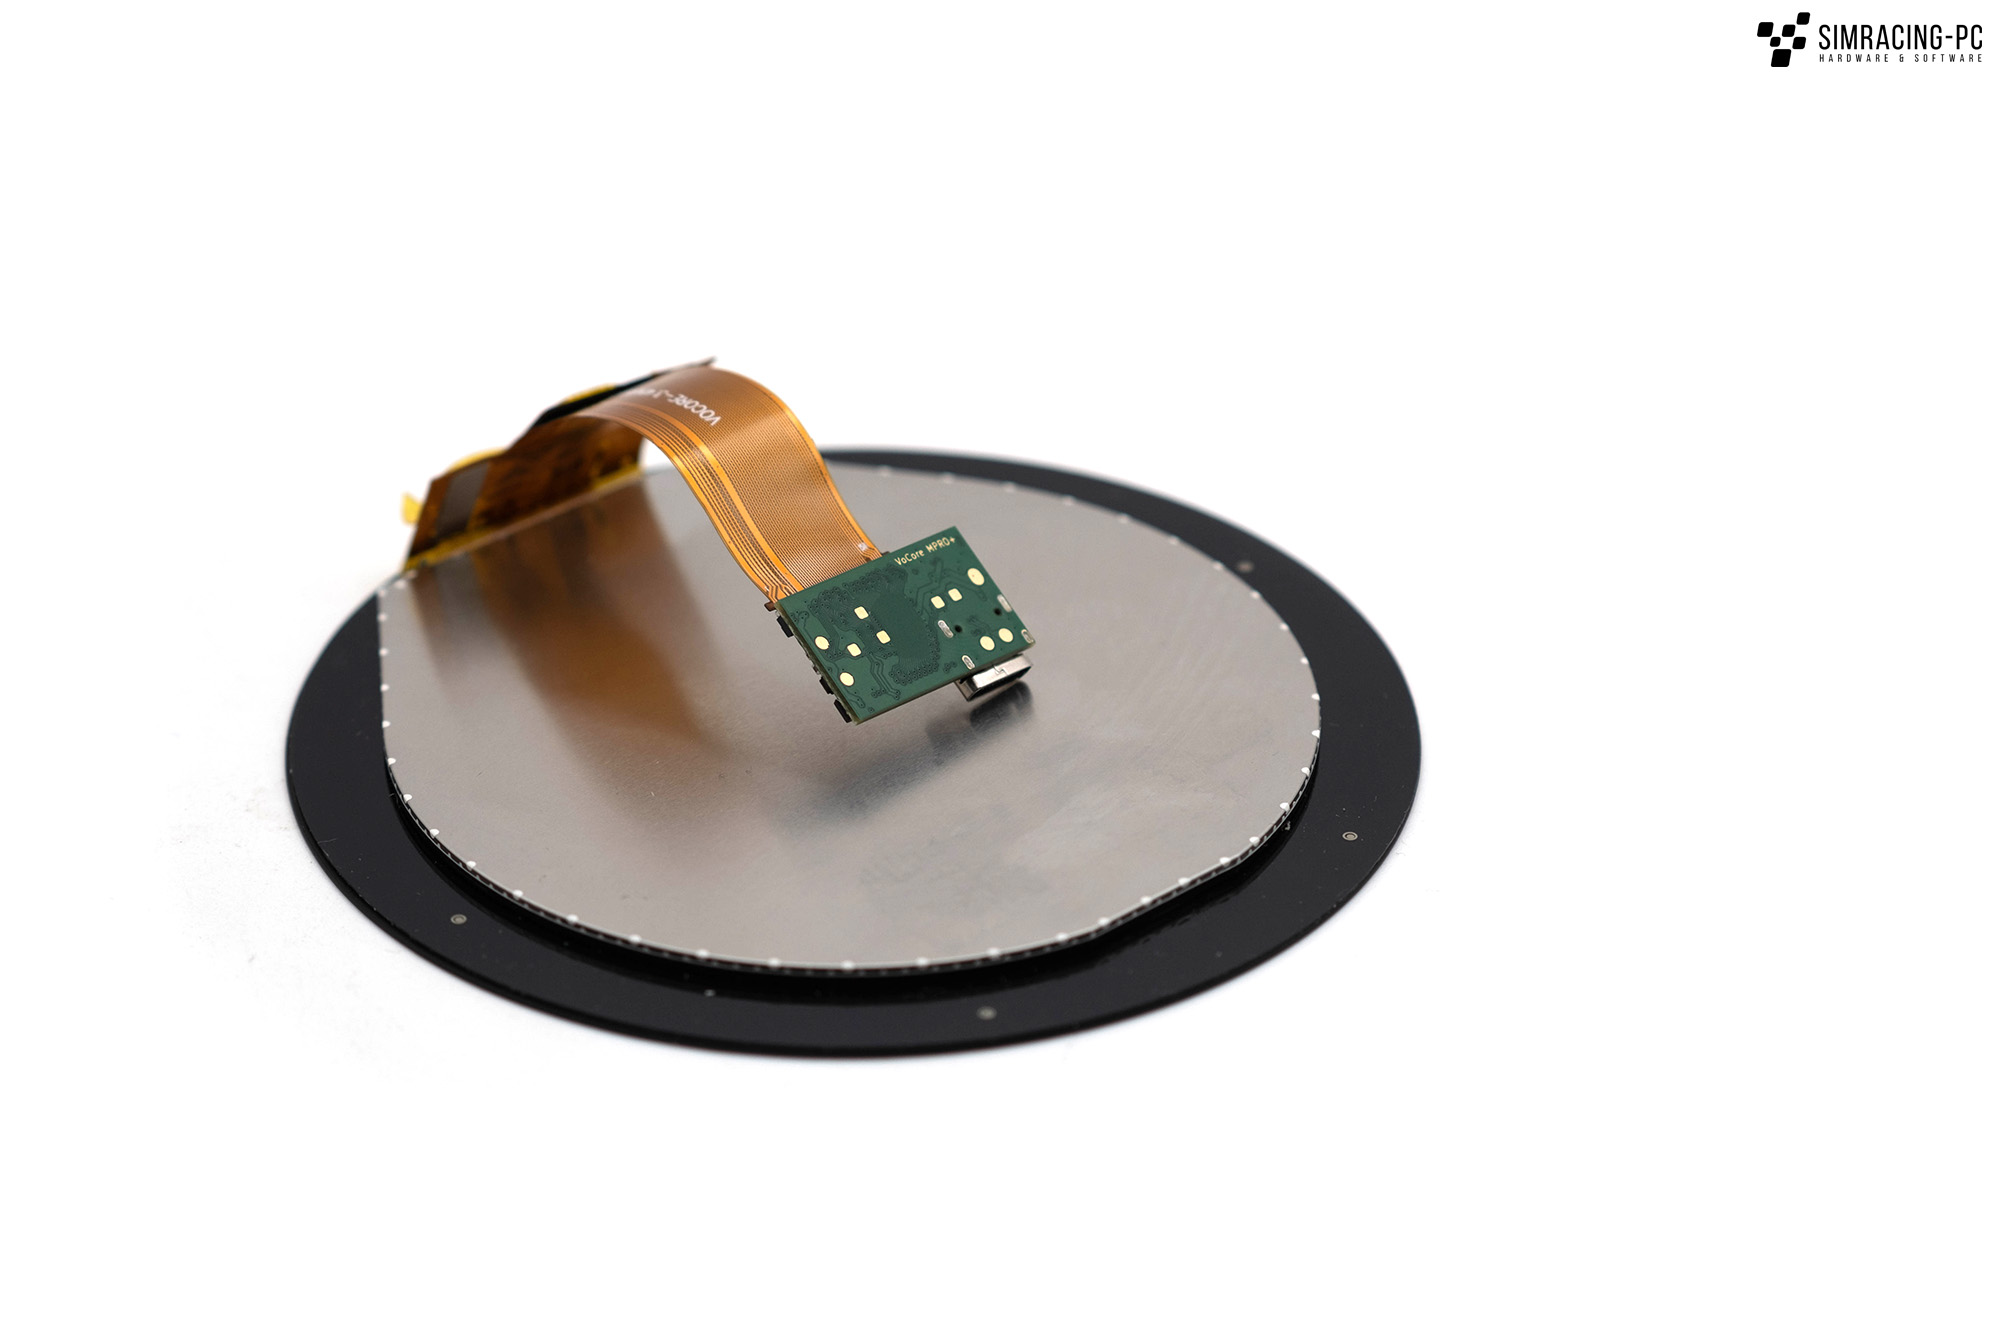
Apart from the shape, the VoCore used is comparable to the manufacturer’s existing displays. The high resolution of 800 x 800 pixels and the high maximum brightness (350 lumens) are particularly noteworthy.
| 3.4 inch VoCore (MPRO) | |
|---|---|
| SIZE | 115mm x 3.6mm |
| DISPLAY SIZE | 88mm |
| INTERFACE | USB 2.0 HS |
| RESOLUTION | 800 x 800 |
| FRAME PER SECOND | 60 |
| TOUCH PAD | Capacitive, two points |
| DRIVER | framebuffer, libusb |
| POWER SUPPLY | TYPEC 5.0V |
| POWER CONSUMPTION | ~1.55W |
| BACKLIGHT | 350LM |
7% 3D-Simgear Gutscheincode / Coupon code: simracingpc
3D printing
All print files are designed so that they can be printed completely without support. A total of just under 100g of filament is required and the printing time is between two and eight hours, depending on the printer and settings selected. The files for the project can be found here:
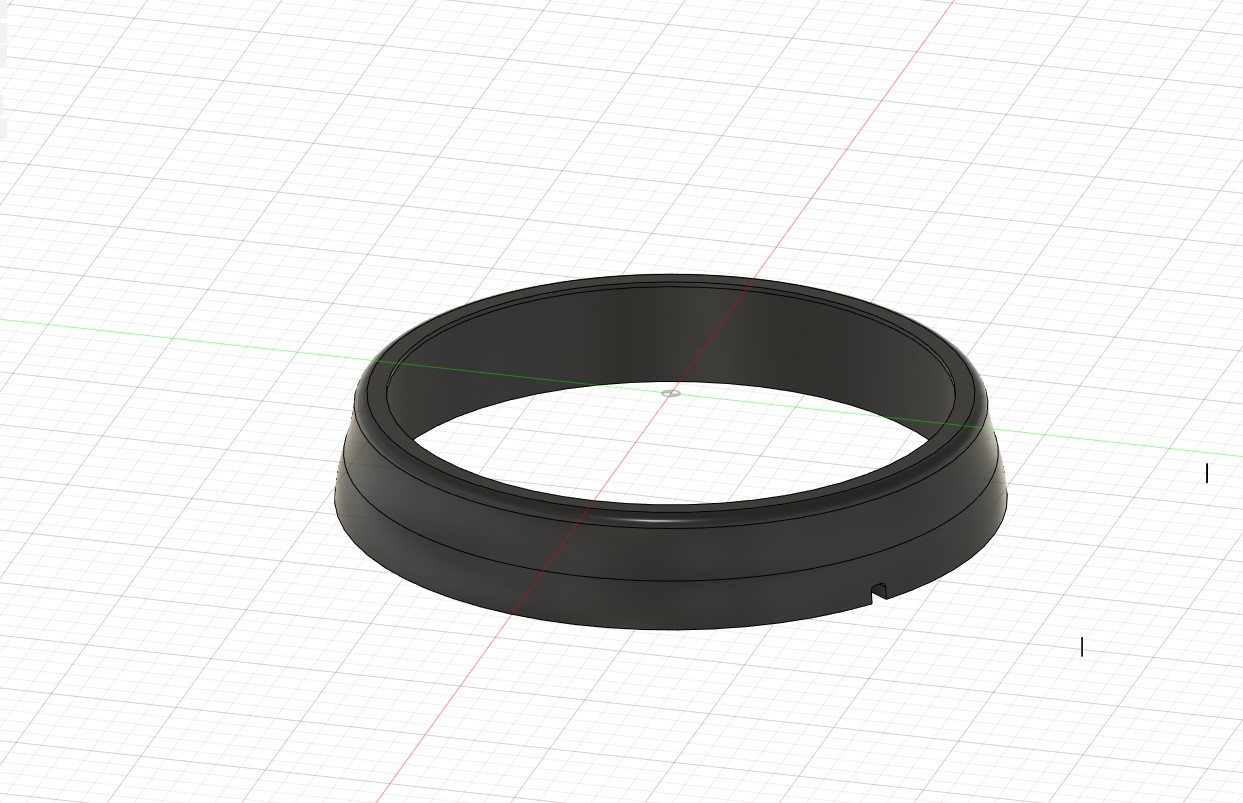
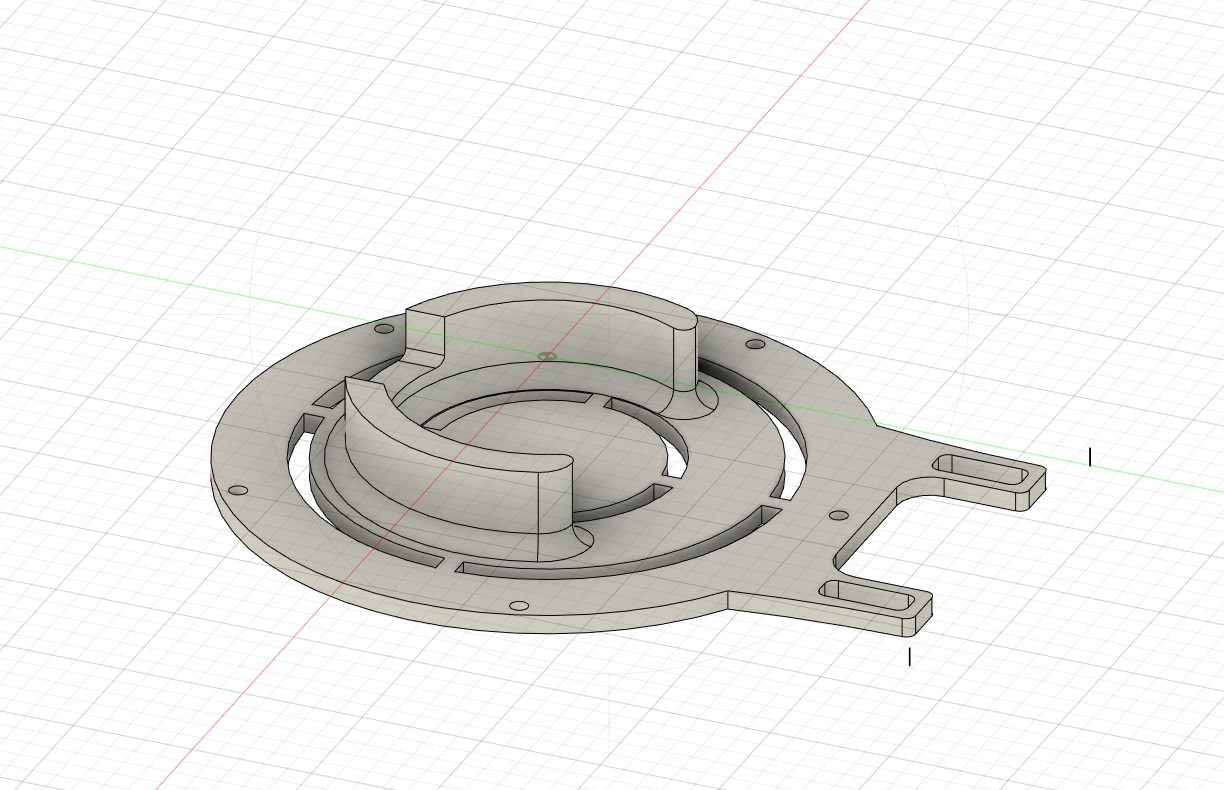
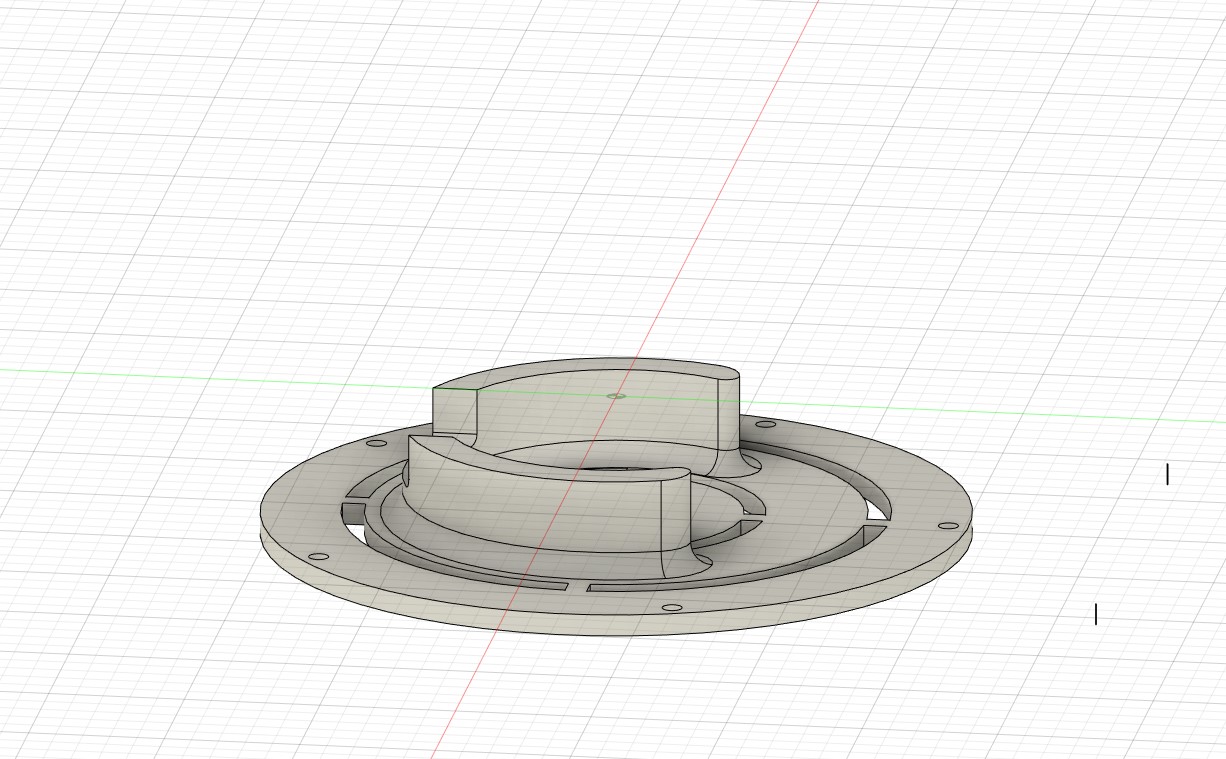
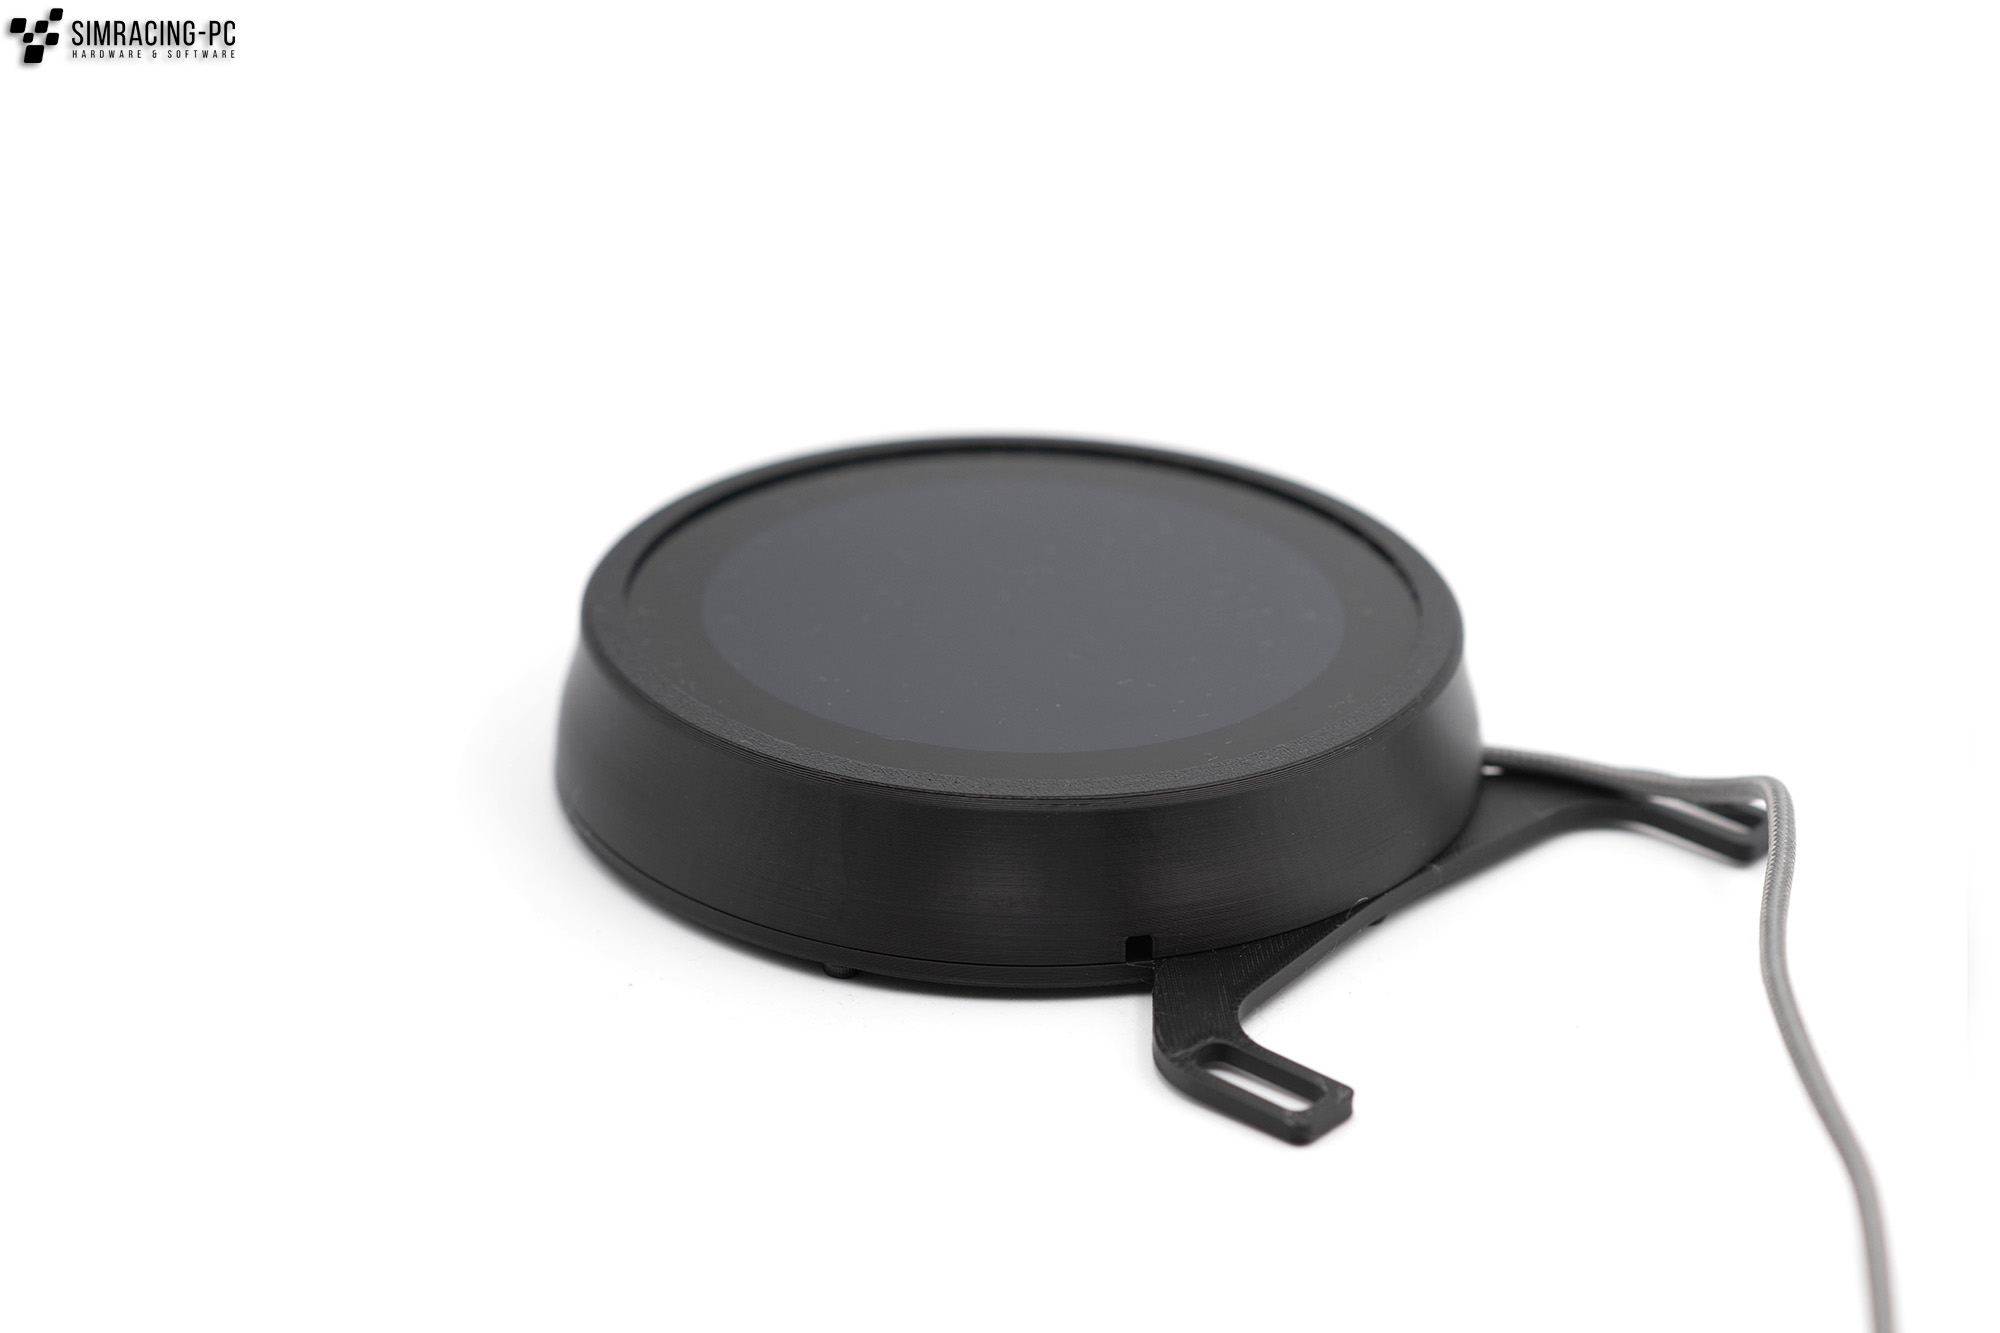
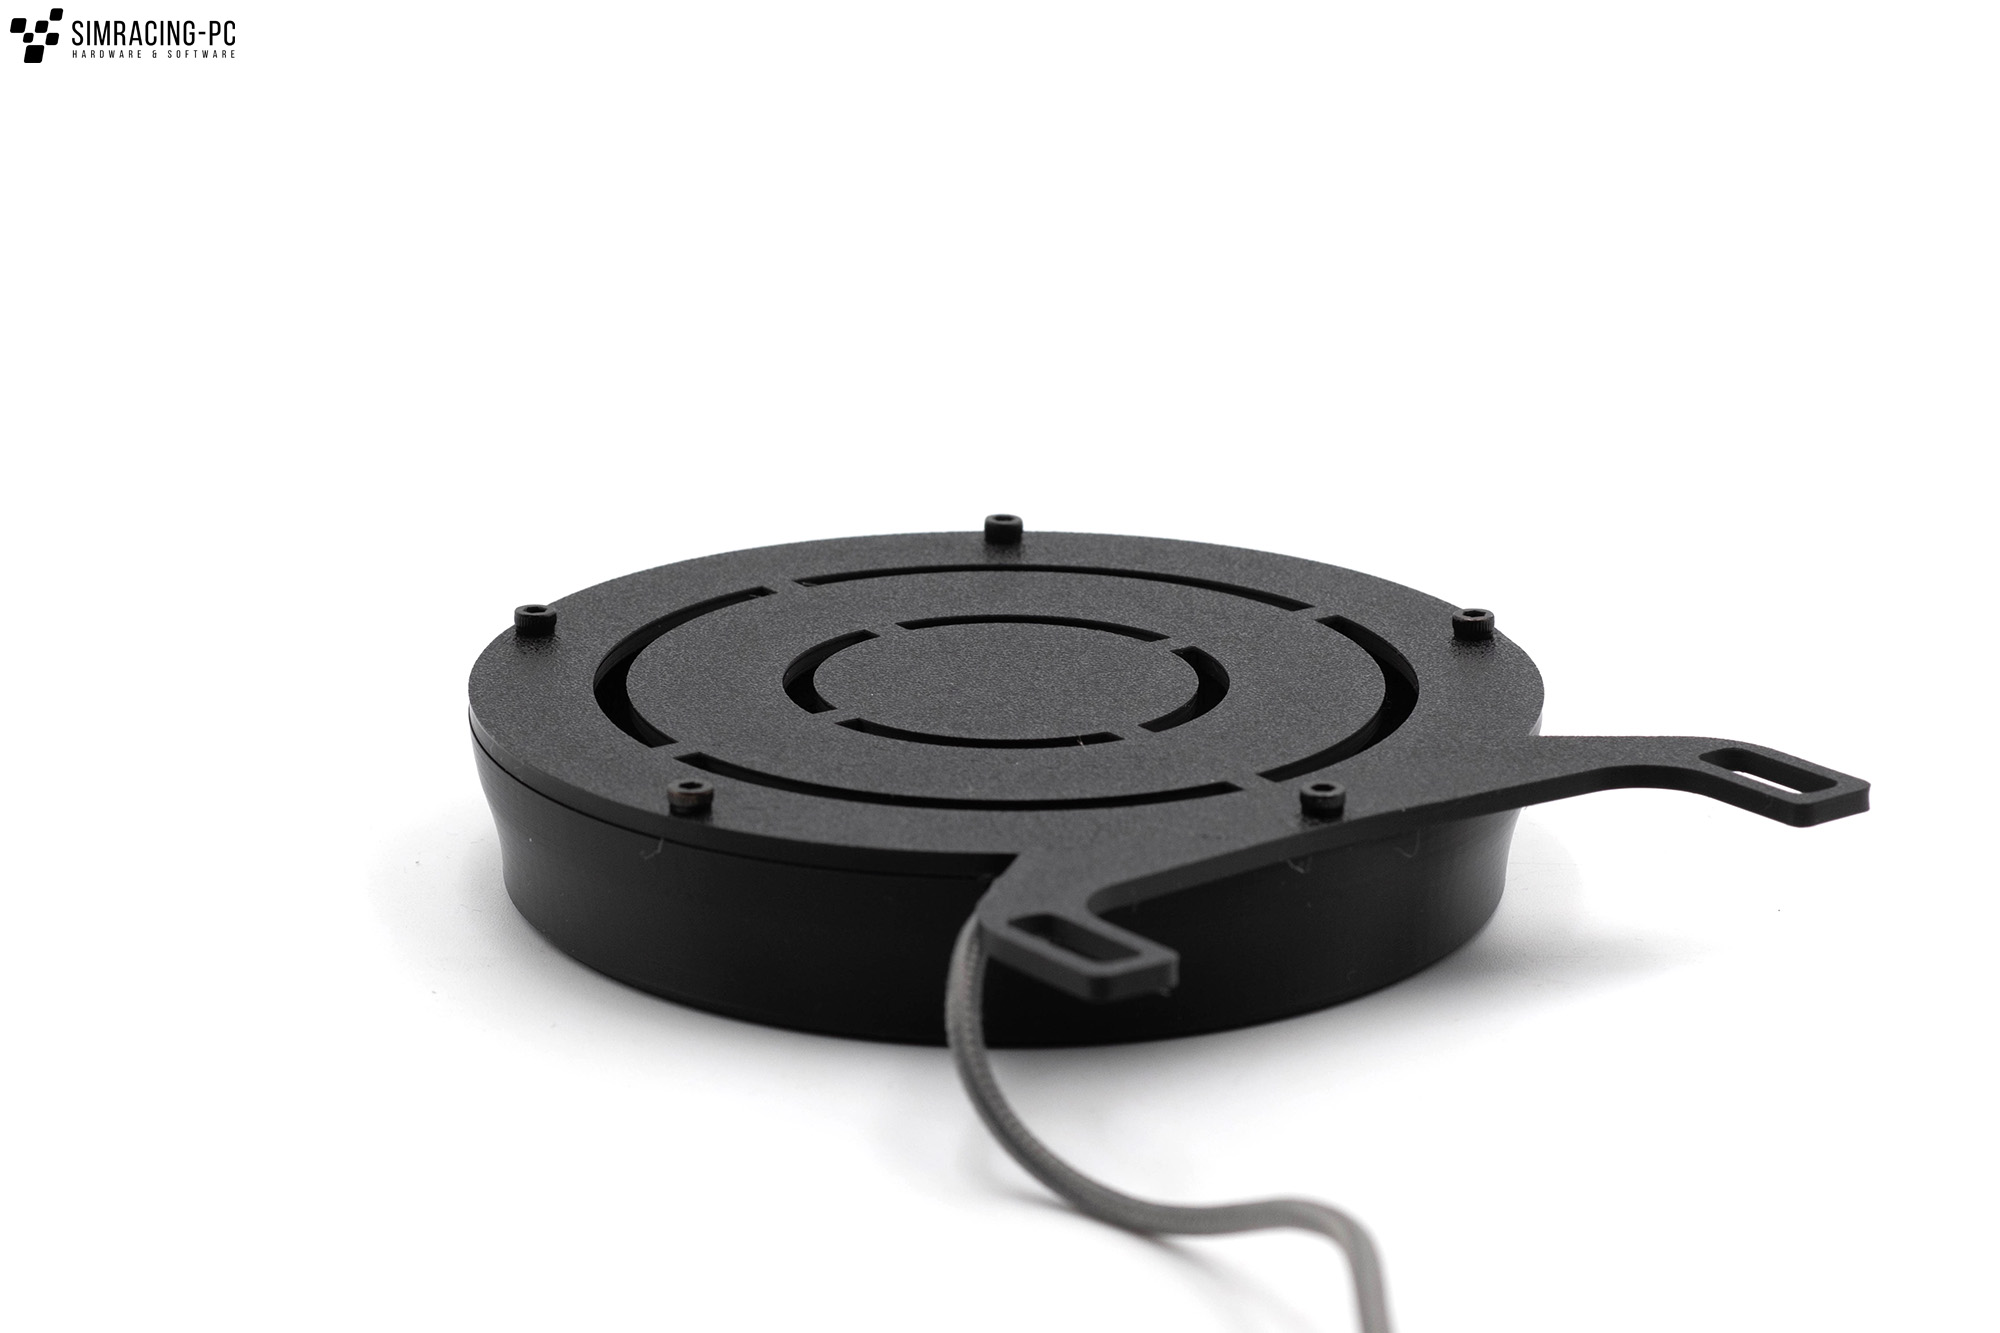
Housing
The main component is the housing into which the VoCore Screen can be inserted. This is designed to have the narrowest possible edges at the front and two 3.5 x 3.5 mm cut-outs for a USB cable. Ideally, the USB cable should be as large as possible so that it is held in position by the cover.
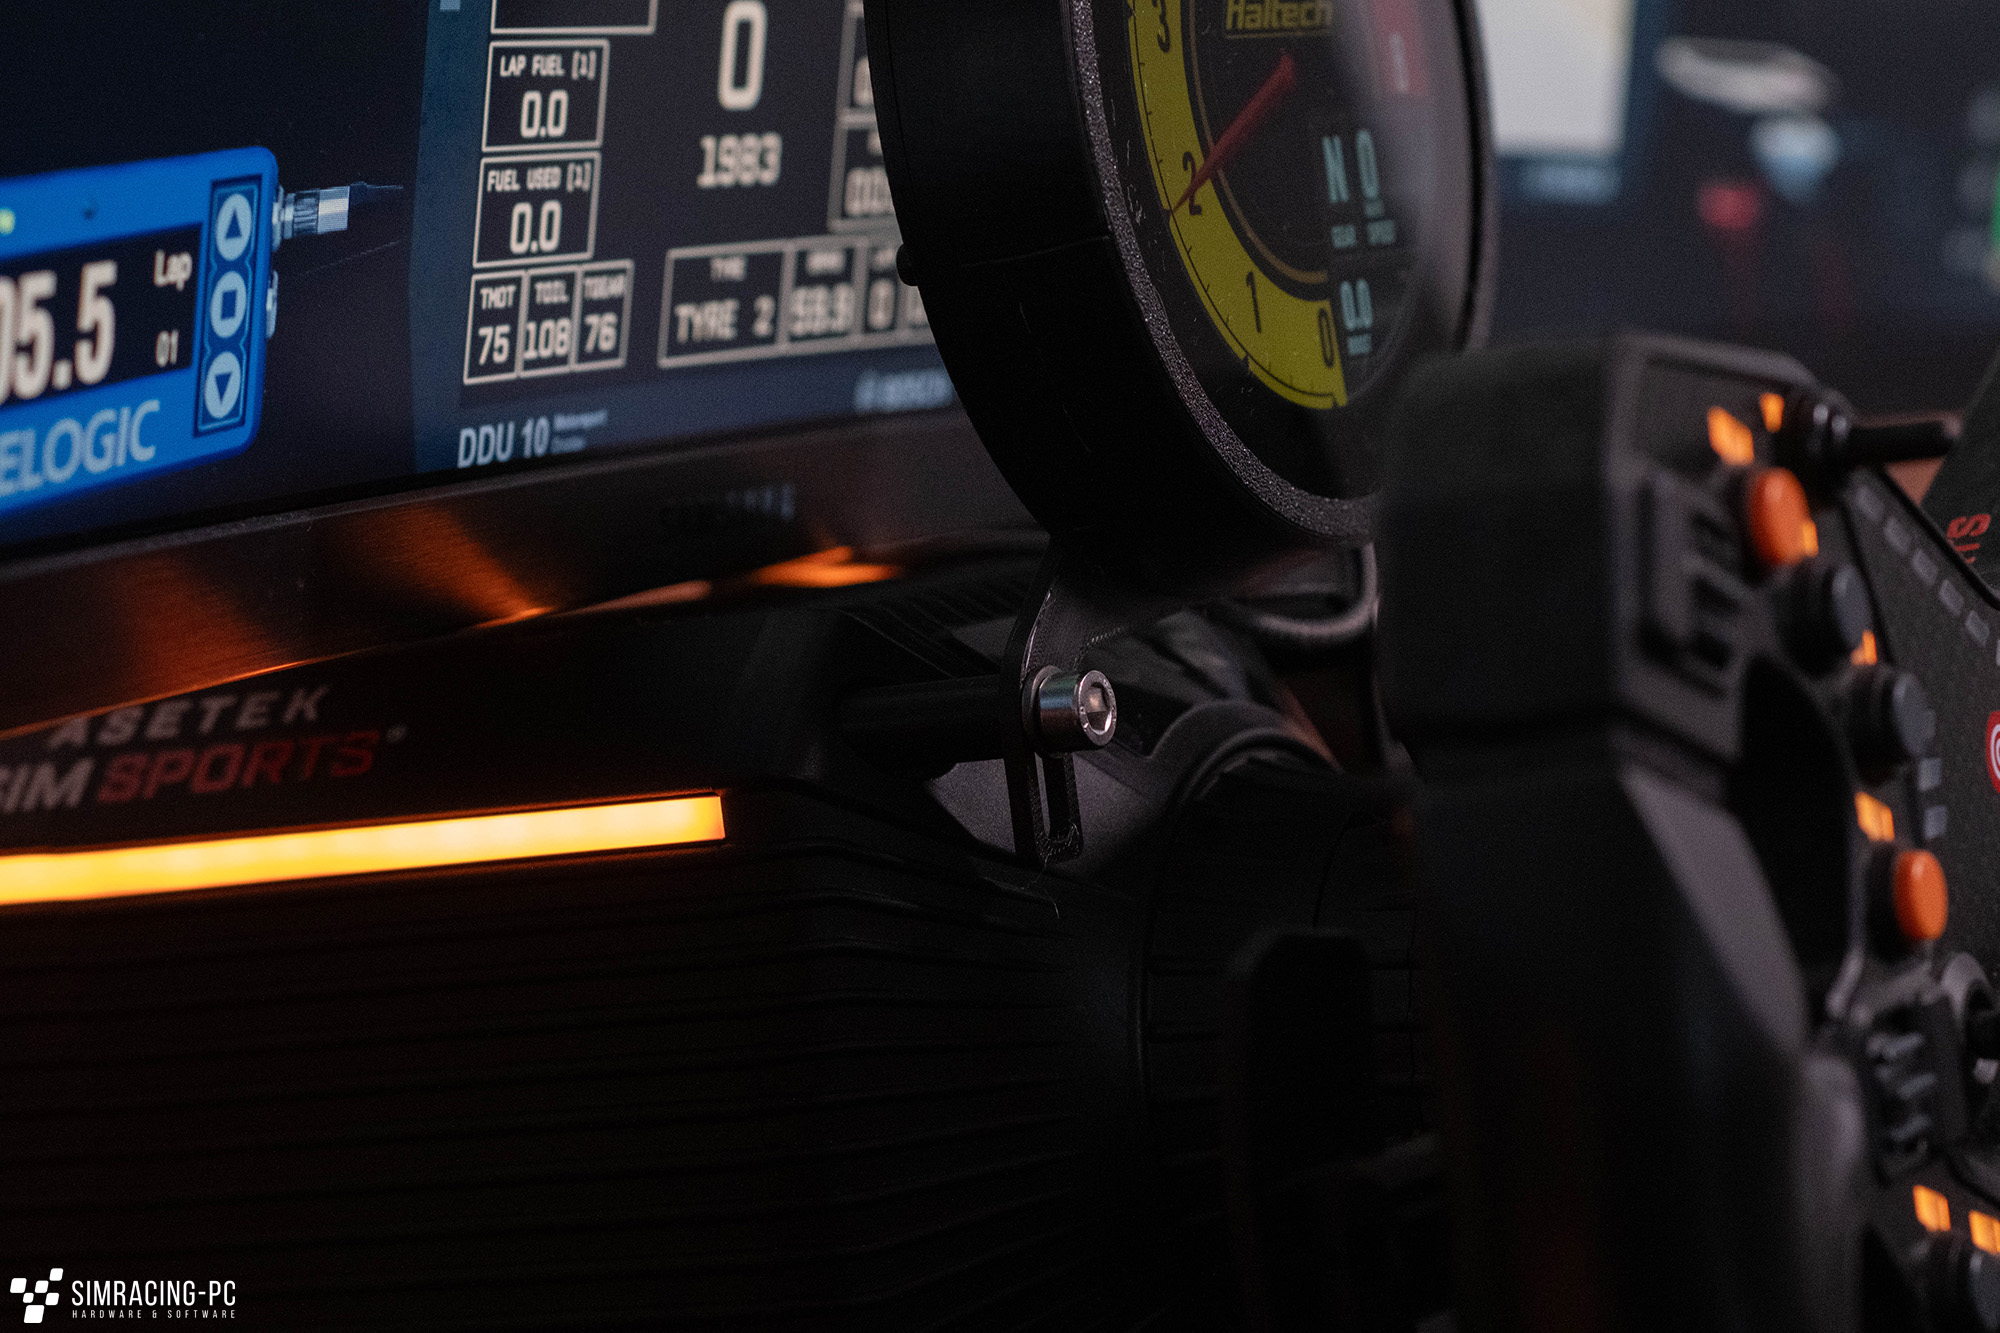
Mounts
The print files already contain two brackets (Asetek / Fanatec) and a rear panel without brackets, which can be used to design your own mount. The slotted holes provide a small amount of flexibility for the desired height of the round dashboard. A spacer is also integrated into the brackets to fix the VoCore screen in position, as well as ventilation holes, as the display’s circuit board tends to get very hot.
- Fanatec: 2 x M6X10mm cylinder head bolts
- Asetek: 2 x M6X50 cylinder head bolts + spacer (see print files)
- Rear without specific bracket

Assembly
Assembly is done in a few simple steps:
- Positioning the VoCore display in the housing
- Connect the USB-C cable and position it in the centre of the housing (according to the cut-out).
- (Optional, but recommended): Additional fixing of the USB cable in the housing with adhesive tape to avoid tension on the circuit board of the VoCore screen.
- Attach the rear panel and screw it in place with at least three M3x8MM screws.
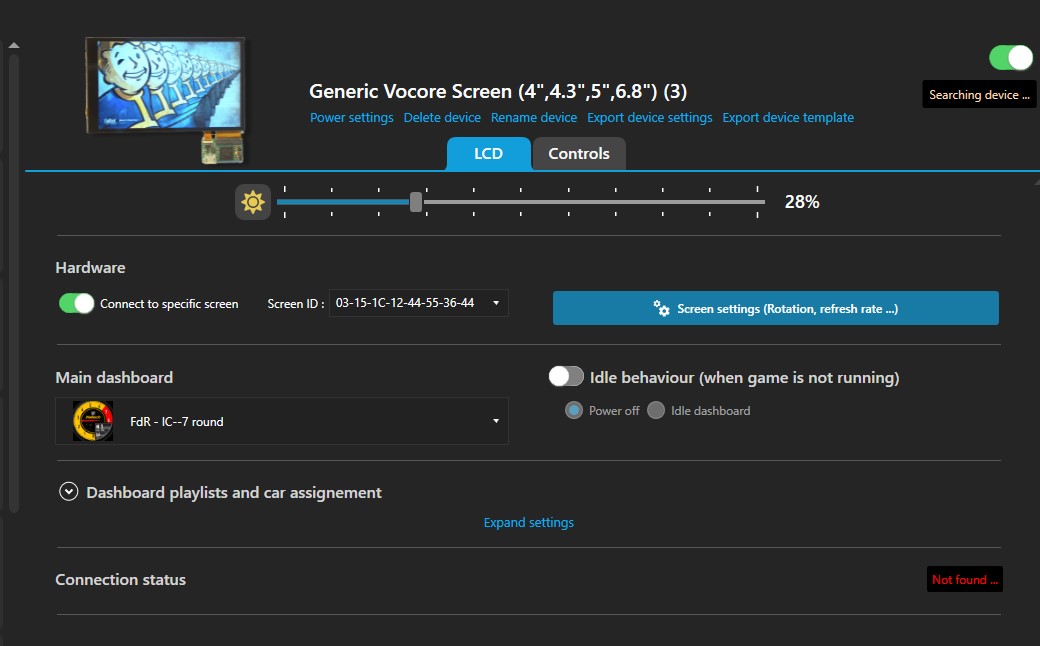
Software (Simhub)
The software used is, as you might expect, Simhub. The dashboard is configured in just a few seconds (Add Device -> Generic VoCore Screen) and you can then select one of the many Simhub dashboards to display on the screen. Ideally, these should have a square resolution in order to be displayed correctly. The first dashboards for the screen are already available for download on the Simhub Discord server.

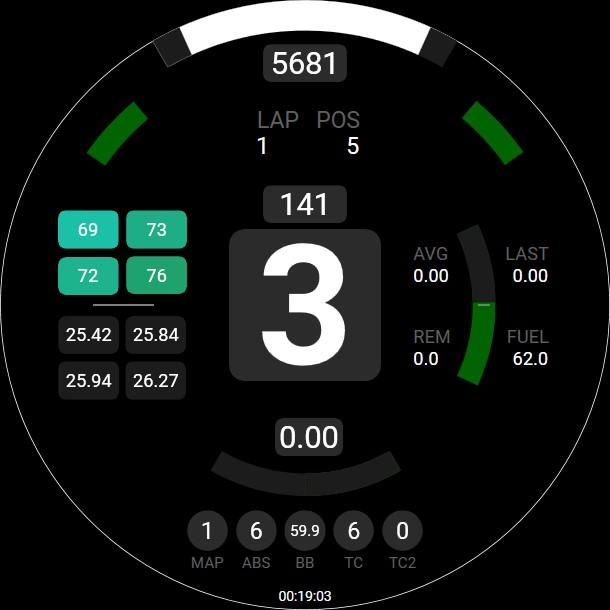
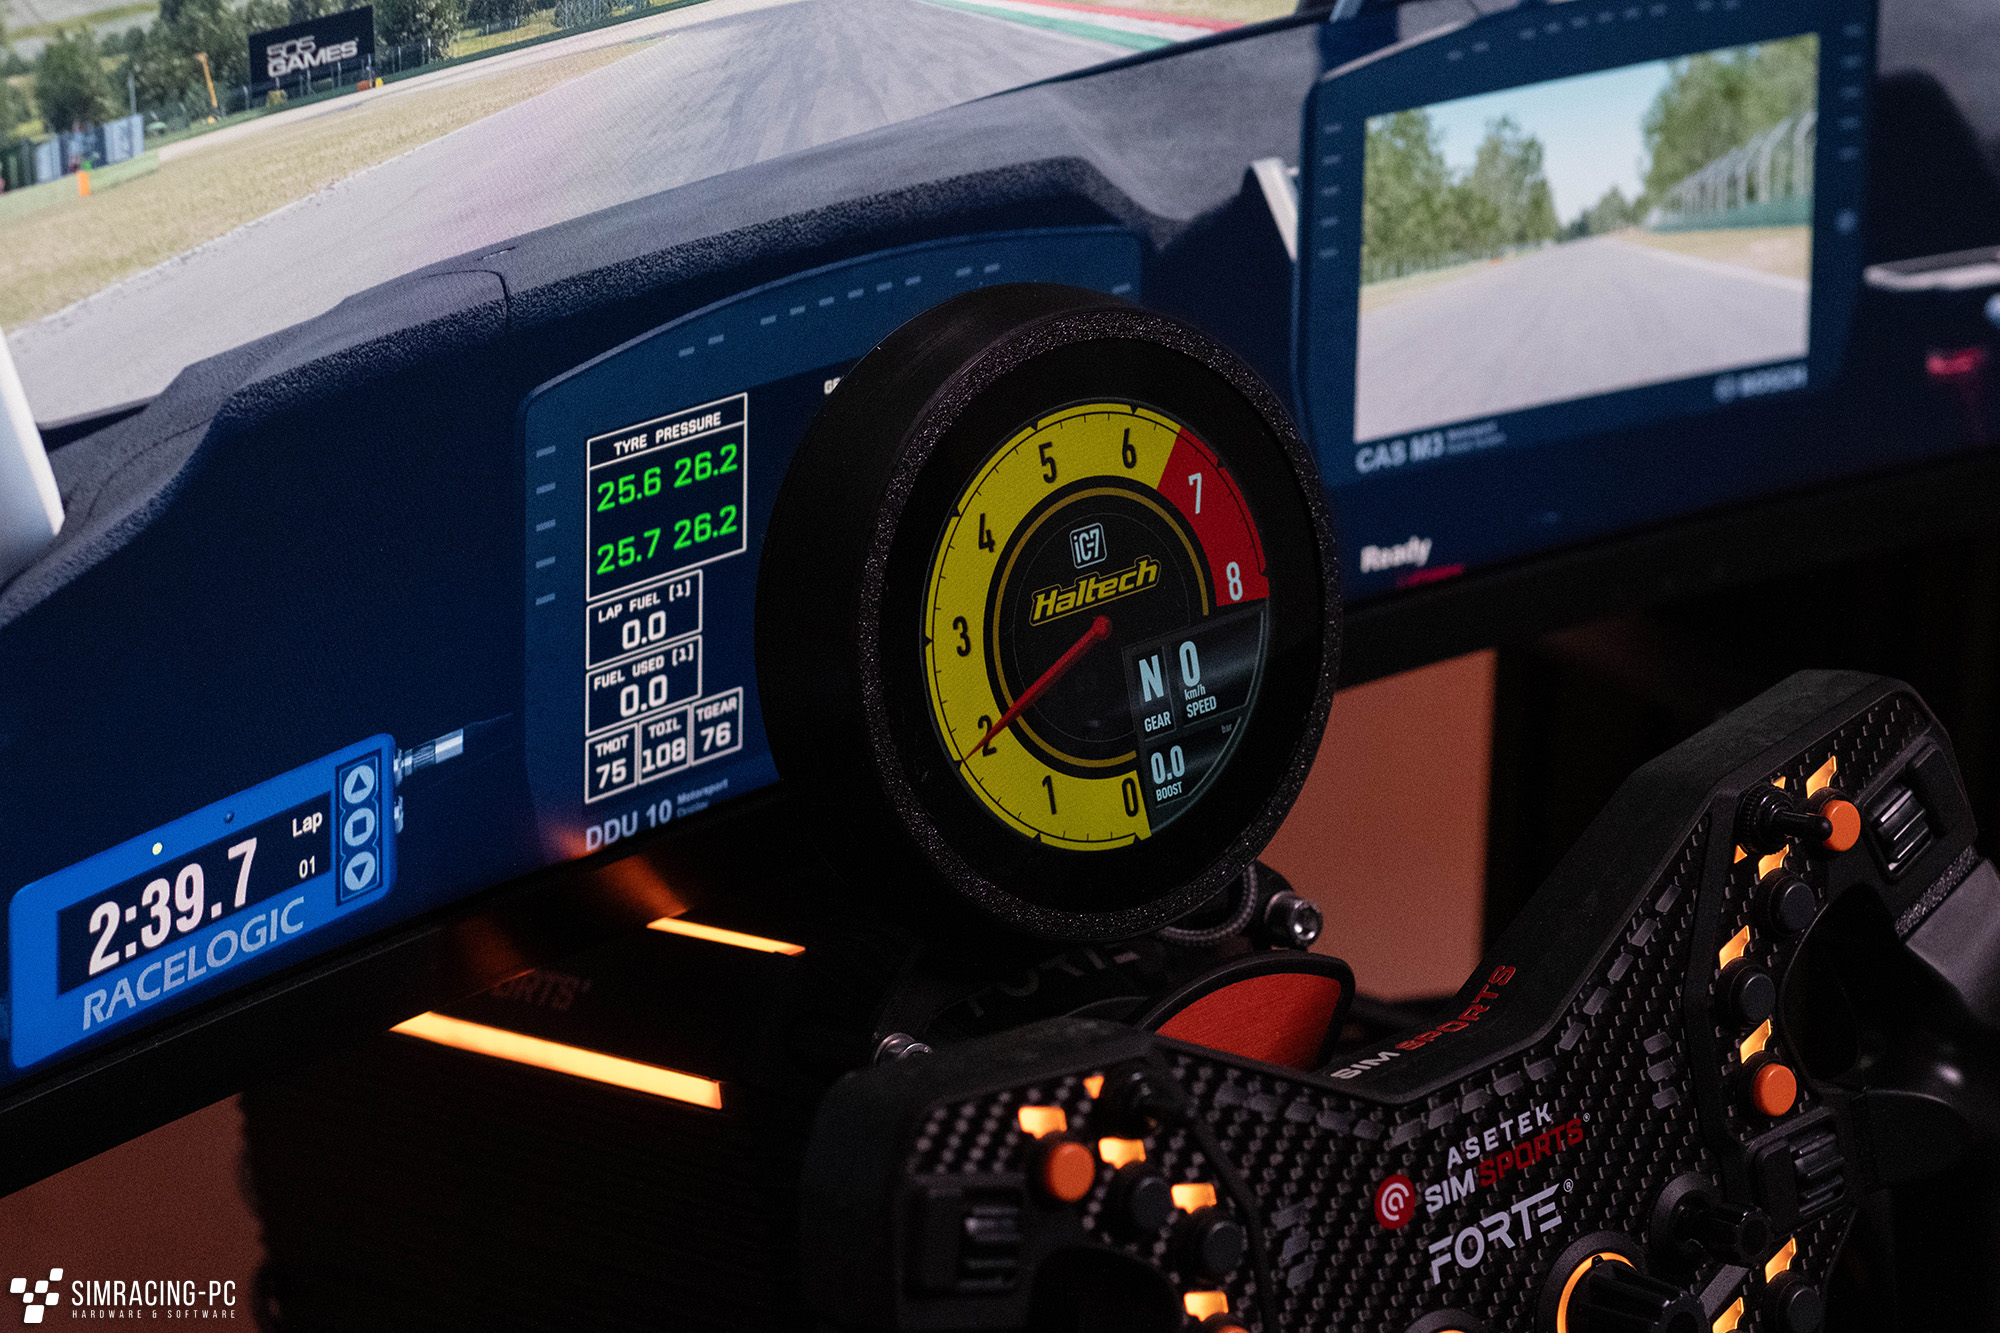
Simracing-PC Dashboard
Here you can find the dashboard we designed for the display. At 800×800 pixels, it is optimised for the 3.4 inch VoCore screen.
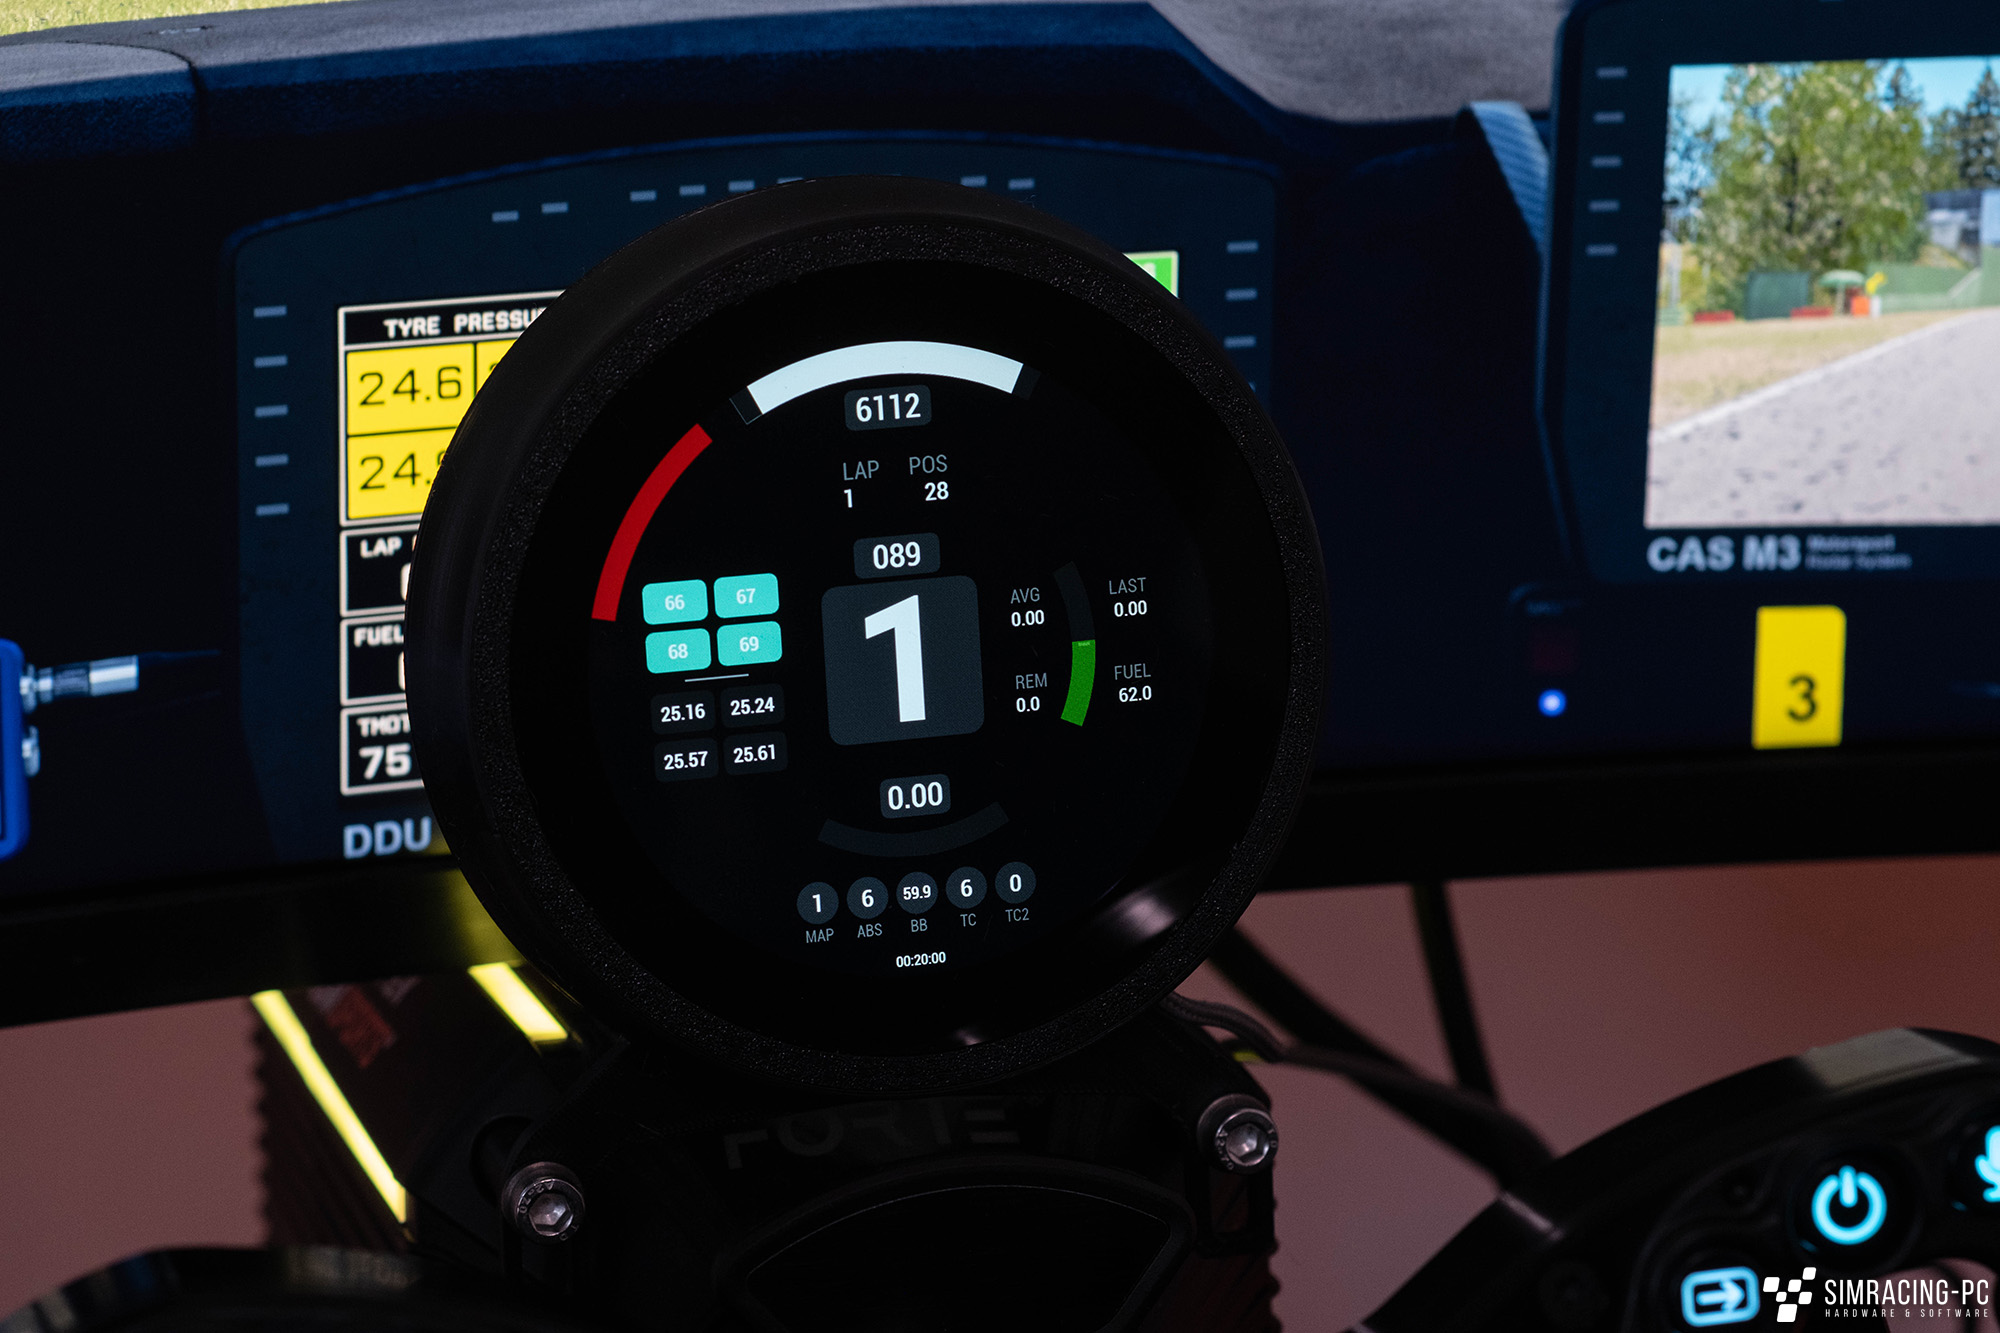
Conclusion
The new round VoCore screen offers plenty of potential for further creative dashboard solutions. At a fair price and with minimal DIY effort, you can realise a small but elegant project and use the screen either as a dashboard or perhaps simply as an additional display.


 – Review")


