VRS Pro Pedals Haptic Feedback Bass Shaker Mod (TT25 with Simhub)
Following our article on a bass shaker mod for the Invicta pedals from Asetek, there were many requests for DIY projects for other pedal sets. The popular VRS Pro pedals, each equipped with a TT25 bass shaker, make the start here.
List of parts
The following parts were used for the project, although prices may vary depending on availability. The total cost for two pedals should be around €100, excluding tools.
- AMP: Nobsound Mini Digital Power Amplifier: Amazon* | Aliexpress*
- Bass Shaker: 2 x Dayton Audio TT25-8 PUCK: Amazon*
- Speaker cable: Amazon* | Aliexpress*
- 3D-Printer: Amazon* | Aliexpress*
- Soldering ironAmazon* | Aliexpress*
- Optional: Shrink tubing
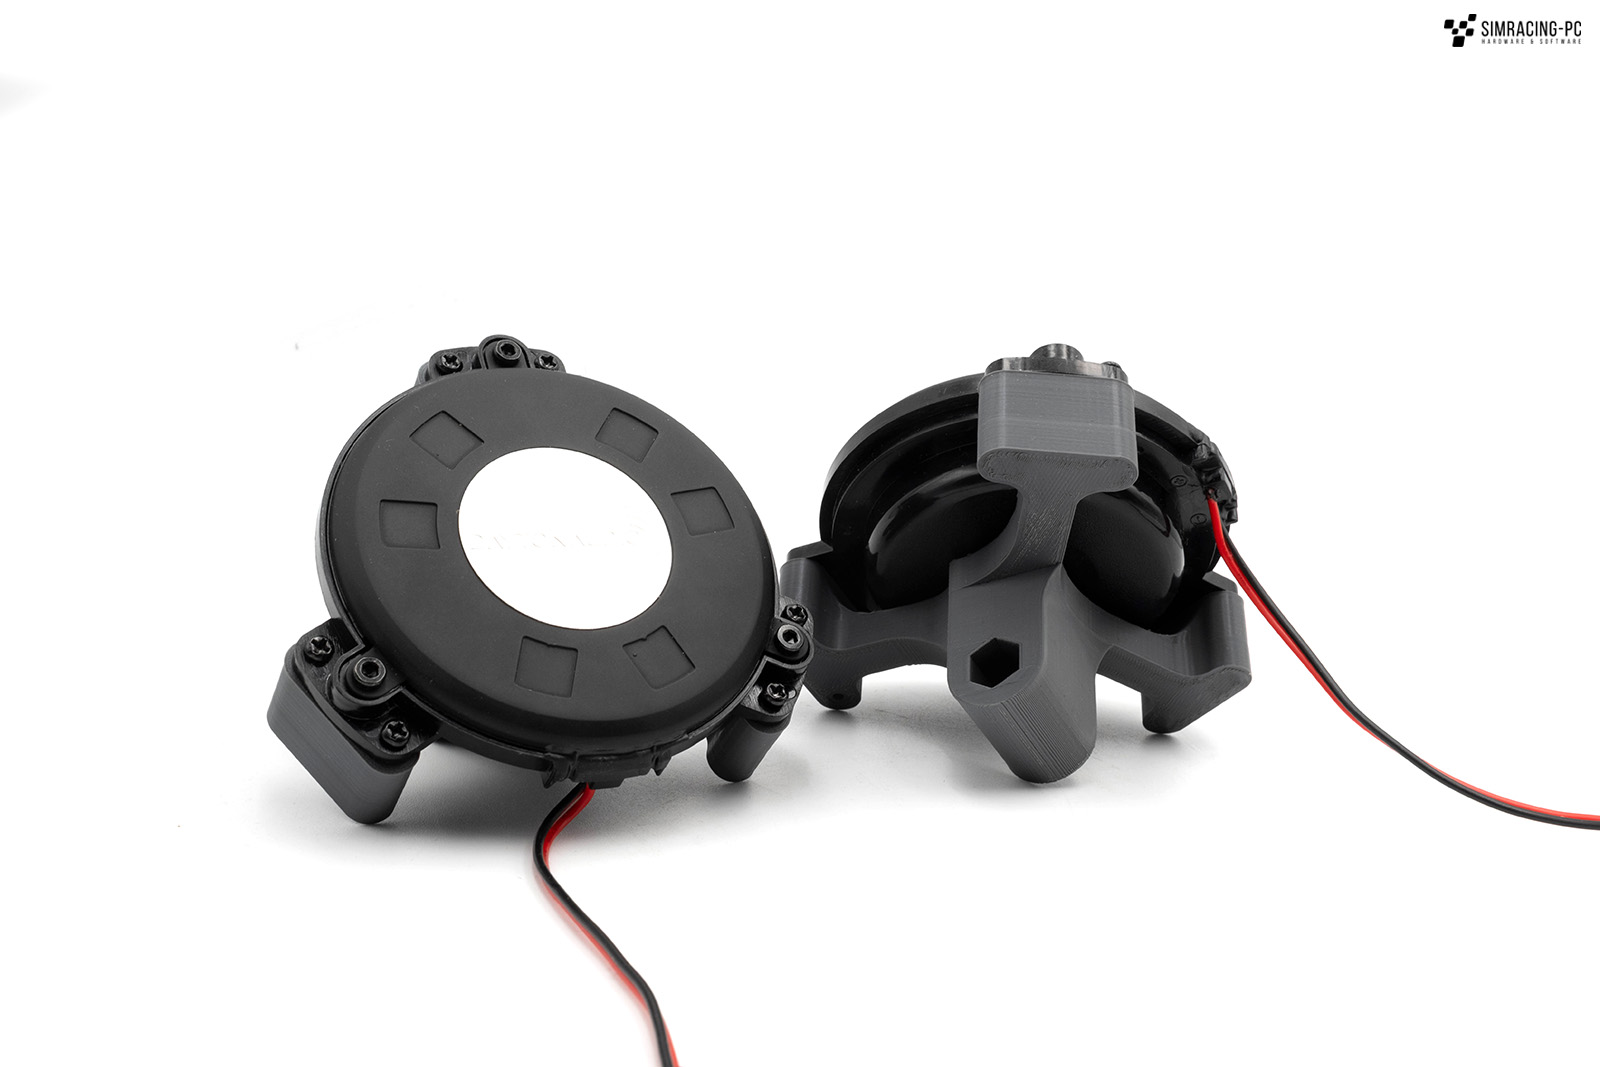
Bass Shaker
The Dayton Audio TT25 in the 8-ohm version was used as the bass shaker for this DIY project. These are mid-range in terms of performance and are very well suited to our application thanks to the mounting bracket that is usually supplied. With their maximum output power of 30 watts each, even small amplifiers are sufficient for operation.
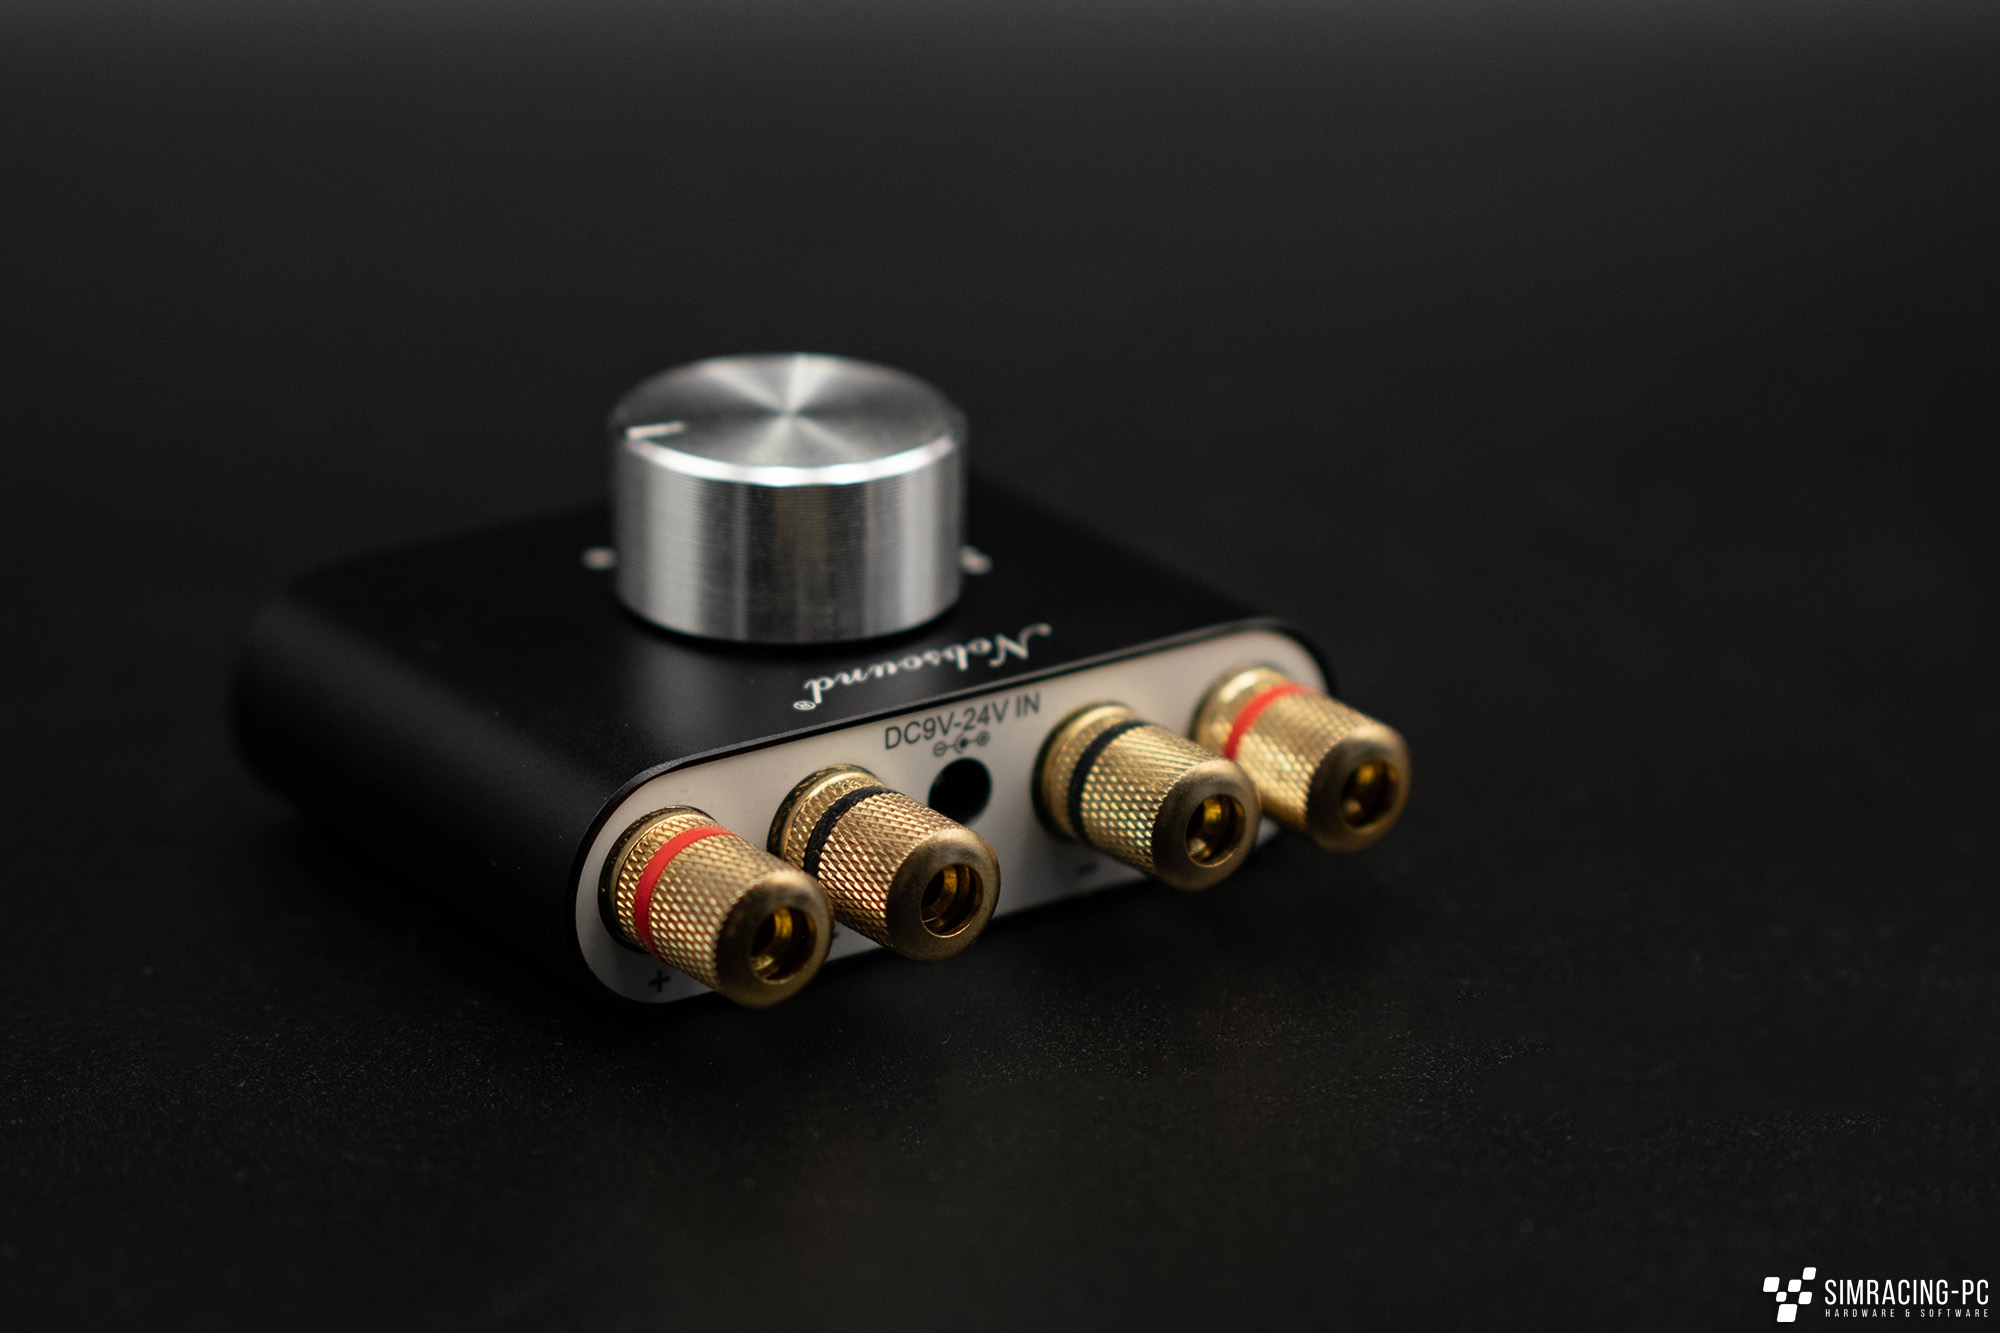
Amplifier
The Mini Bluetooth 5.0 Digital Power Amplifier from Nobsound, which is popular in the DIY scene, was again chosen as the matching amplifier for the bass shakers. However, you should not select Bluetooth mode here, but connect the amplifier directly to the PC via USB due to the otherwise excessive latency. It will then be recognised there (under Windows) without any further action and can be managed directly as an output device. To avoid damaging the shakers, you should slowly approach the upper limit. Overdoing it here can permanently damage the shakers. Suitable mounts for the rig are of course also available for printing: https://makerworld.com/en/search/models?keyword=Nobsound

3D printing
Brackets are used to attach the shakers to the VRS pedals, which are produced using a 3D printer. The two printing processes together take around three to ten hours (depending on the printer) and use less than 100 g of filament. The choice of material is relatively unrestricted; in practice, PLA has proven to be completely unimpressed by the stresses of the braking processes with over 200 hours of use.
When printing, you only need to pay attention to the correct choice of support structure, which should only be activated on the build plate and not for the rest of the parts. Printing was done with 35% infill and 3 wall lines.
You can find the corresponding .STL files here:
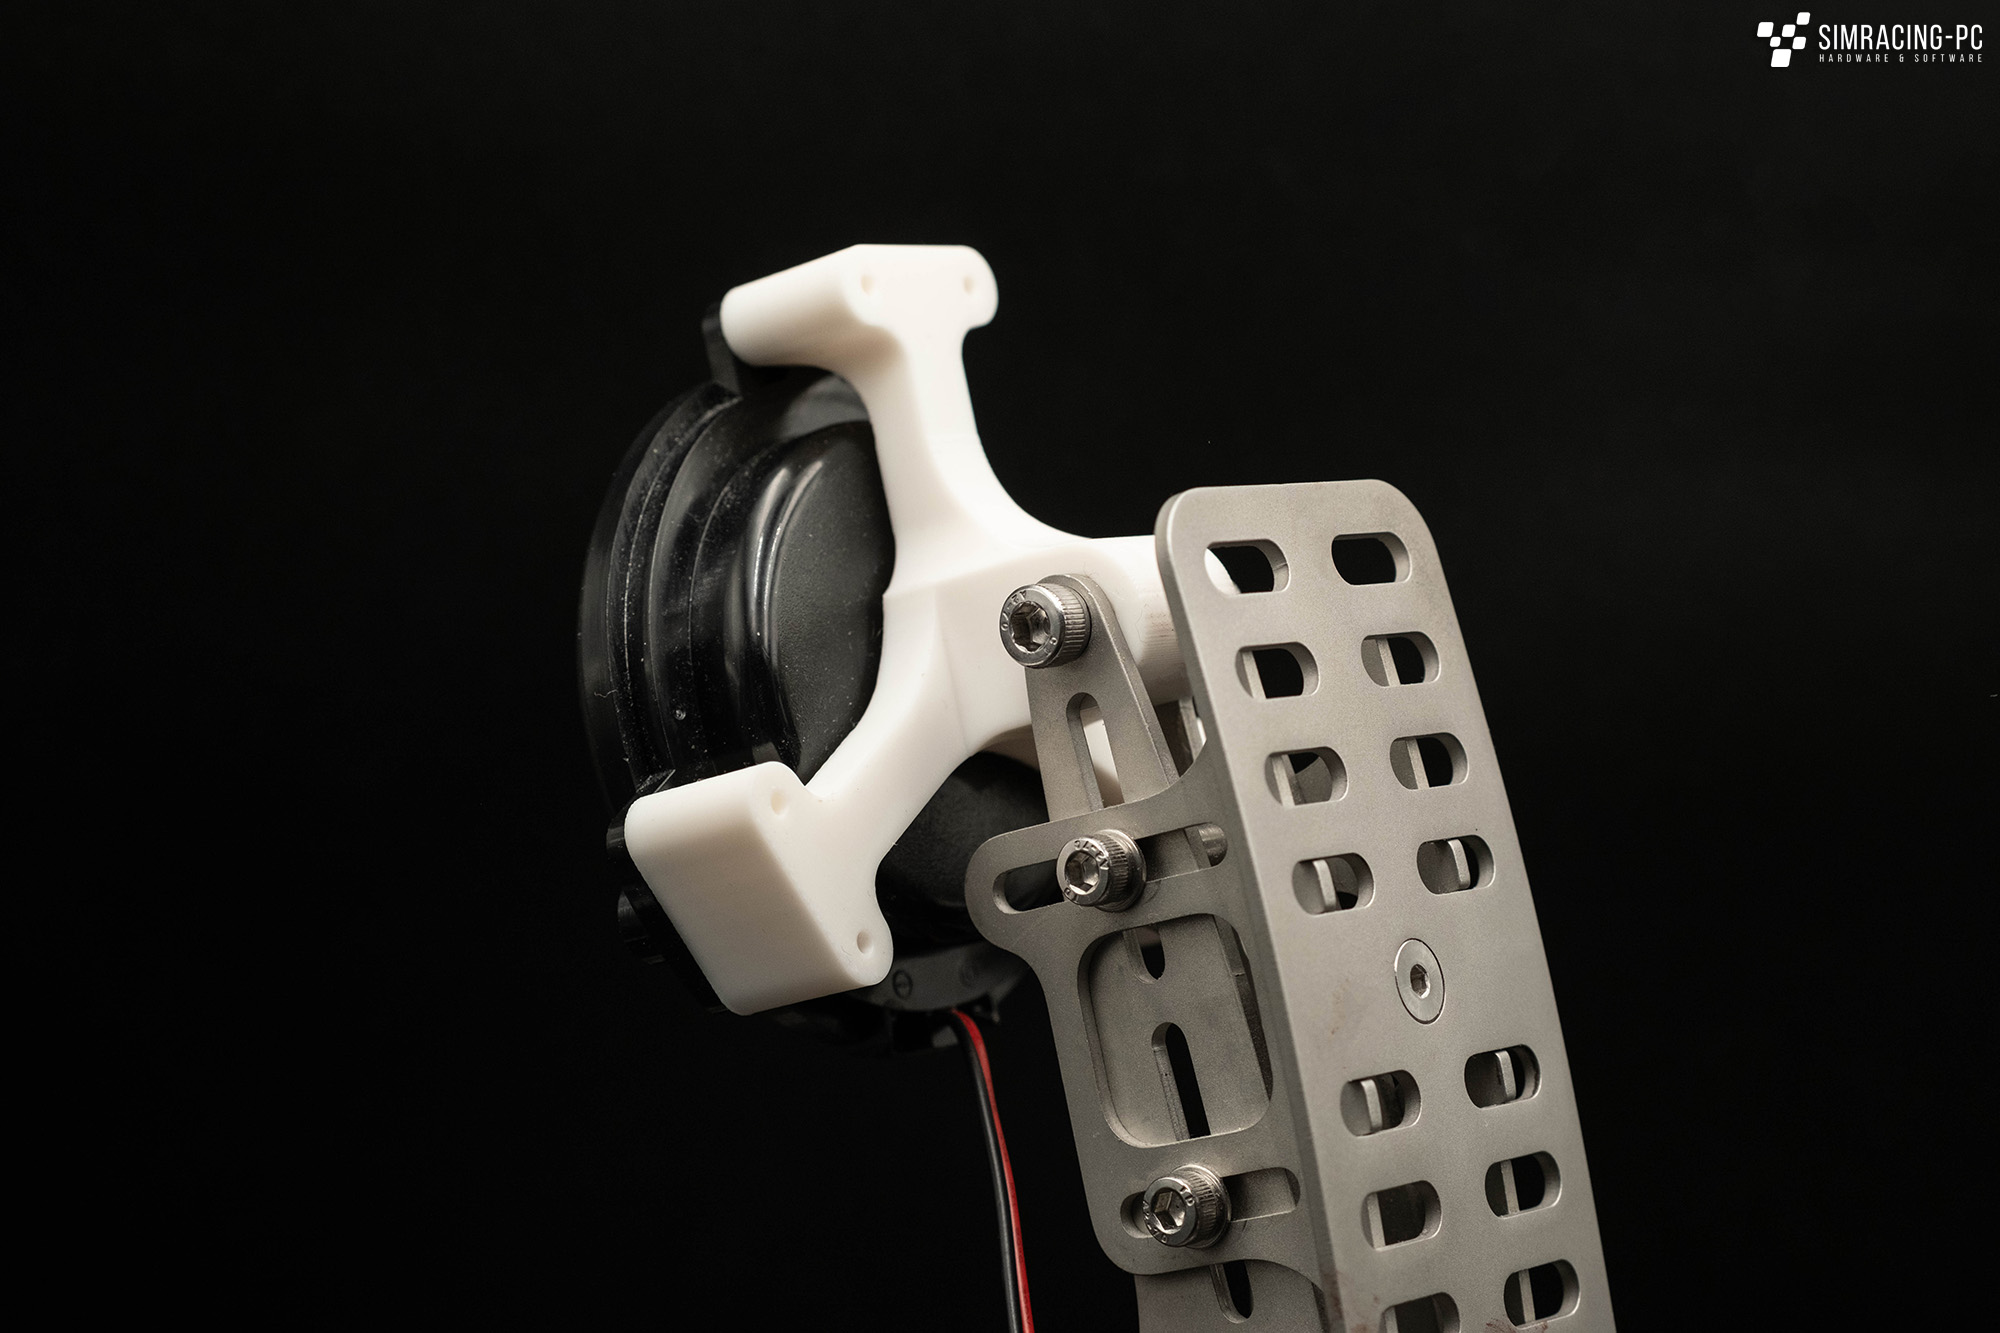
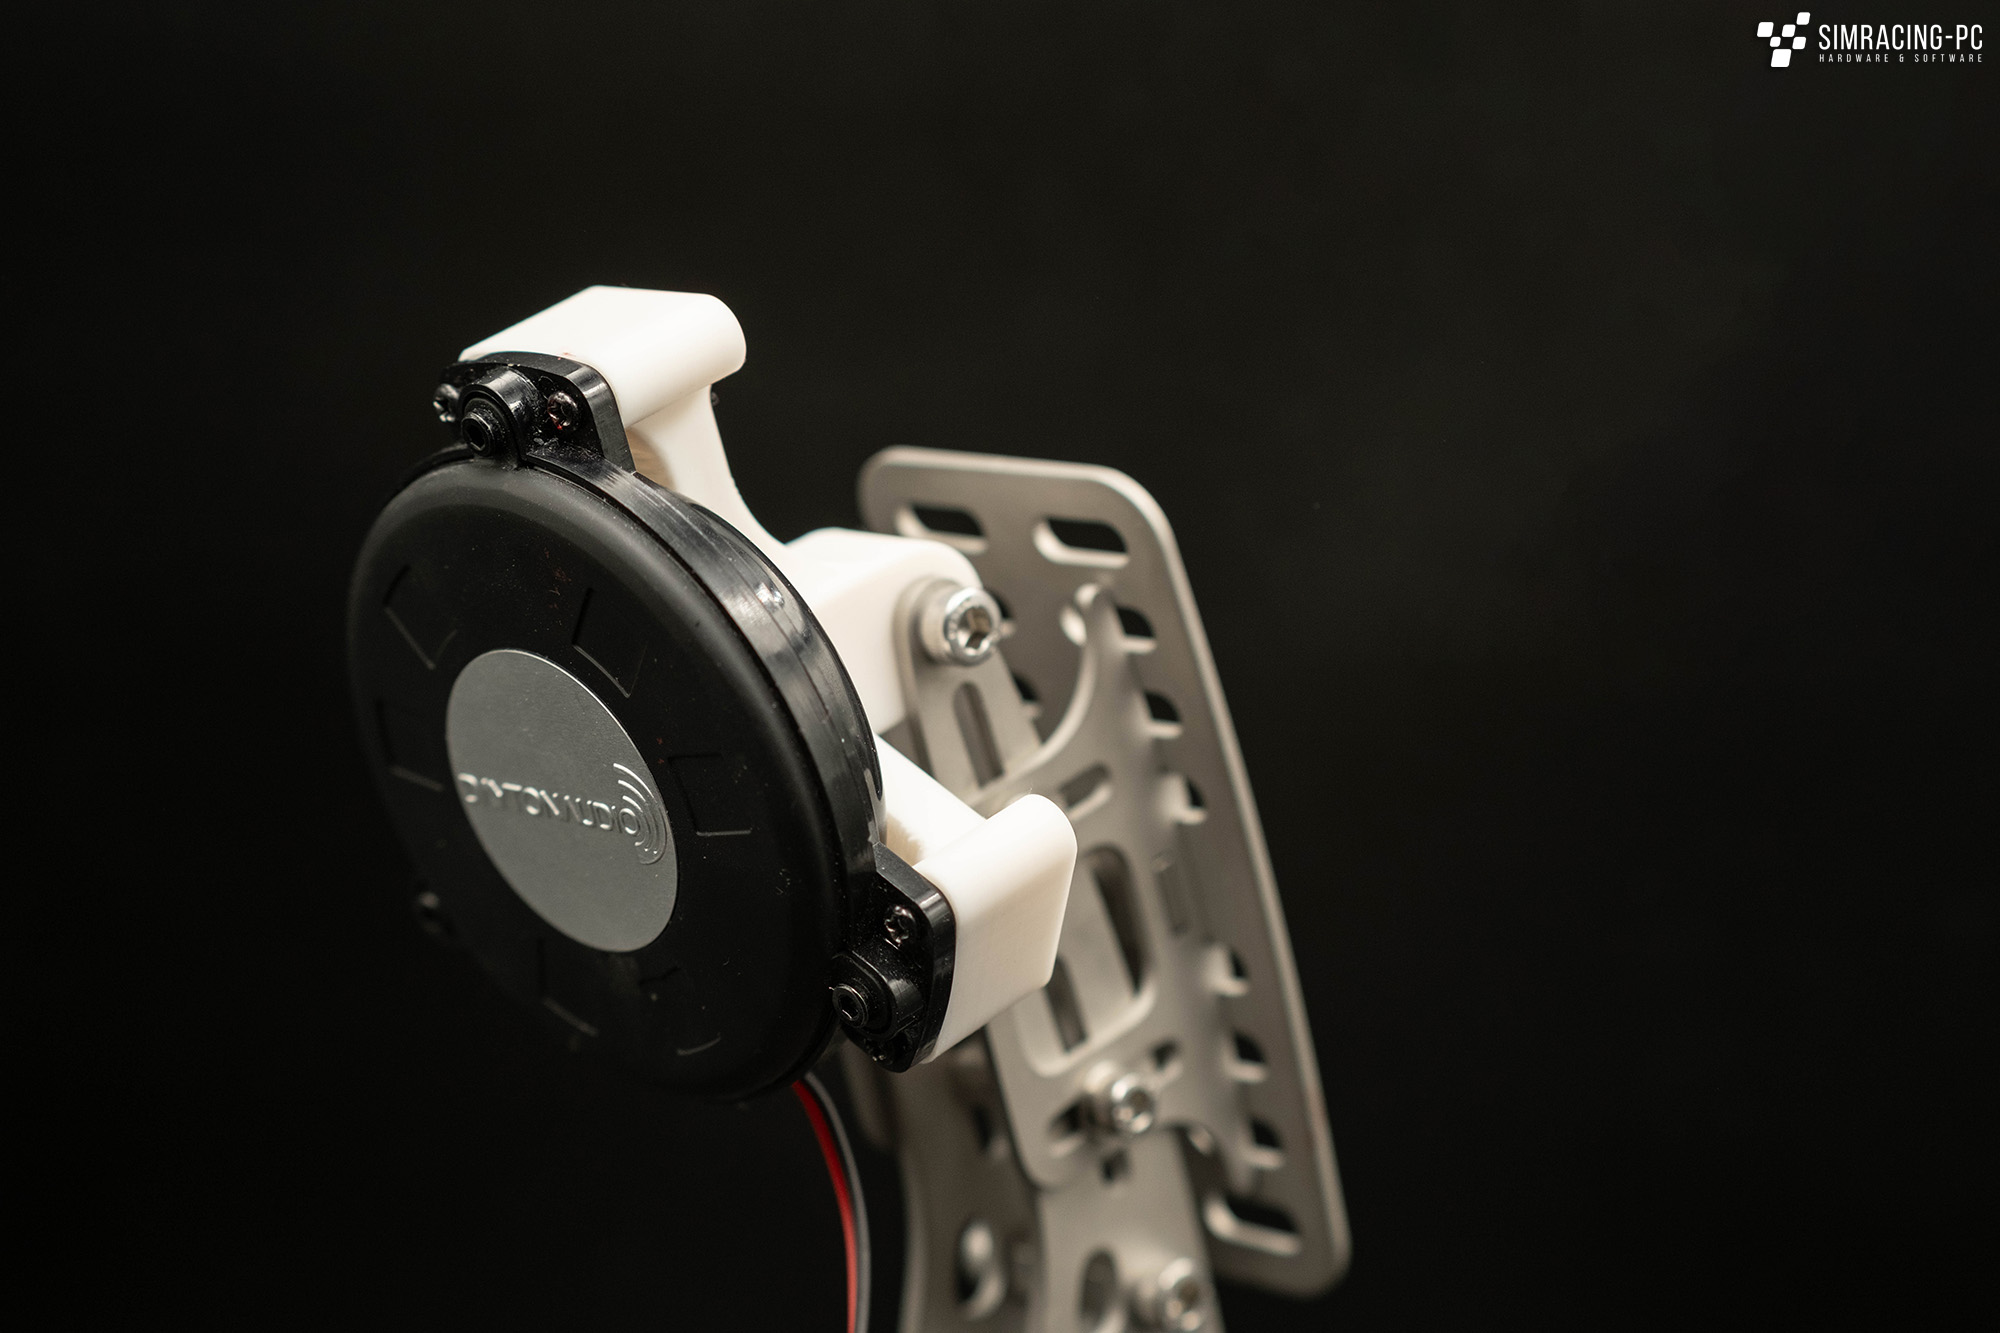
Assembly
Installation is very simple. The brackets are easily slipped over the upper spacers (which must of course be unscrewed beforehand) of the two pedals and remain firmly in position once the screws have been retightened. The shakers themselves are then simply screwed directly to the printed part. However, you should not overdo it when tightening the screws.
The wiring depends on the distance between the amplifier and the shakers. Depending on your choice, the pre-assembled speaker cables can be used, otherwise they must be extended. The two shakers are each connected to one of the two outputs of the amplifier via two cables (note the colours!).
Important: All electronic work should only be carried out under the supervision of trained electronics engineers, no liability is accepted for errors / damage. DIY at your own risk.
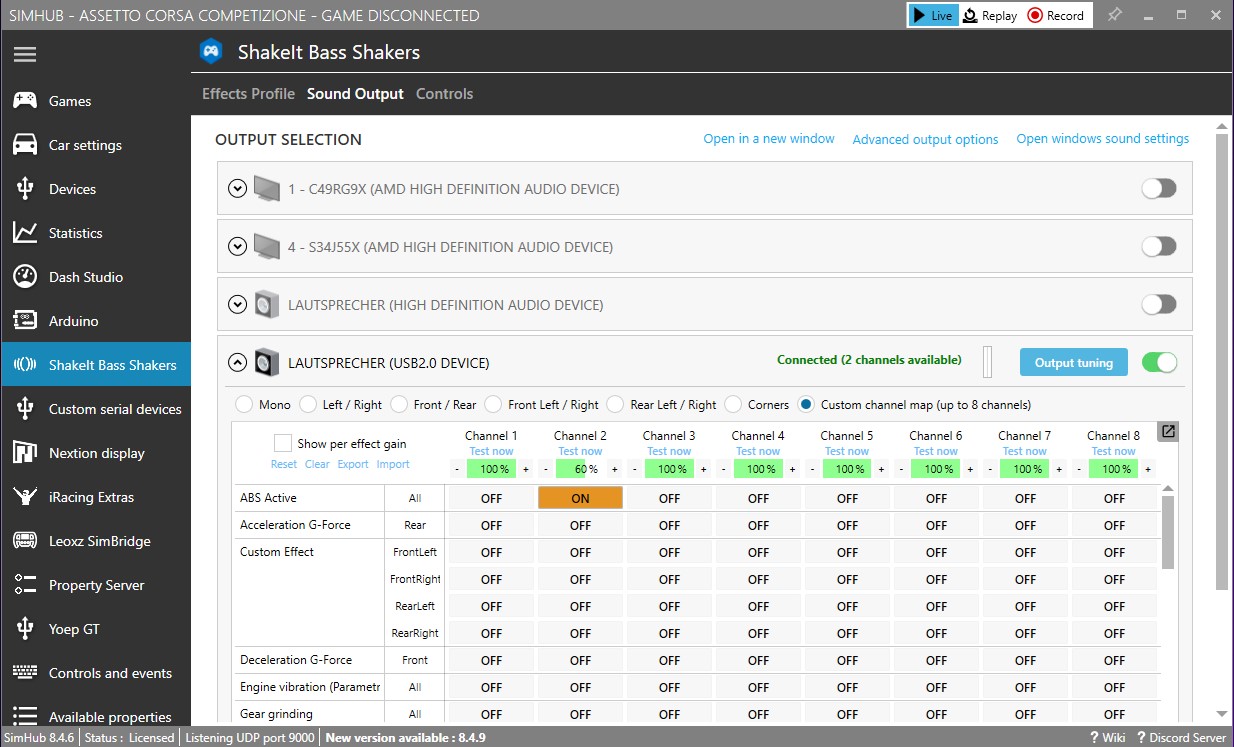
Software / Simhub
The software side of the small DIY project is quickly ticked off. Simhub (link to the software) is used here, which contains its own module for operating bass shakers (must be activated in the settings). Here you simply select the corresponding output, in this case the USB2.0 device. You can then assign individual effects to the two shakers and play with their intensity. To get started, we recommend using the ABS Active and TC Active effects for the corresponding pedal. For vehicles without the relevant driving aids, you can activate Wheel Slip and Wheel Lock. Overall, however, you should bear one thing in mind here: Less is often more, if you overlay different effects on the same shaker, the vibrations become imprecise and you can hardly separate the individual effects from each other.
Conclusion
The bass shakers are easy to install and add haptic feedback to the pedals. The whole project requires little effort and, thanks to Simhub, can also be realised by non-experts without any problems on the software side.

 - Review")

 – Review")


 - Review")

 - Review")

