DIY project: Alpakka controller by Input Labs – Review
DIY projects are an integral part of simracing for many simracers, including rigs, steering wheels, and even accessories. The Alpakka controller as an open source project fits in seamlessly here and at the same time offers unique features with a profile developed specifically for simracing.
Order and shipping
While this chapter is usually focused on stores where you can buy the products as a complete package, with the Alpakka controller you have a choice: Either you buy some or all of the components directly from the project’s store, or you can take action yourself. In this case, this means that you get the components as individual parts including the circuit board yourself, do the 3D printing and then build the controller on your own.
The prices therefore vary greatly and are significantly reduced, among other things, by the shipping costs from various supply sources if you build more than one controller. Overall, the final price is between about 50€ and 150€.
The product tested here was provided by the manufacturer. No influence was exerted on this review at any time.
Important: All electronic work should only be carried out under the supervision of trained electronics engineers, no liability is accepted for errors / damage. DIY at your own risk.
Alpakka-Community
The central element around the Alpakka controller is the community. Via Github as well as via Discord, you can actively participate in the development of the controller, make suggestions and present your own improvements.
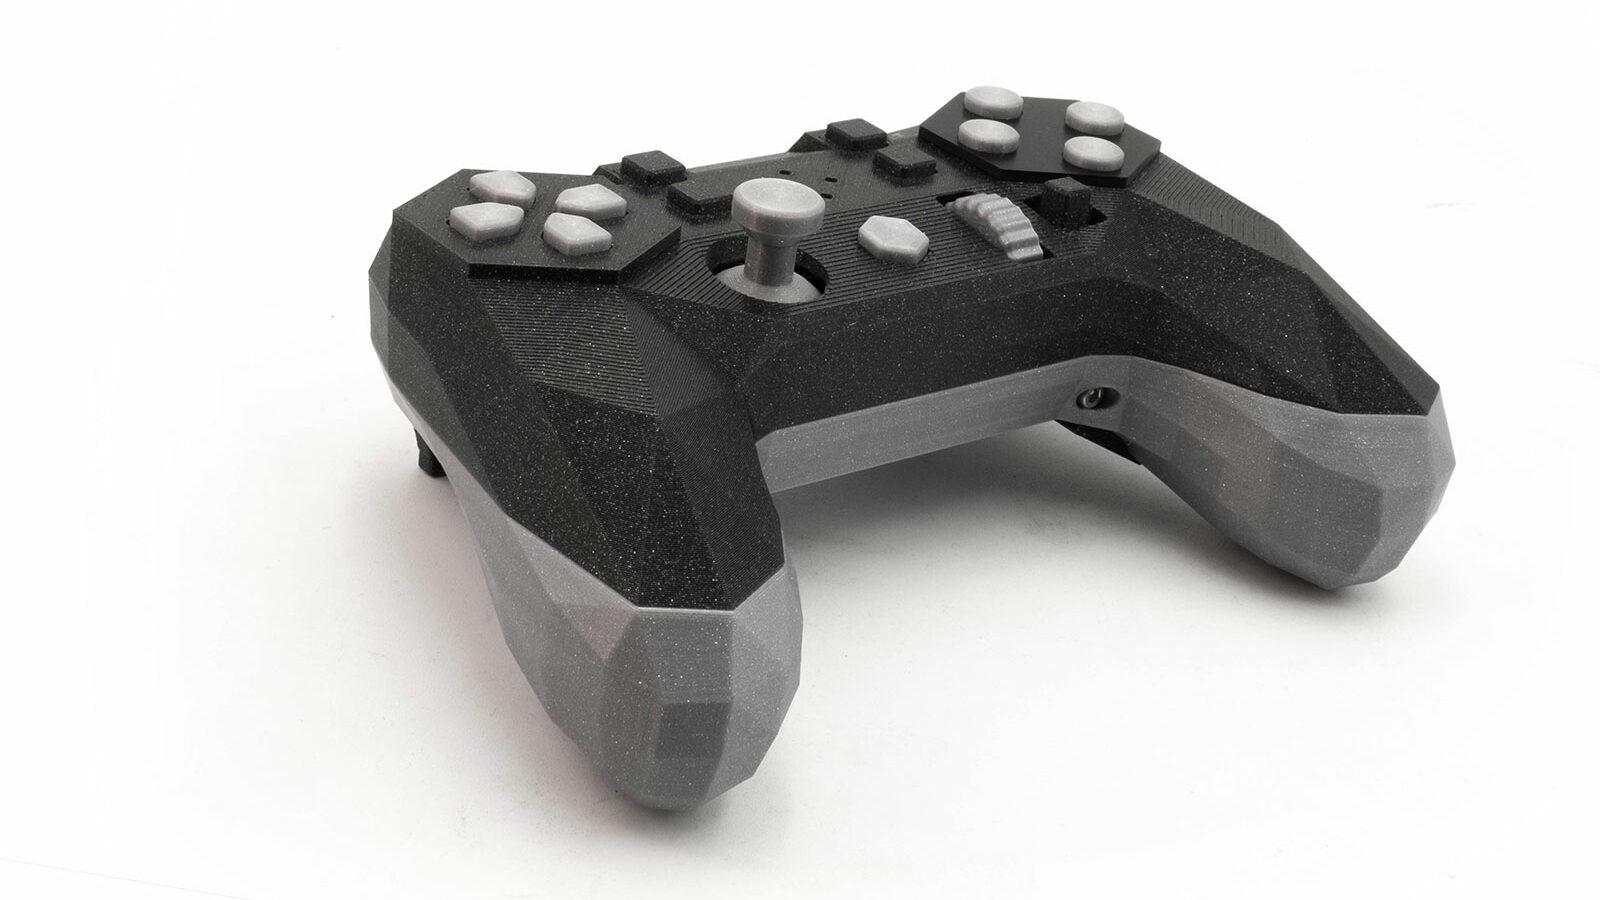
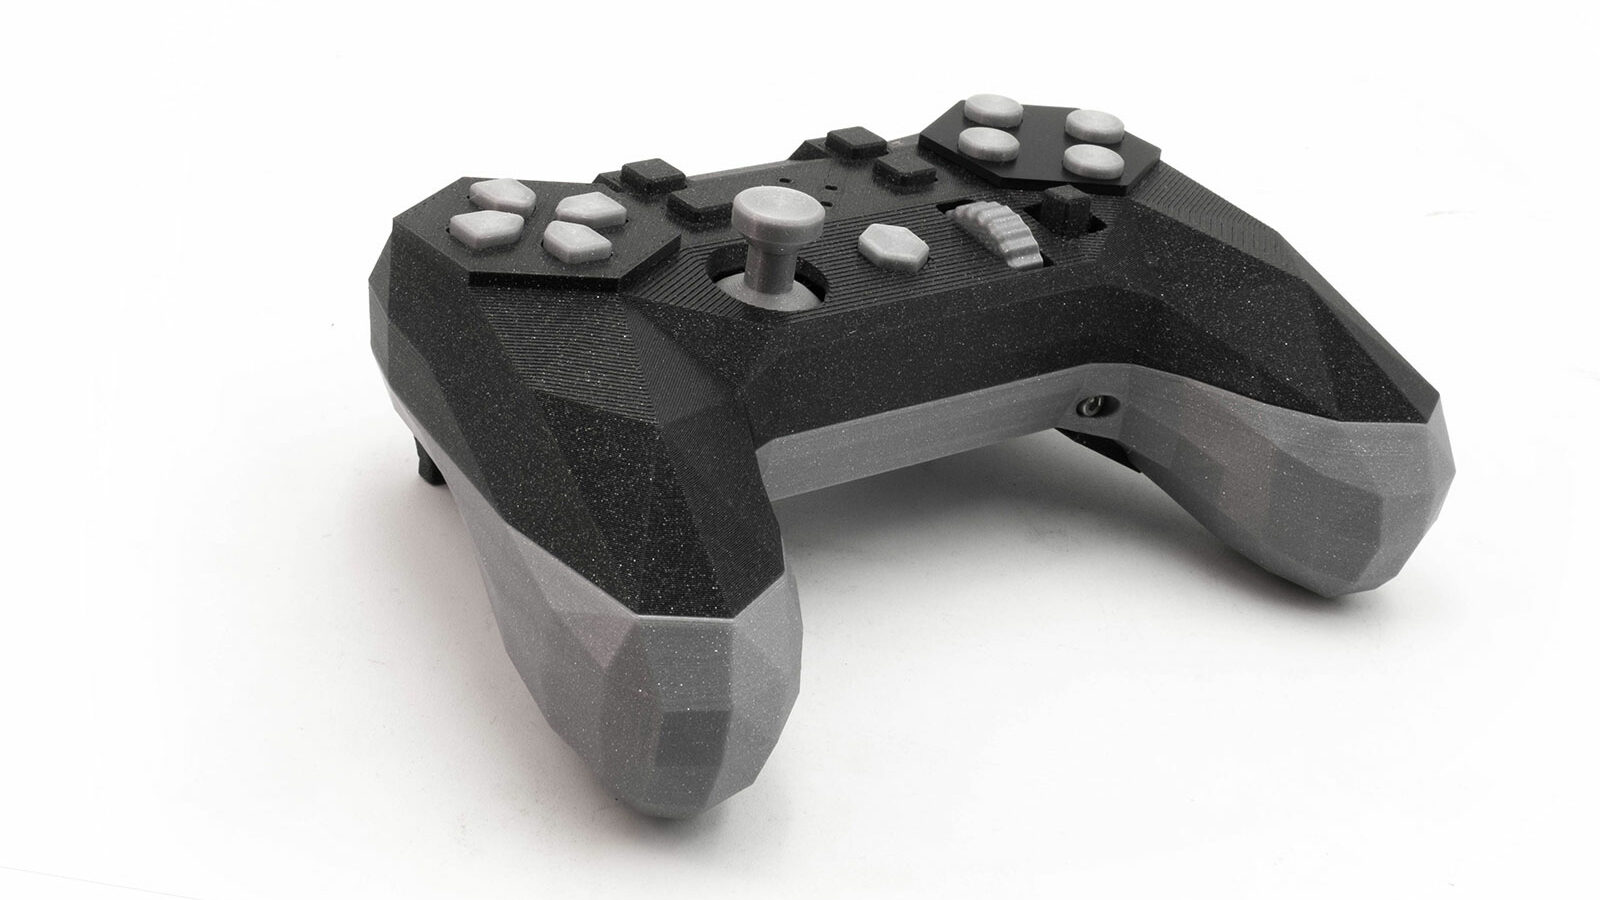
Controller (Hardware)
The Alpakka-Controller differs from other controllers mainly in the way the gyro is used:
Engineered for gyro with no compromises, every aspect of the controller is tuned for having pixel-perfect accuracy, ultra low latency, and no acceleration nor smoothing.
With 2 gyro sensors working in parallel, and the hexagonal touch-sensitive surface surrounding the ABXY buttons, we finally cracked the code for gyro as primary input.
Gyro controls are not an afterthought anymore, they are the new default. And since a secondary thumbstick would be redundant, instead it features a scrollwheel and a 8-directional “physical selection wheel”.
https://inputlabs.io/alpakka
In the default profile, the gyro is only active when the conductive border of the ABXY keys is touched. Thus, you can imitate the behavior of a mouse very accurately by briefly placing your hand or finger on it. The controller is particularly suitable for use in first-person shooters:
Currently, the controller connects via a micro USB cable, but Input Labs already has a wireless version on the roadmap.
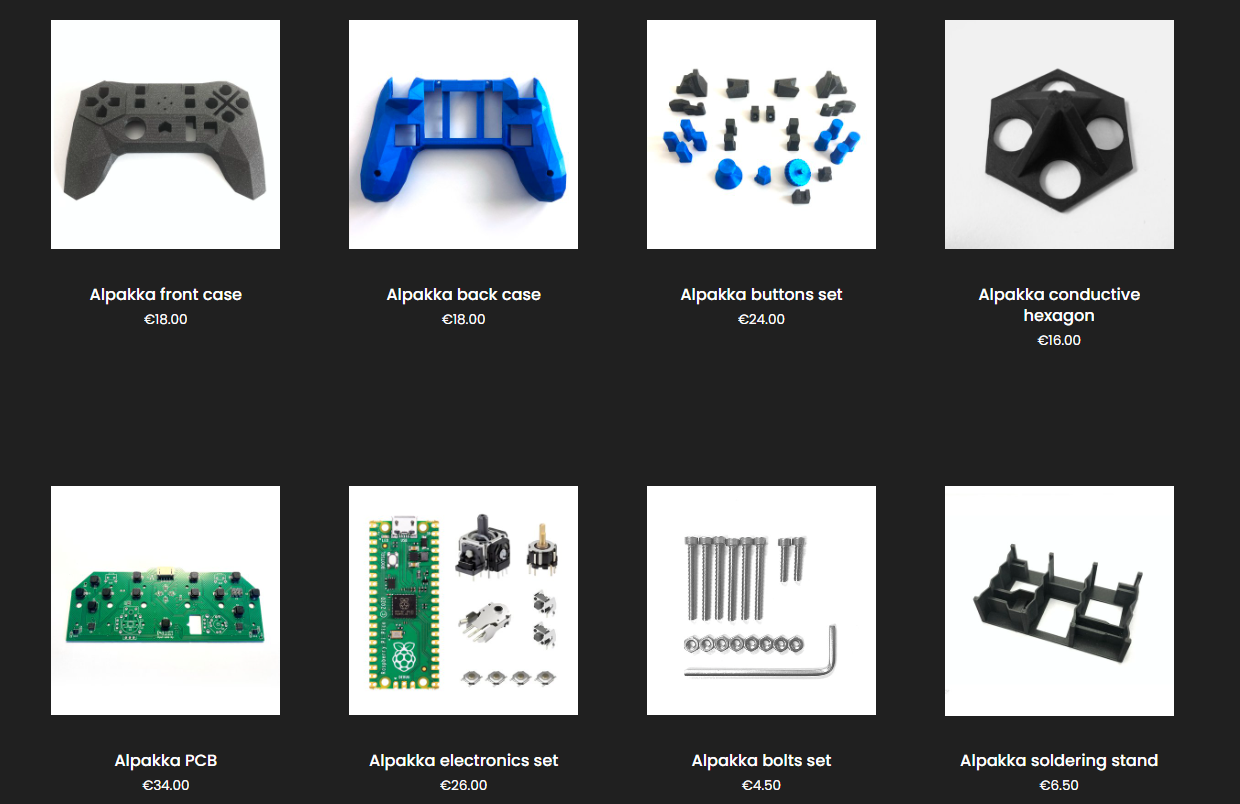
To build the controller, you need the following hardware:
| Raspberry Pi Pico | Mouser shop |
| Thumbstick (1x) | LCSC shop |
| Directional hat (1x) | LCSC shop |
| Rotary encoder (1x) | LCSC shop |
| Forward buttons / shoulders (2x) | LCSC shop |
| Trigger buttons (4x) | LCSC shop |
| Electronics set (all included) | Input Labs shop |
| M2.5 DIN-912 Hex-socket 12 mm (2x) |
| M2.5 DIN-912 Hex-socket 25 mm (6x) |
| M2.5 DIN-934 Hex nut (8x) |
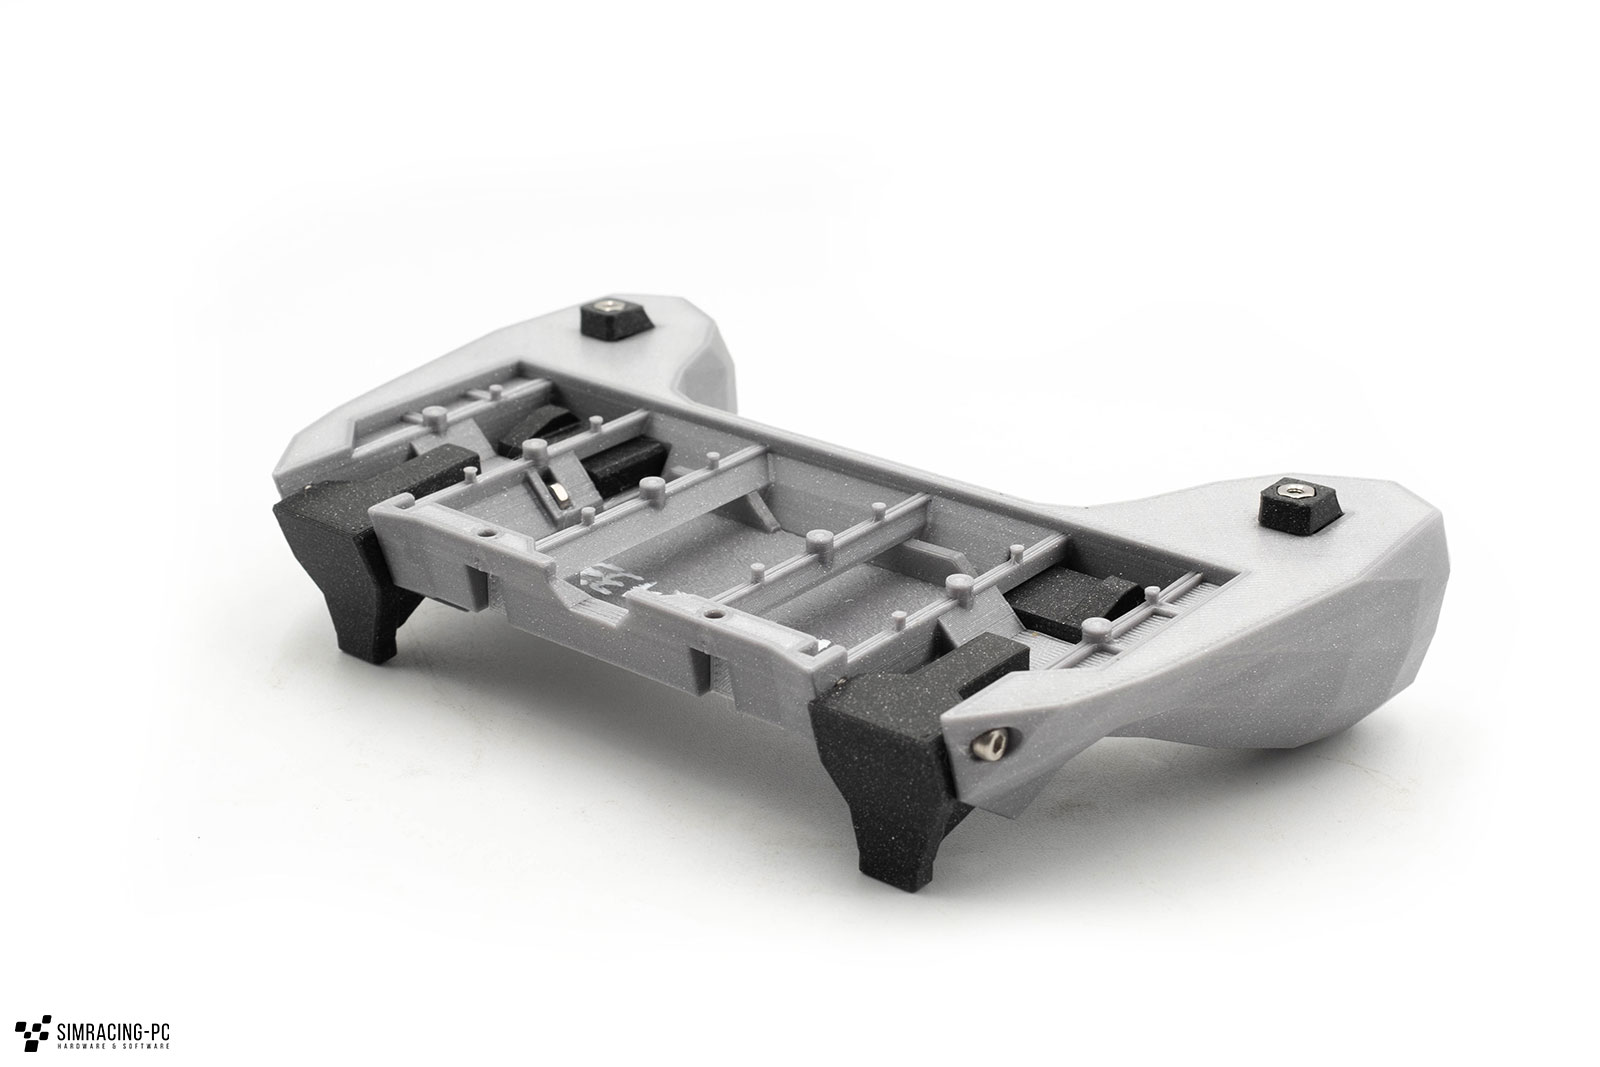
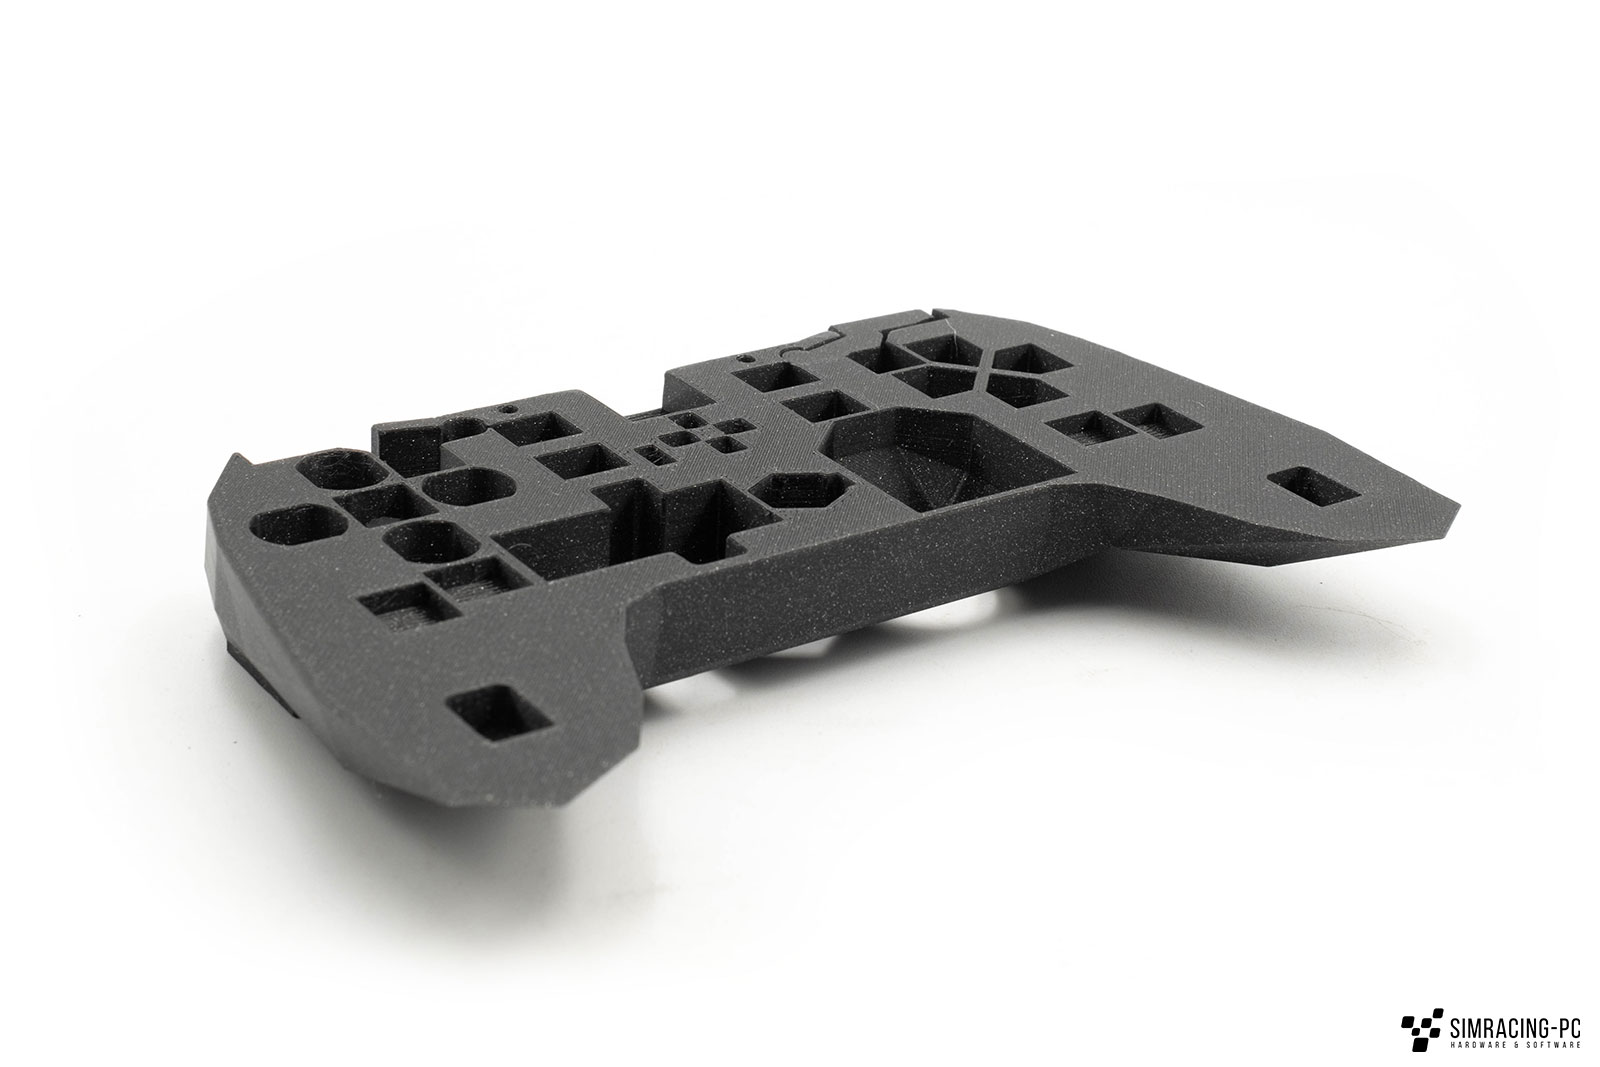
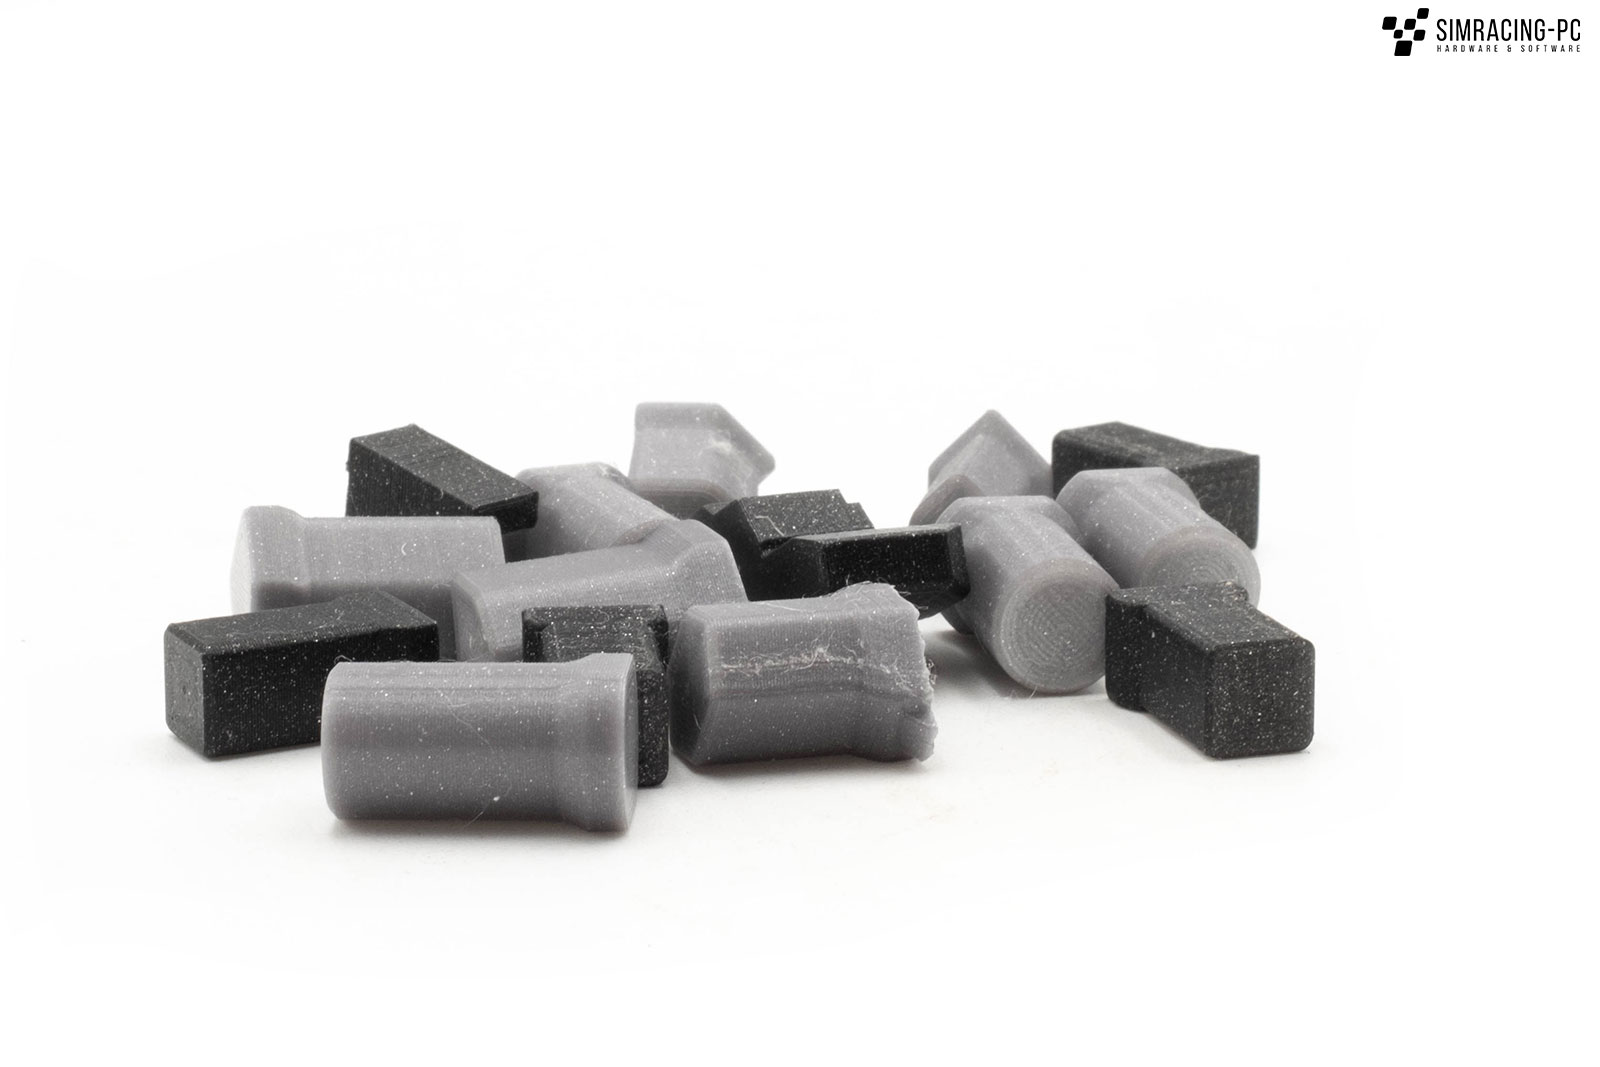
3D printing
A 3D printer is needed to turn the hardware into a controller. You can either print the parts yourself, use the Input Labs store, or purchase the freely available parts from an external service provider. The parts are optimized for printing and therefore only require minimal post-processing. For the area around the ABXY keys, you need an eclectic conductive filament, such as this one: Link
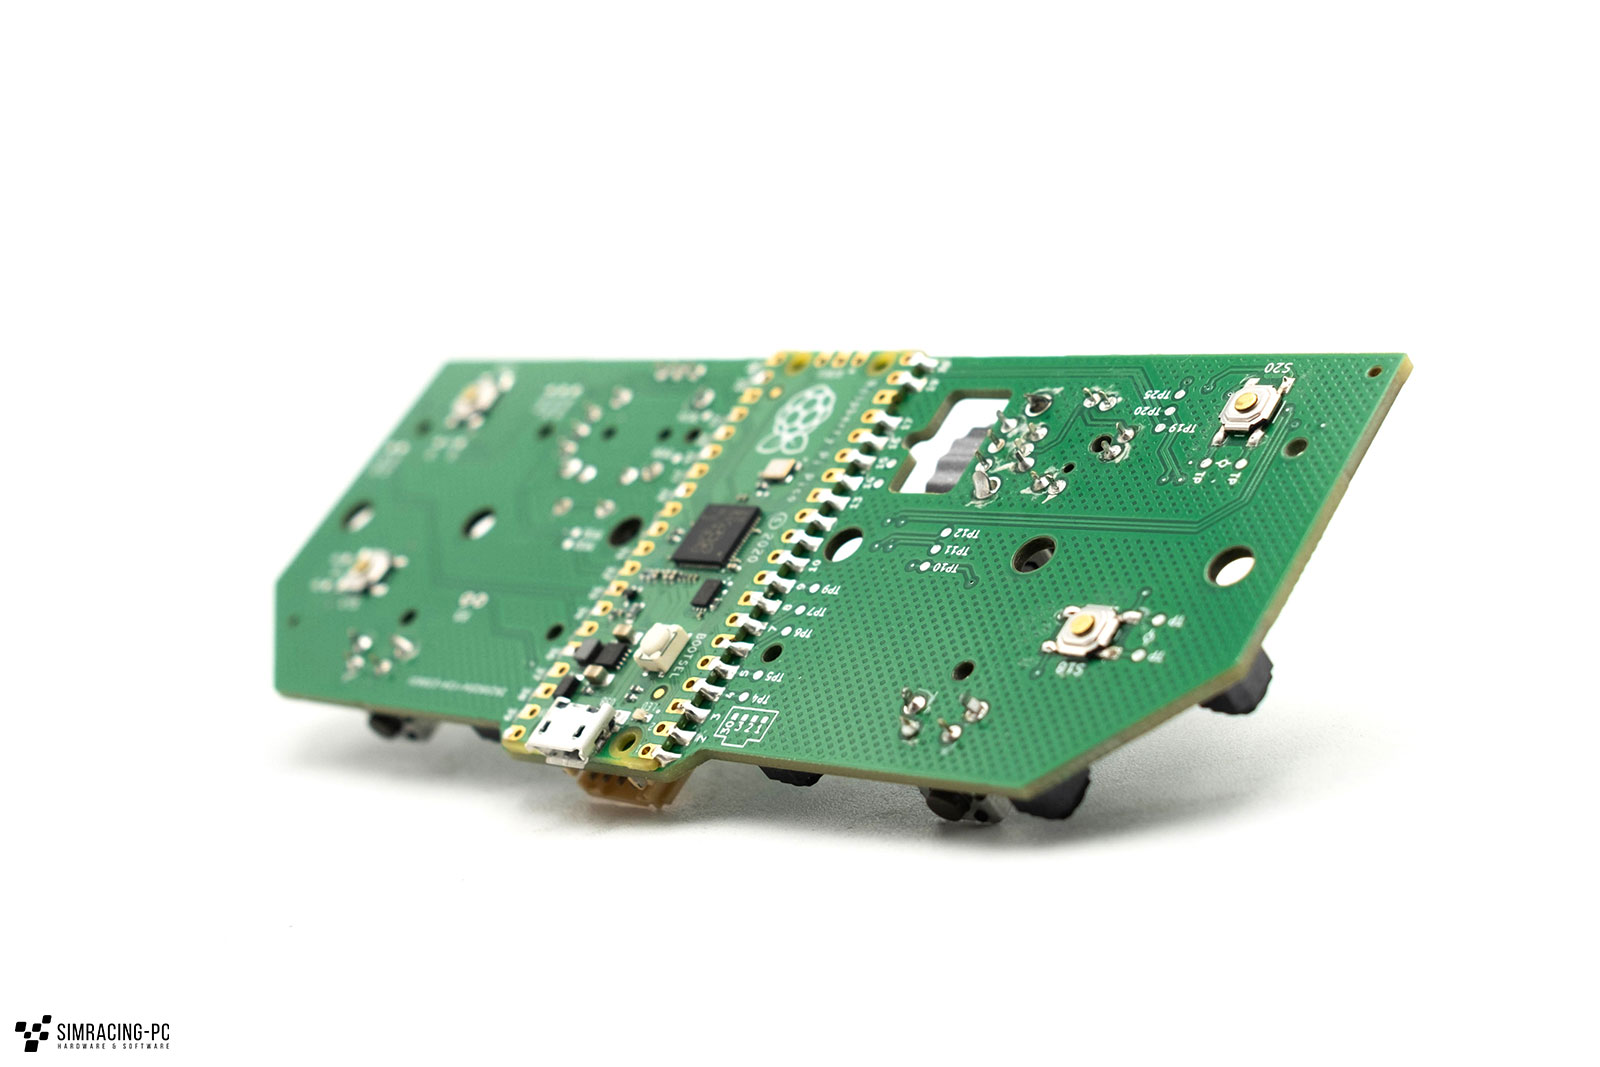
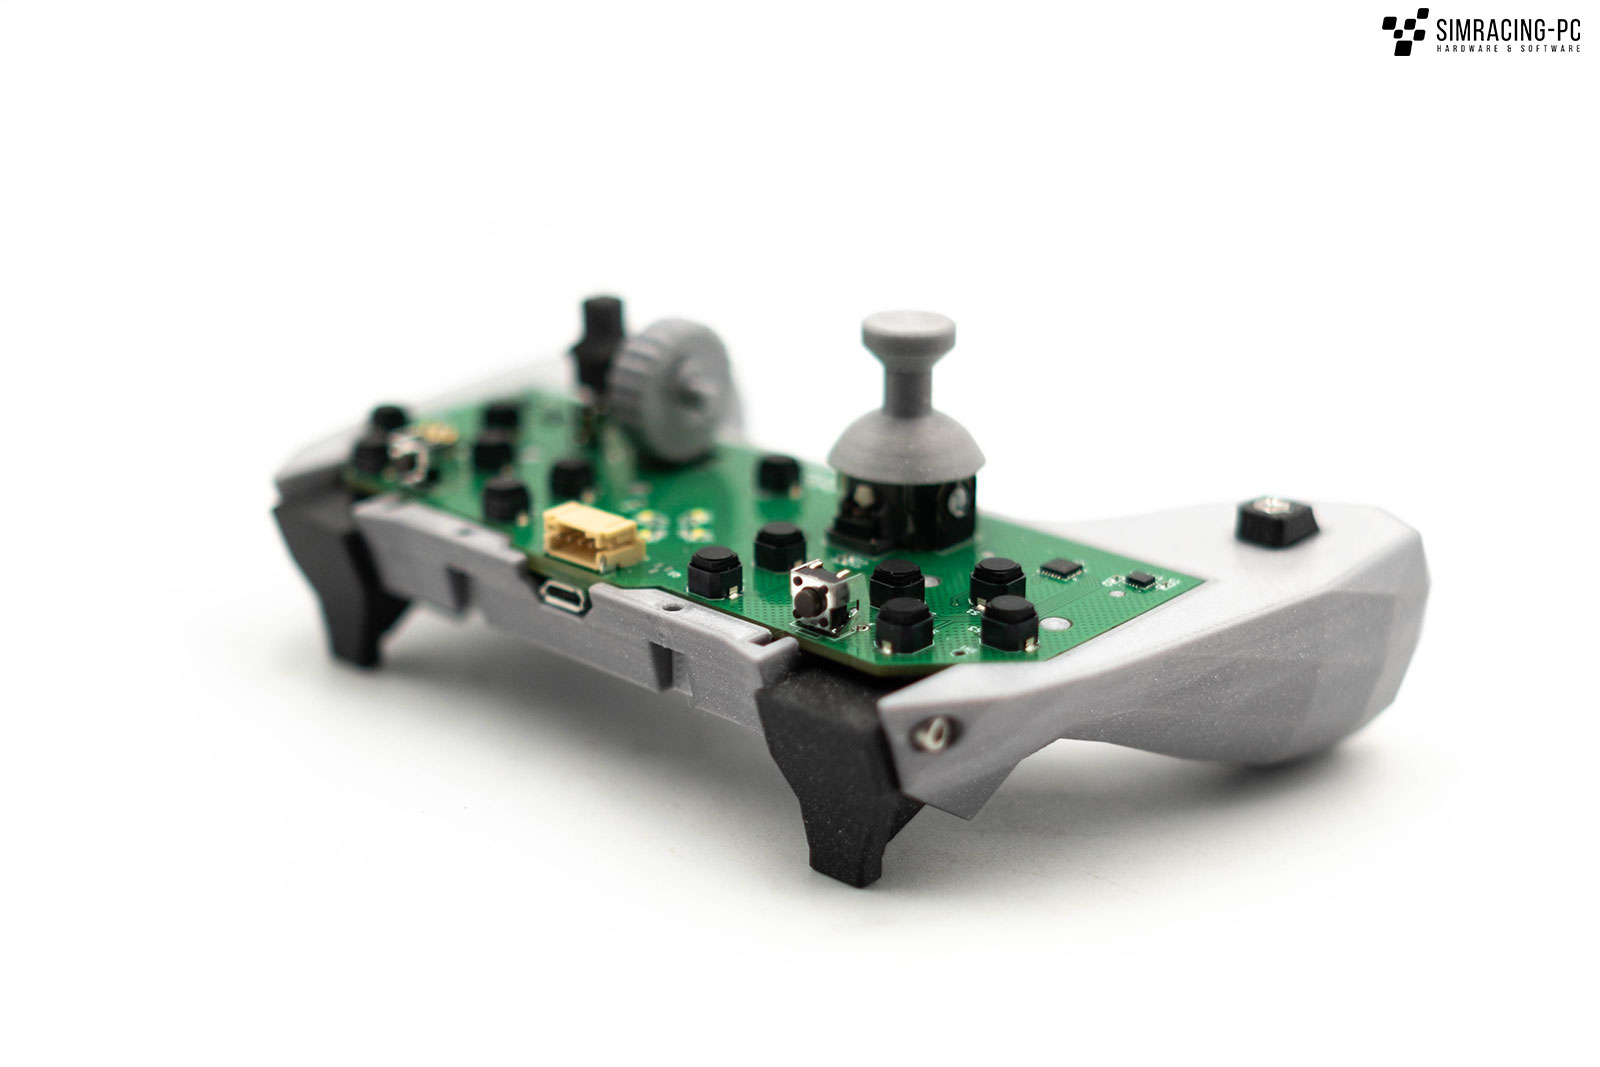
PCB
The connection between the electronic hardware and the printed case is made by a one-piece printed circuit board. This can be ordered via JLCPCB, for example, with Input Labs providing all the necessary files and detailed instructions. The only drawback there is the minimum order quantity of 5 pieces. So in case of doubt it is worth to join forces with colleagues and order together.
Afterwards, all components including the Raspberry Pico have to be soldered. We recommend the 3D-printed holder that can be downloaded from the Input Labs website.
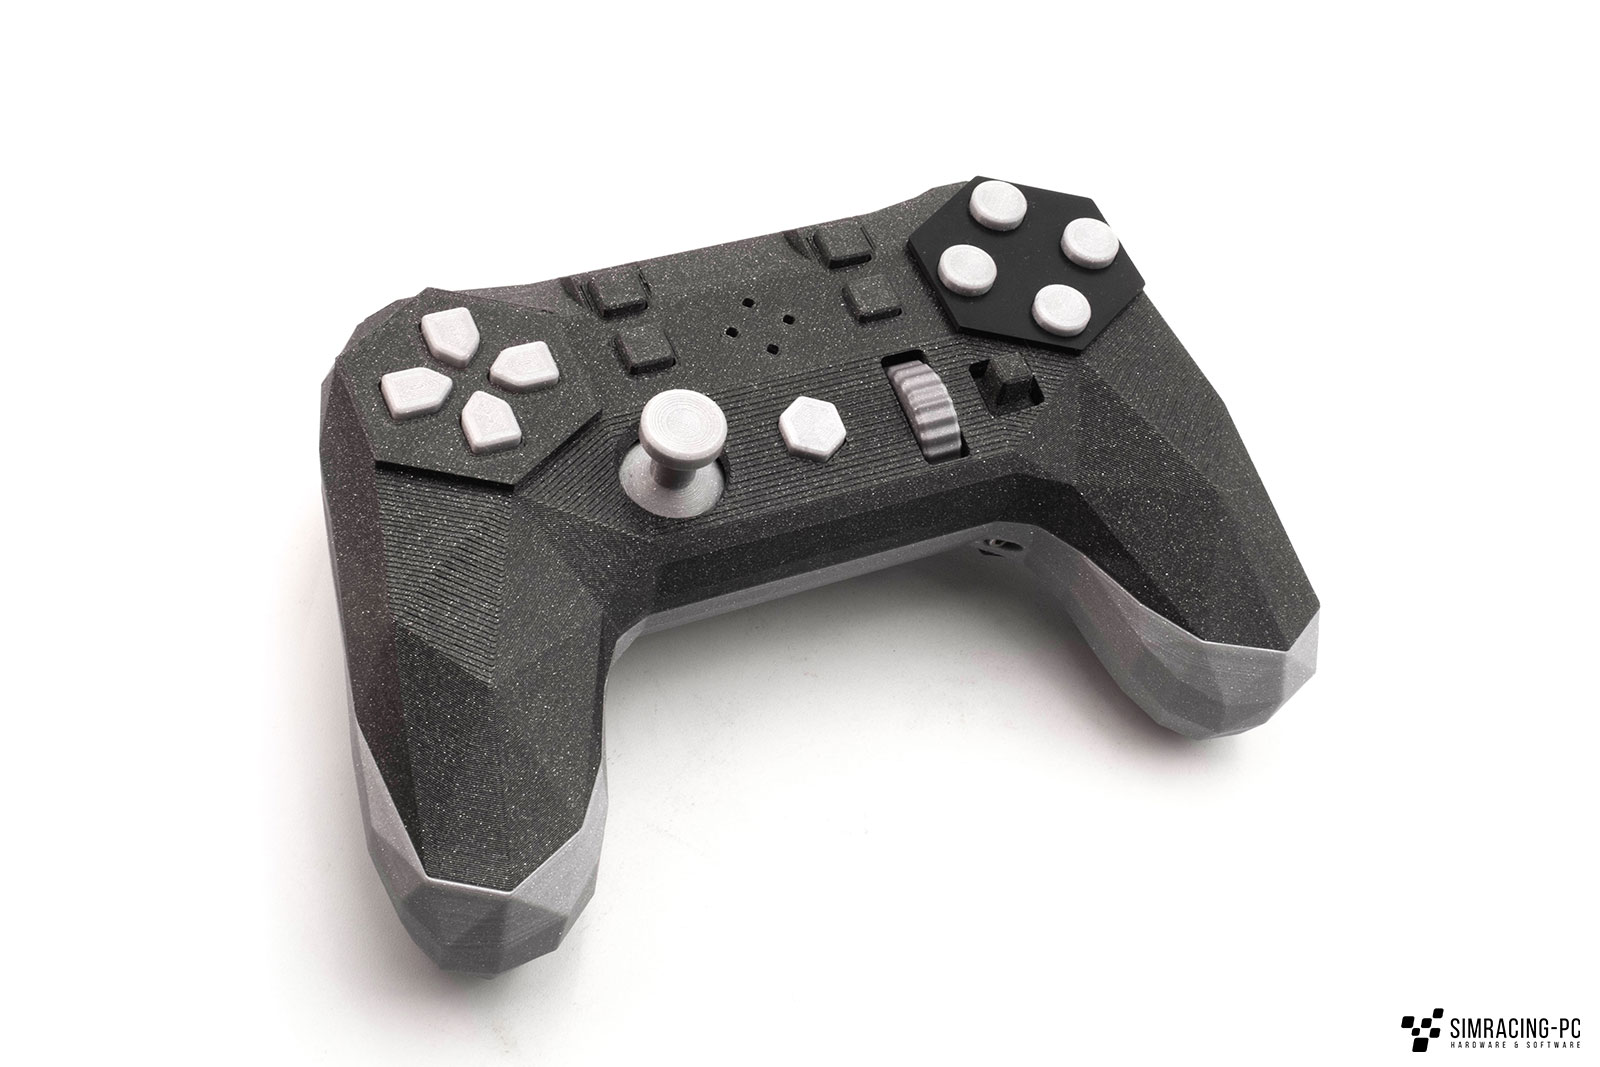
Features
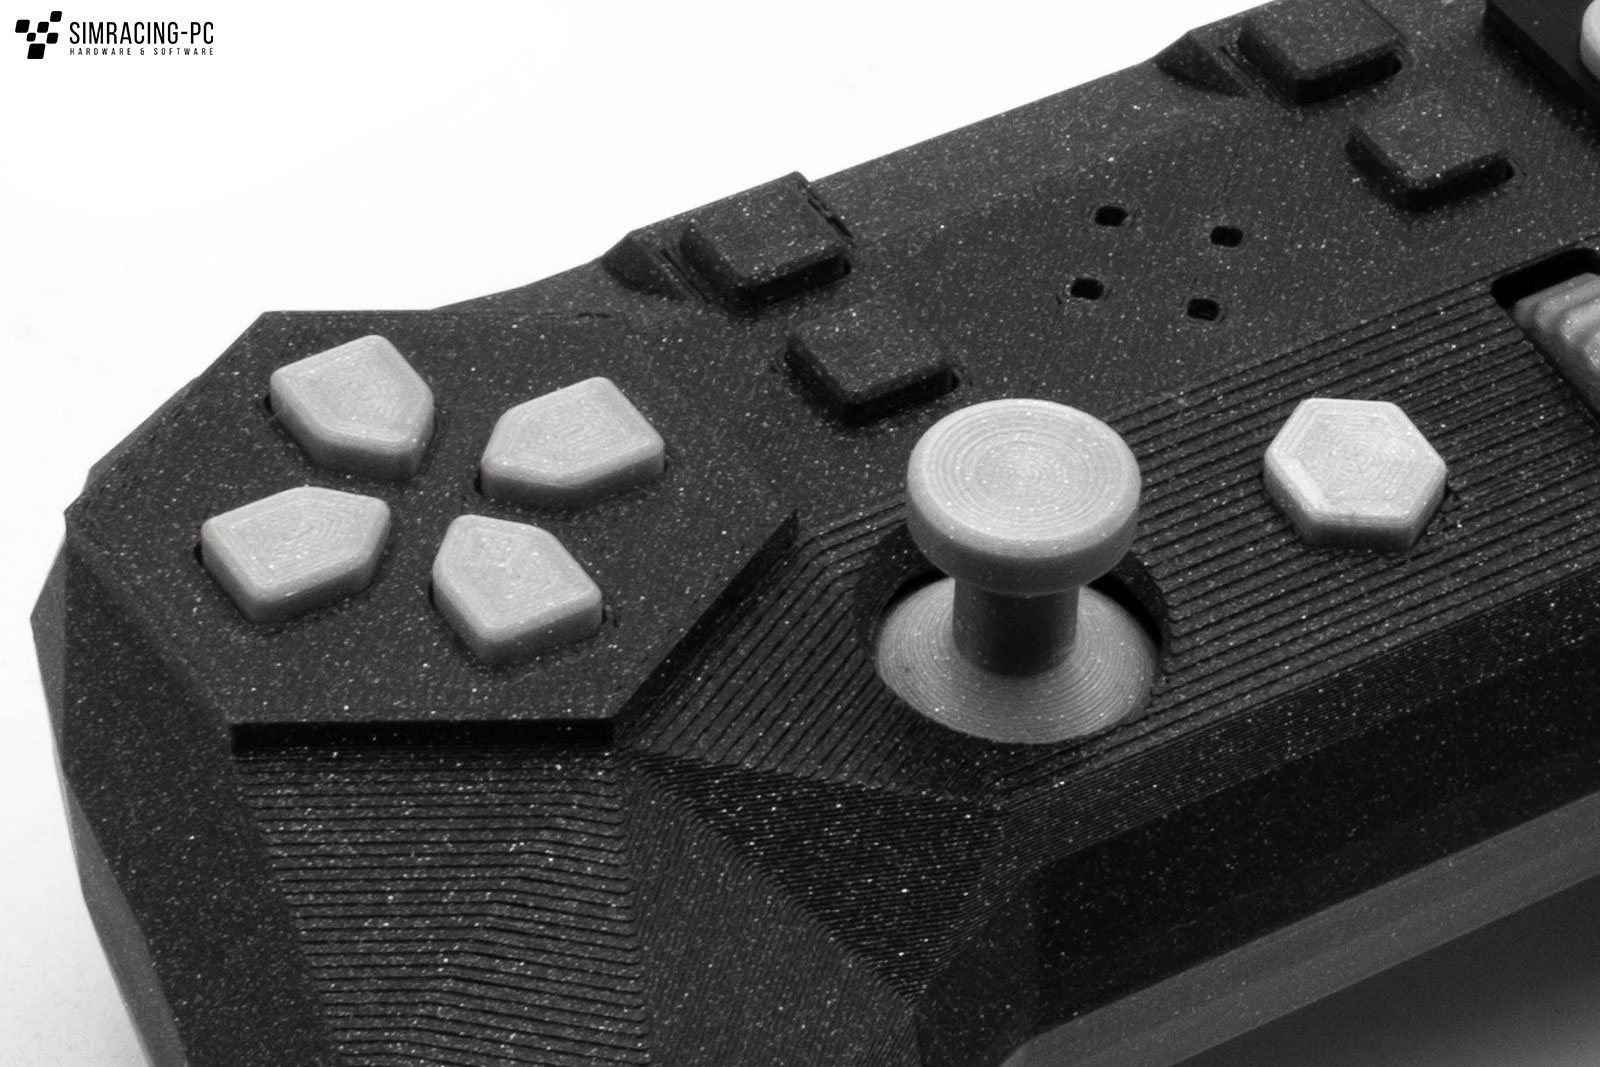
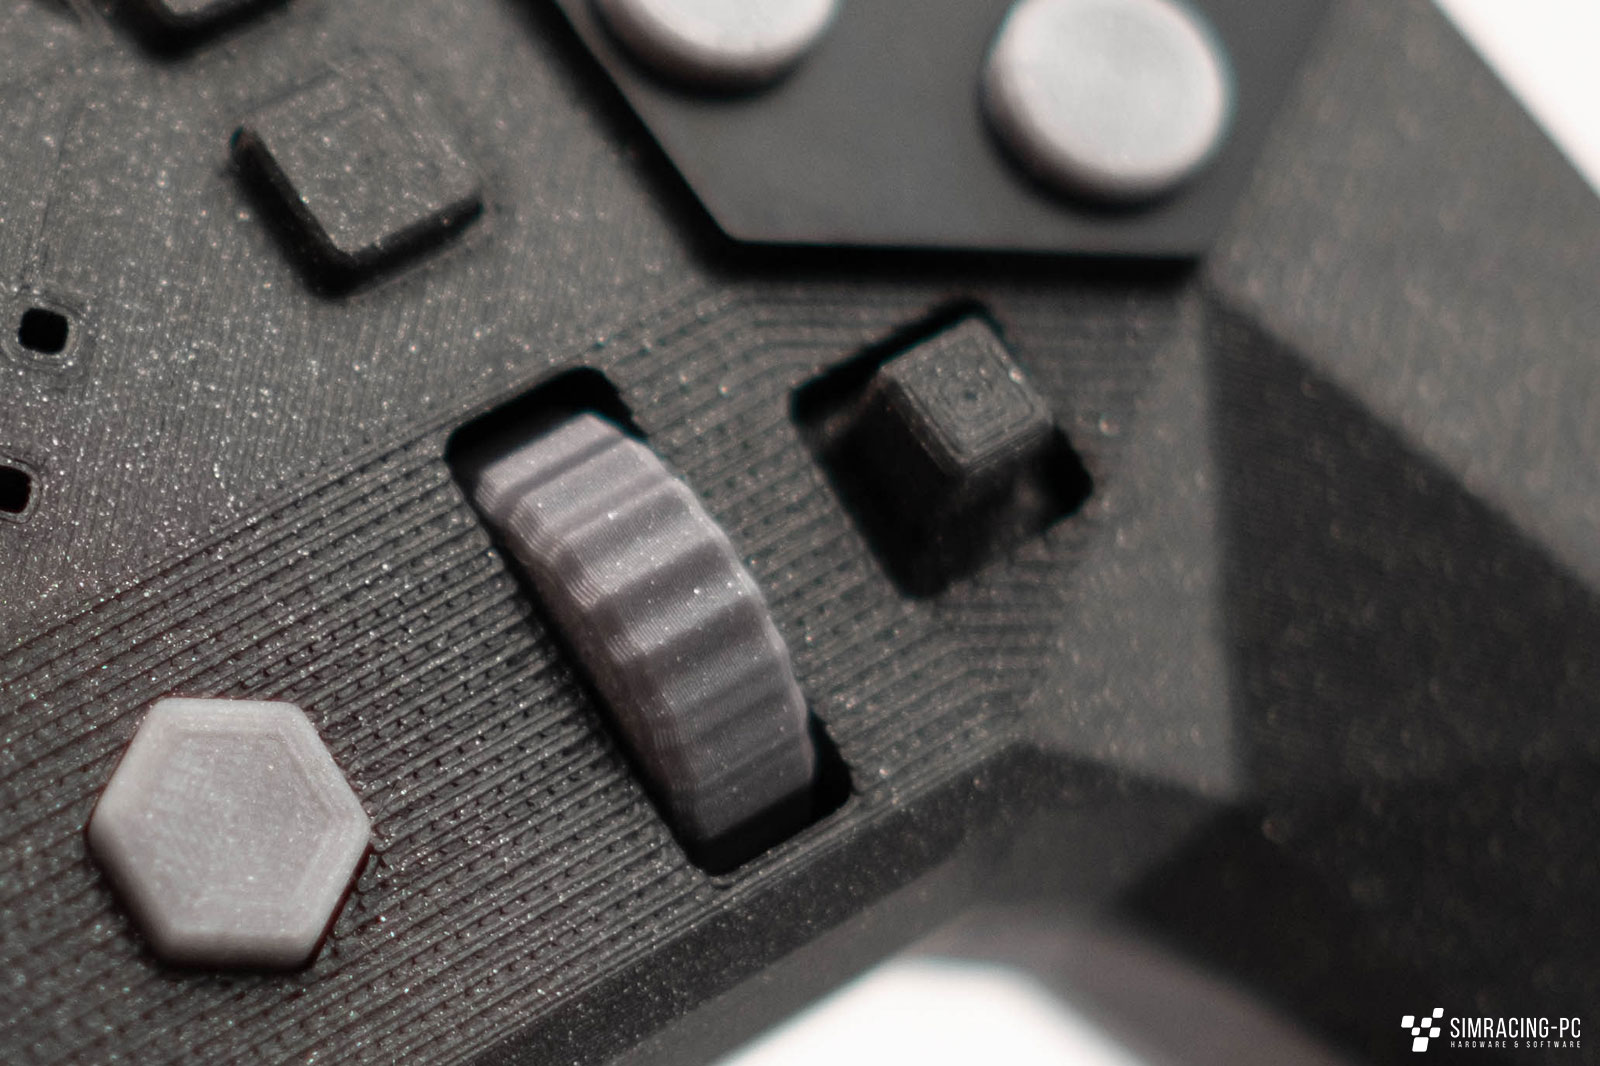
Overall, the controller has the following features in addition to the gyro function:
- Scroll wheel
- Control pad
- Analog joystick
- 8-way joystick
- 7 buttons on the front
- 4 shoulder buttons
- 2 buttons at the bottom
Compatibility
The Alpakka has been tested on Windows 10, Windows 11, Ubuntu, Kubuntu, Debian (GTK), and Arch (KDE). Framerates from 30fps to 144fps. And more than 200 games.
https://inputlabs.io/alpakka/manual/faq
Software / Profiles
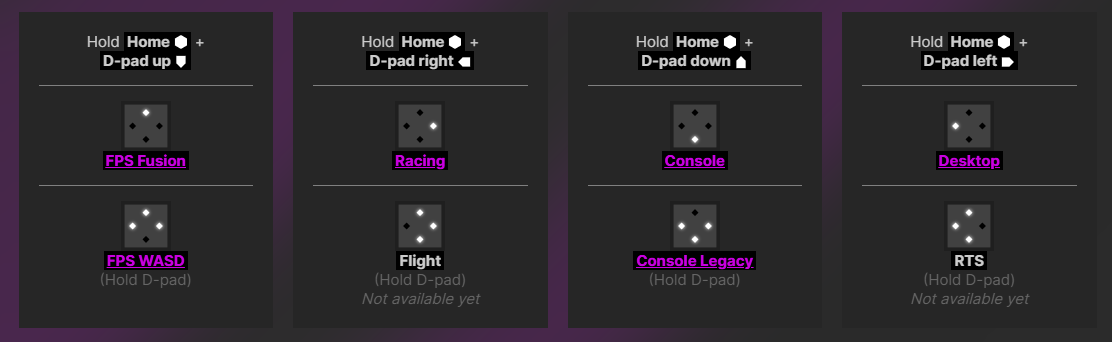
Input Labs provides various ready-made profiles via the software, which you can additionally adapt to your own needs. Currently, you still have to compile the software yourself, but Input Labs is working on making changes easier in the future.
Simracing with controller
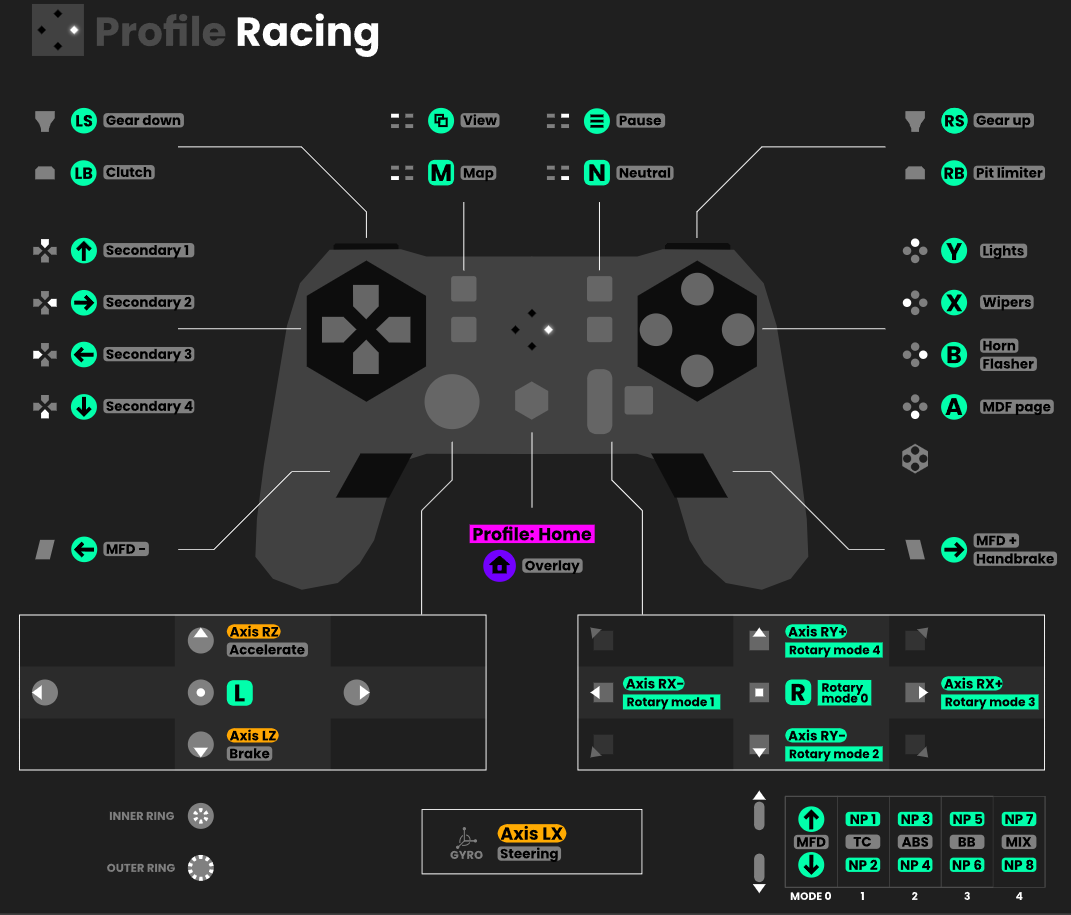
A simracing profile was introduced with the latest software. This allows accelerating (joystick forward) and braking (joystick backward) with the analog joystick. Steering movements are of course realized via the gyro function, which works amazingly well in practice. The following graphic shows a possible assignment of the buttons.
Below are two sample videos. The first shows the developer Marcos, who has already gained some experience with the controller and is using it as intended:
In the second video, you can see an adapted firmware in use, where two of the shoulder buttons have been placed on one digital axis each, which is then used to control the throttle and brake.
Overall, the controller does a very good job. Even though a bit more practice certainly wouldn’t hurt, the car can be kept safely on the road. The two gyrto-sensors work much(!) more precisely than you know it from the gyro-control in Mario Kart, for example. There is also no noticeable input lag, which makes the operation very comfortable.
Conclusion
The Alpakka controller from Input Labs is a very well done DIY project that results in a very interesting controller with versatile applications. Especially for sim racers, it clearly stands out from the many other standard controllers and is a lot of fun. The documentation of Input Labs is excellent and the community is available for questions almost around the clock.
All in all, a clear recommendation for anyone who enjoys DIY projects.


 – Review")


