DIY project: Tactile feedback (ABS effect) for simracing pedals
Thanks to the release of Simucube’s Active Pedals (link*), active pedals have been on everyones mind. Even if vibration motors or bass shakers don’t come close to Simucube’s concept, they still offer added value and are a very easy to realize DIY project that is also very affordable at under 100€ (excluding 3D printer).
Parts
Für das Projekt benötigt man einige Komponenten:
- AMP: Nobsound Mini Digital Power Amplifier: Amazon*
- Bass-Shaker: Dayton Audio TT25-8 PUCK: Amazon*
- Cable (verschiedene Möglichkeiten): Amazon*
- 3D-Printer: Amazon*
- Screws: M6x50 (x2)
- Nuts: M6 (x2)
- Optional: Washer M6 (x4)
- Optional: Shrink tubing
In addition, you should have a soldering iron and a screwdriver available, no other tools are needed.
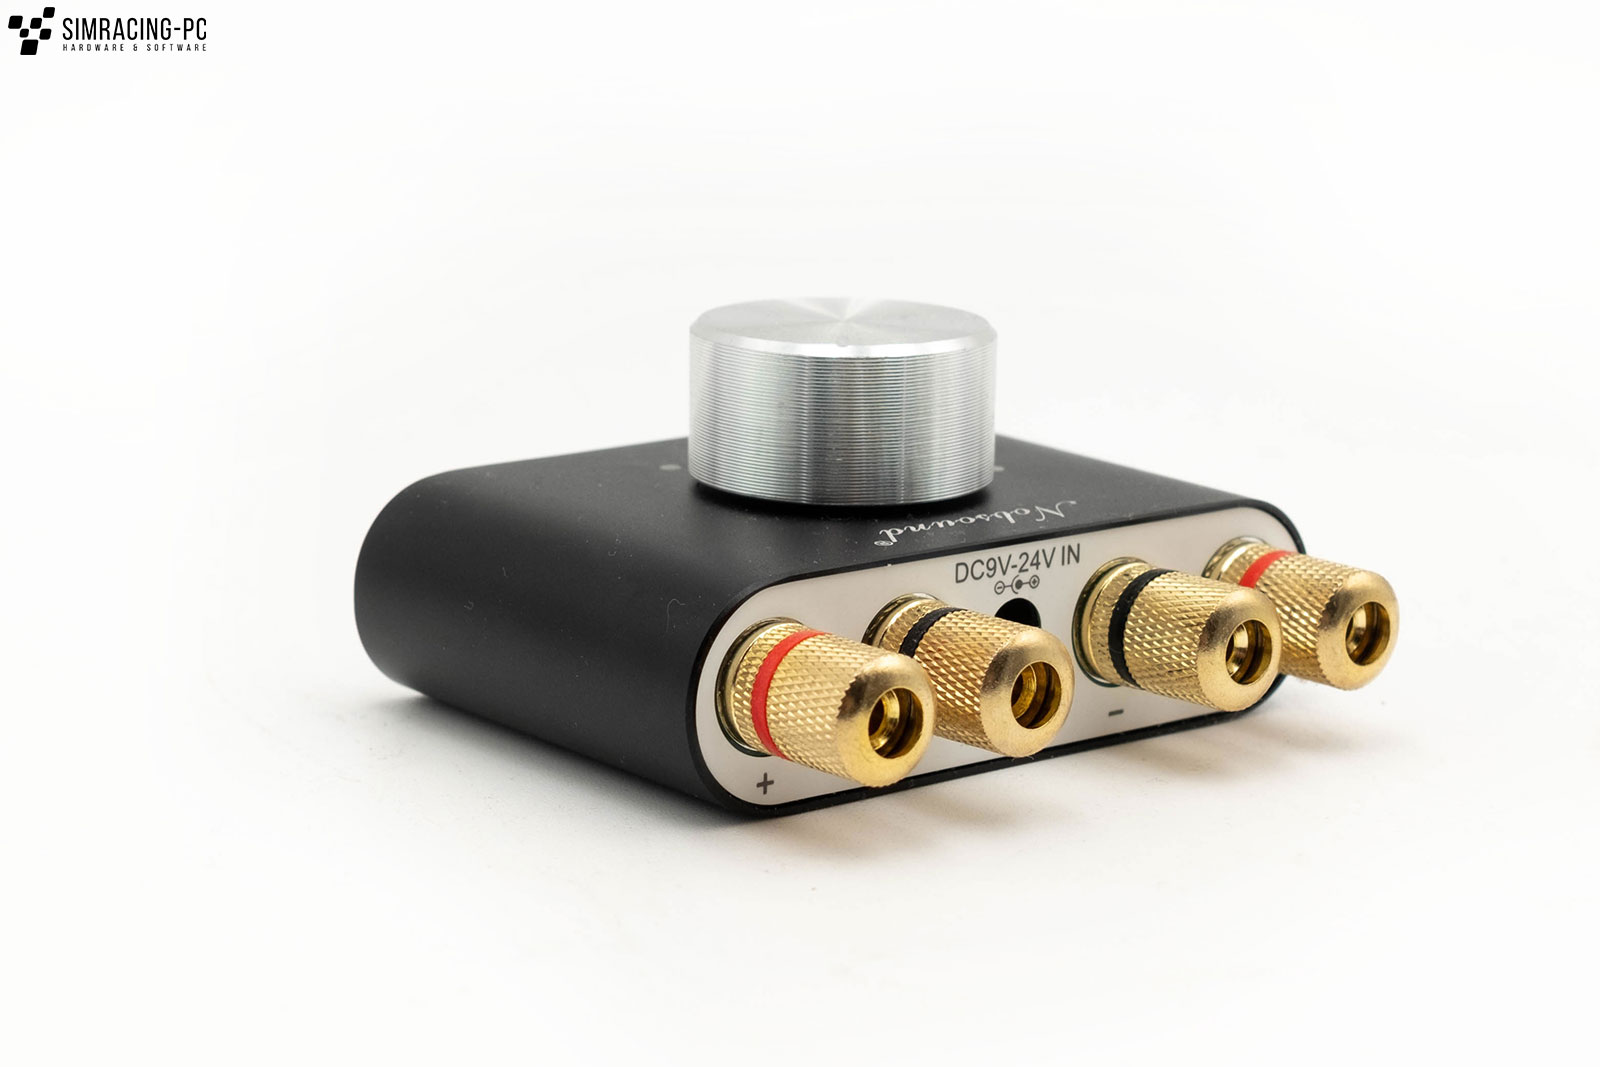
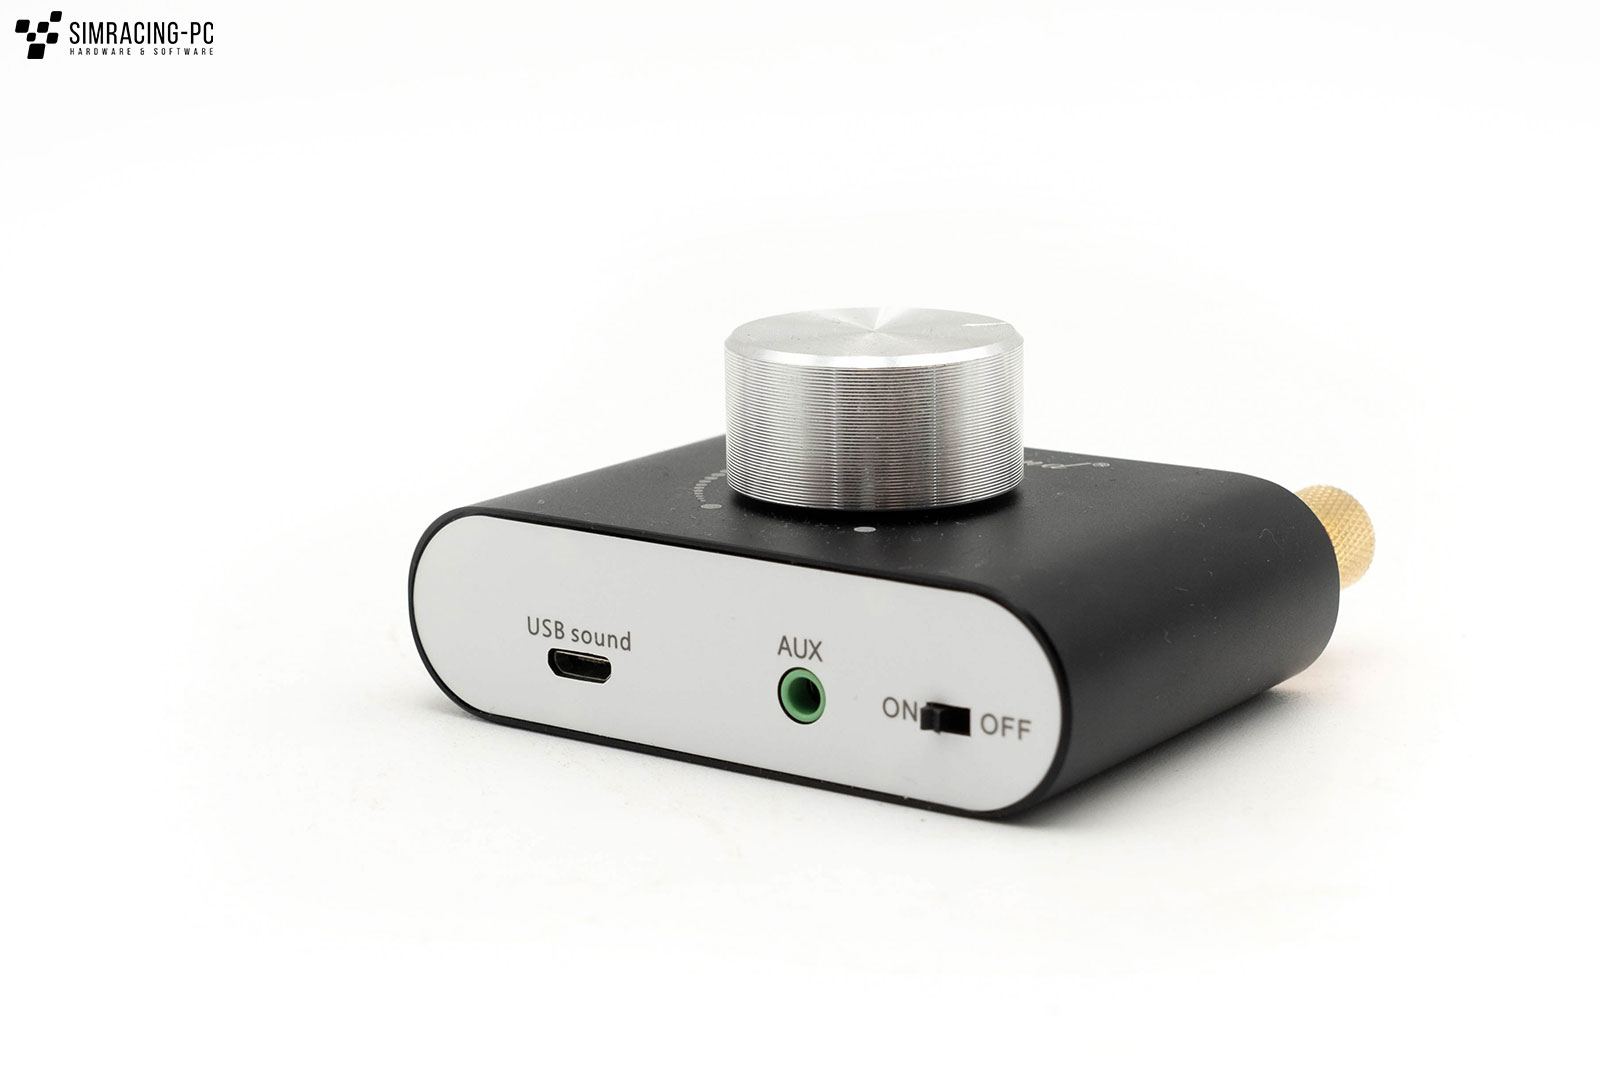
AMP: Nobsound Mini Digital Power Amplifier
A USB amplifier from the company Nobsound is used as the amplifier. This is considered an entry-level model and can be operated with a maximum of 50 watts per channel. In principle, it can be operated via USB cable as well as via the 3.5 mm jack plug and Bluetooth. For our purpose, the USB operation is the best choice, since you neither need a second sound card nor have to live with a high Bluetooth latency.
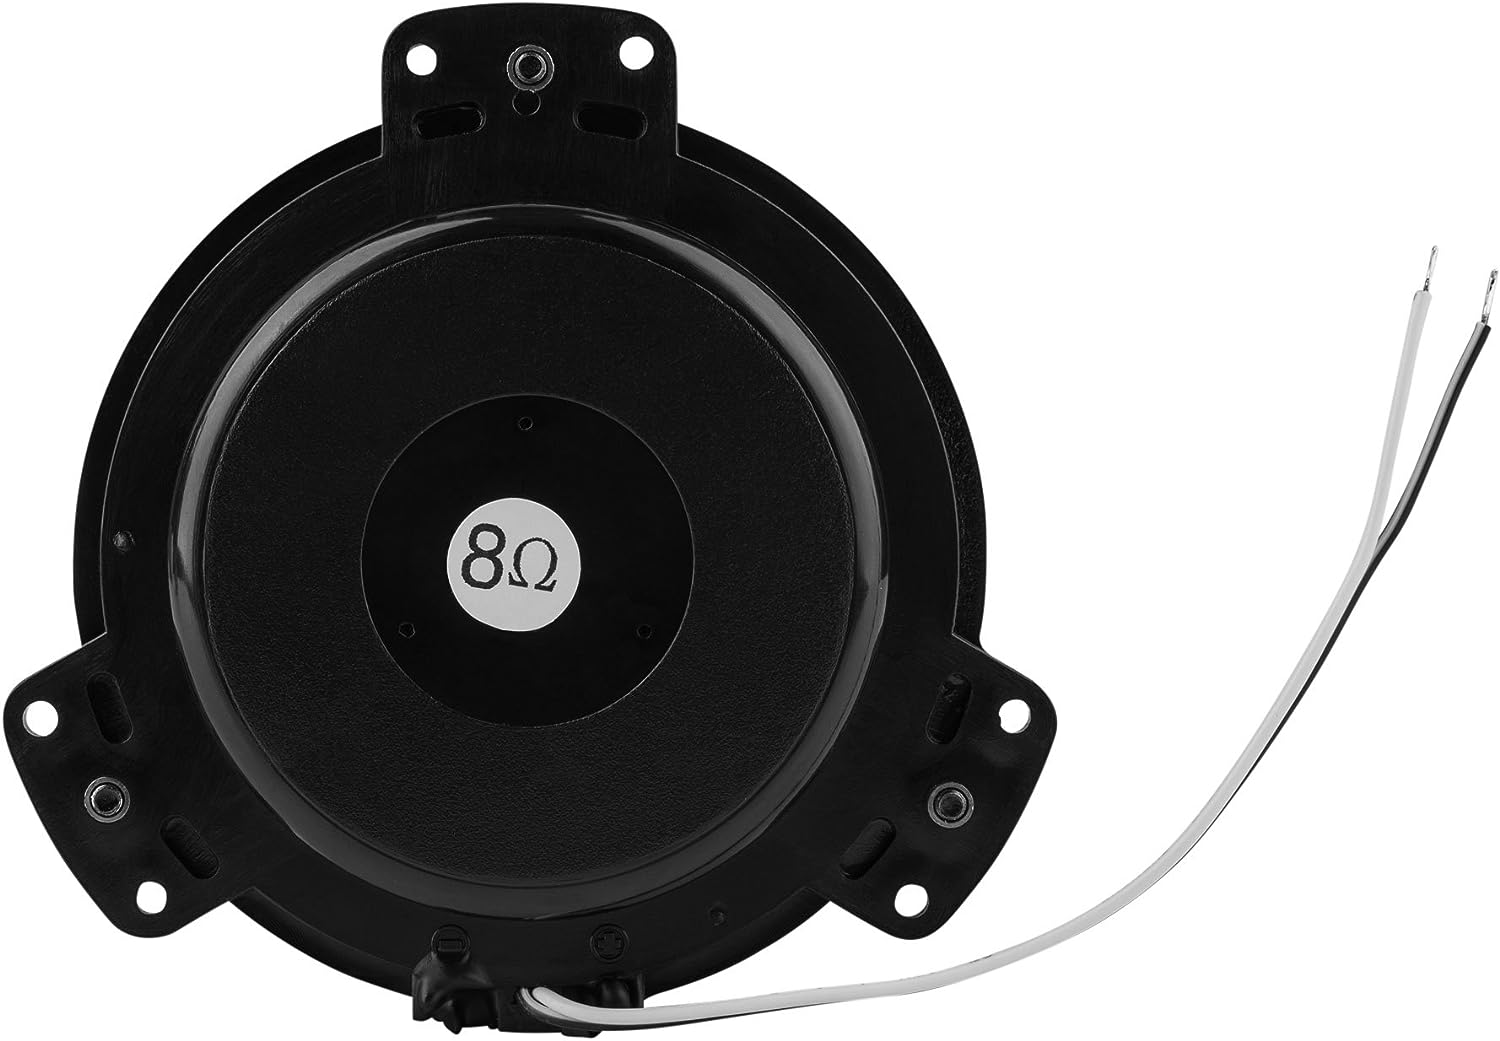
Bass-Shaker: Dayton Audio TT25-8 PUCK
The Mini Bass Shaker used here is also not a high-end component and is more in the budget range. However, with a power of 15 watts, it delivers more than enough vibrations for the intended use.
3D-Print
Common Mounts
On the DIY site Thingiverse you can find various holders for some of the most common pedals, including:
- Heusinkveld Sprint / Ultimate
- Fanatec V3
- Thrustmaster T-LCM / T3PA
- DC Simracing Pedals
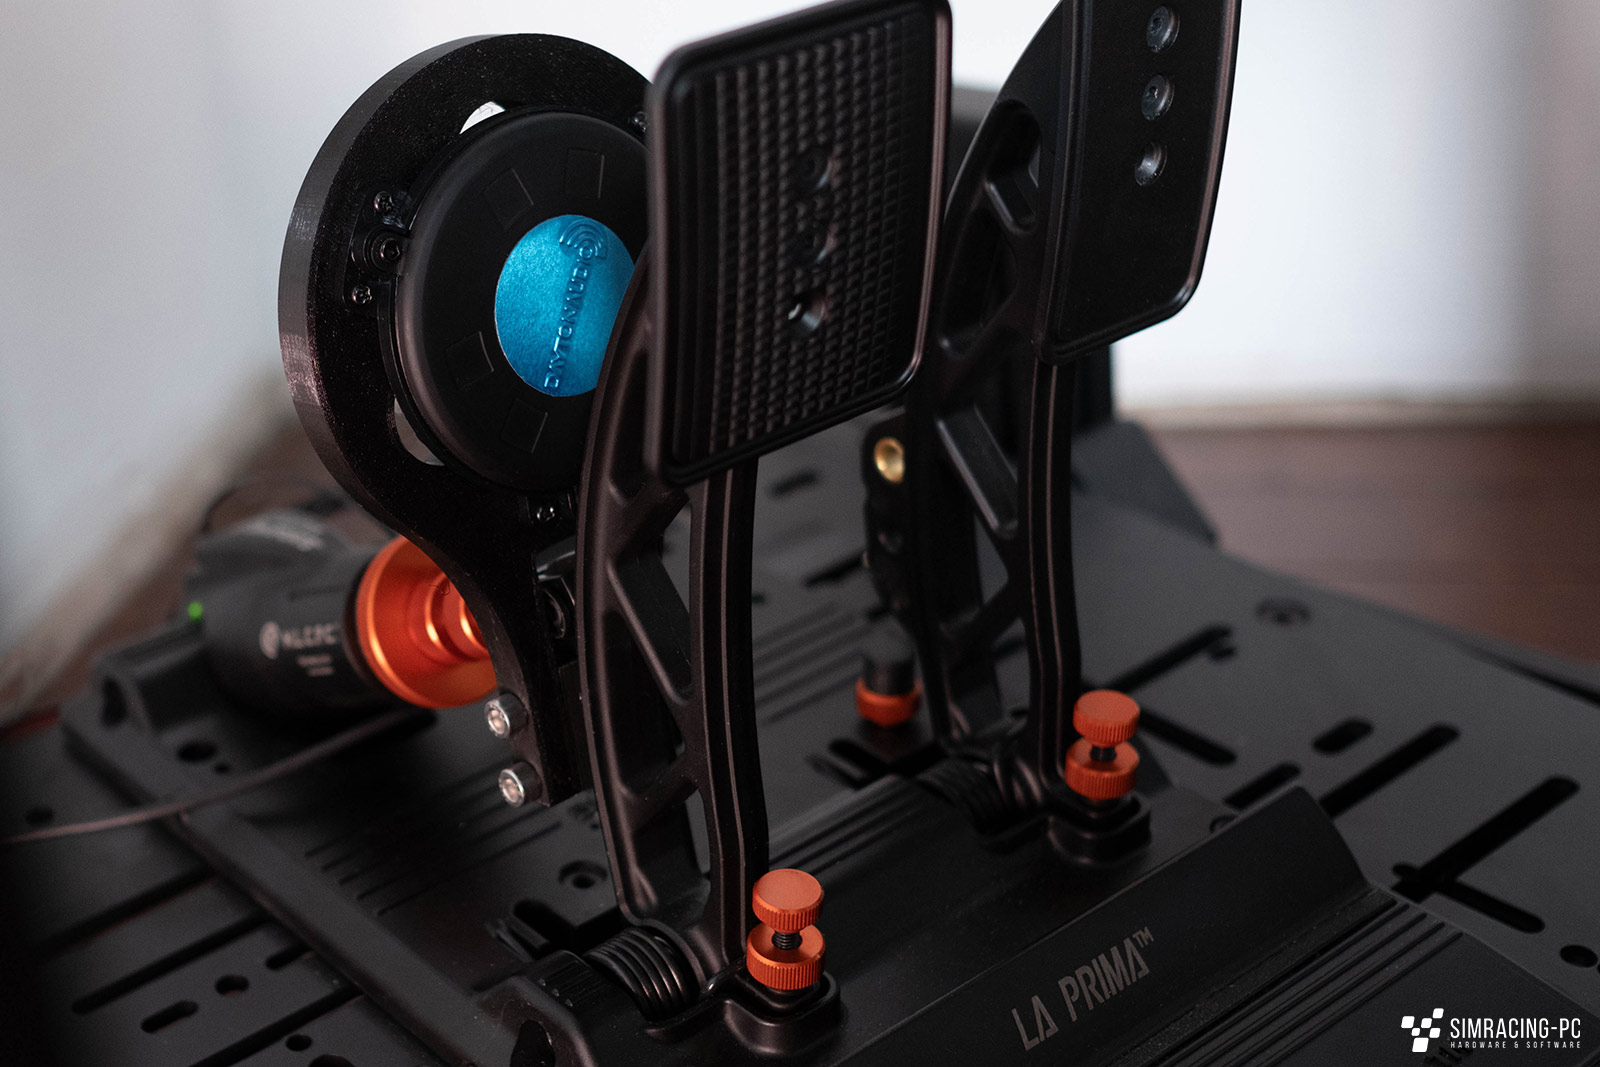
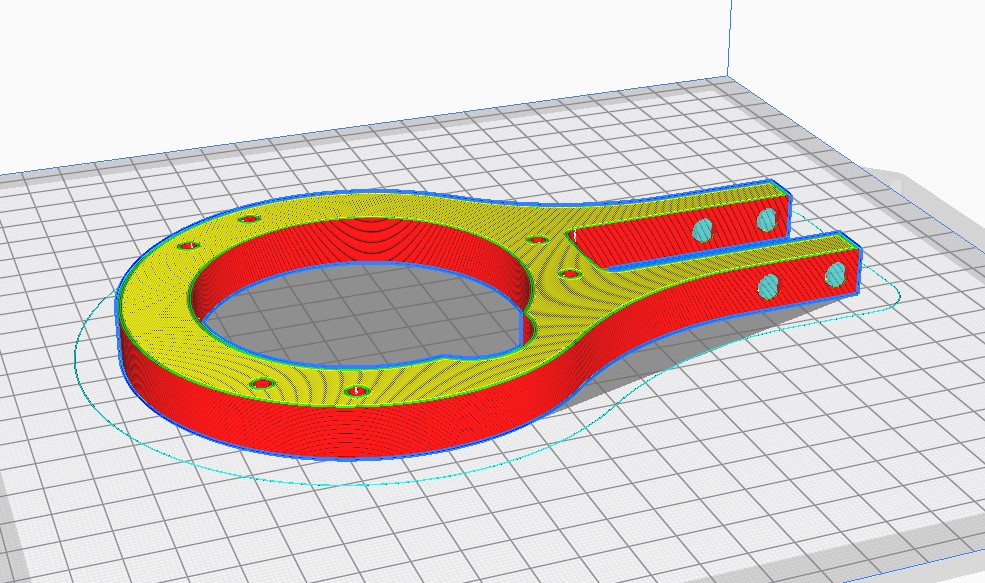
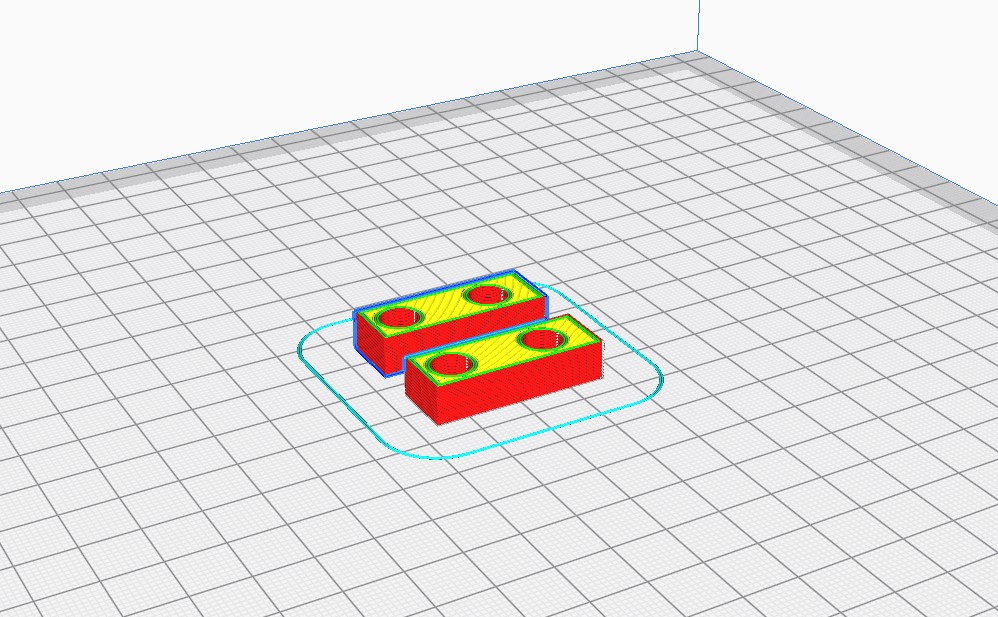
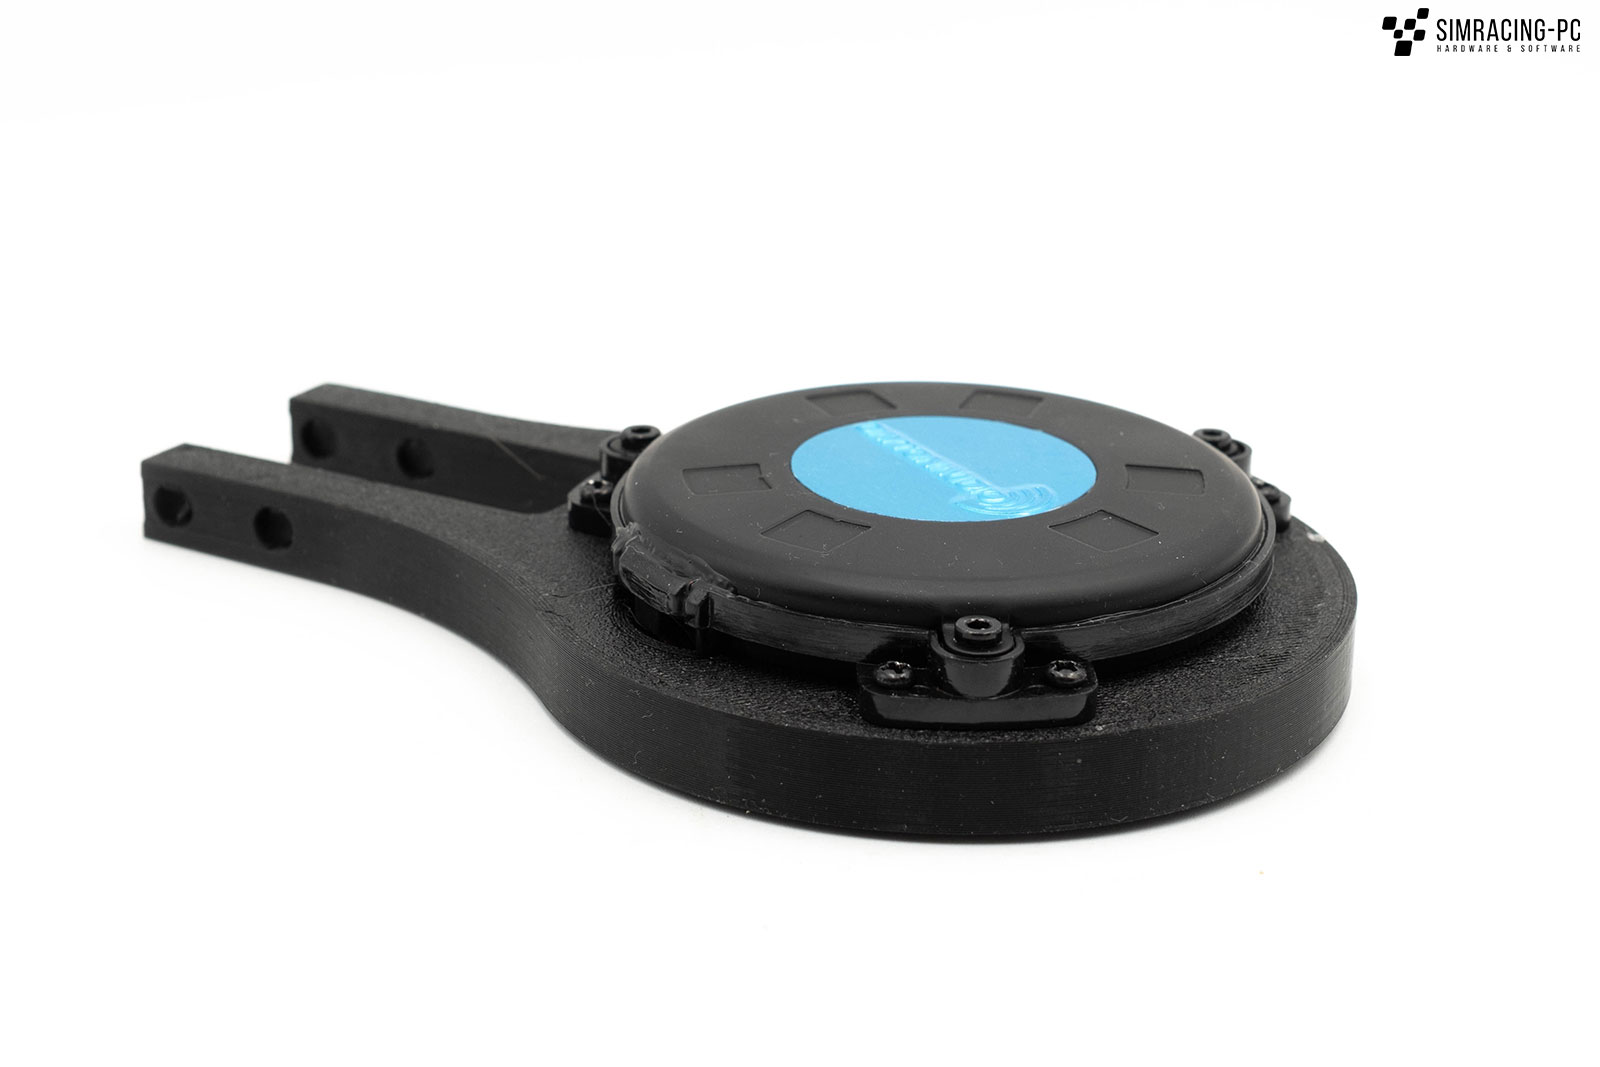
Asetek mount
In the context of the recent review of the La Prima Bundle, the idea was to design a suitable adapter for the pedals by Asetek. A special feature here is the mounting at the lower end of the pedal arm. The print consists of three parts, which together take about three hours at a print speed of less than 100 mm/s.
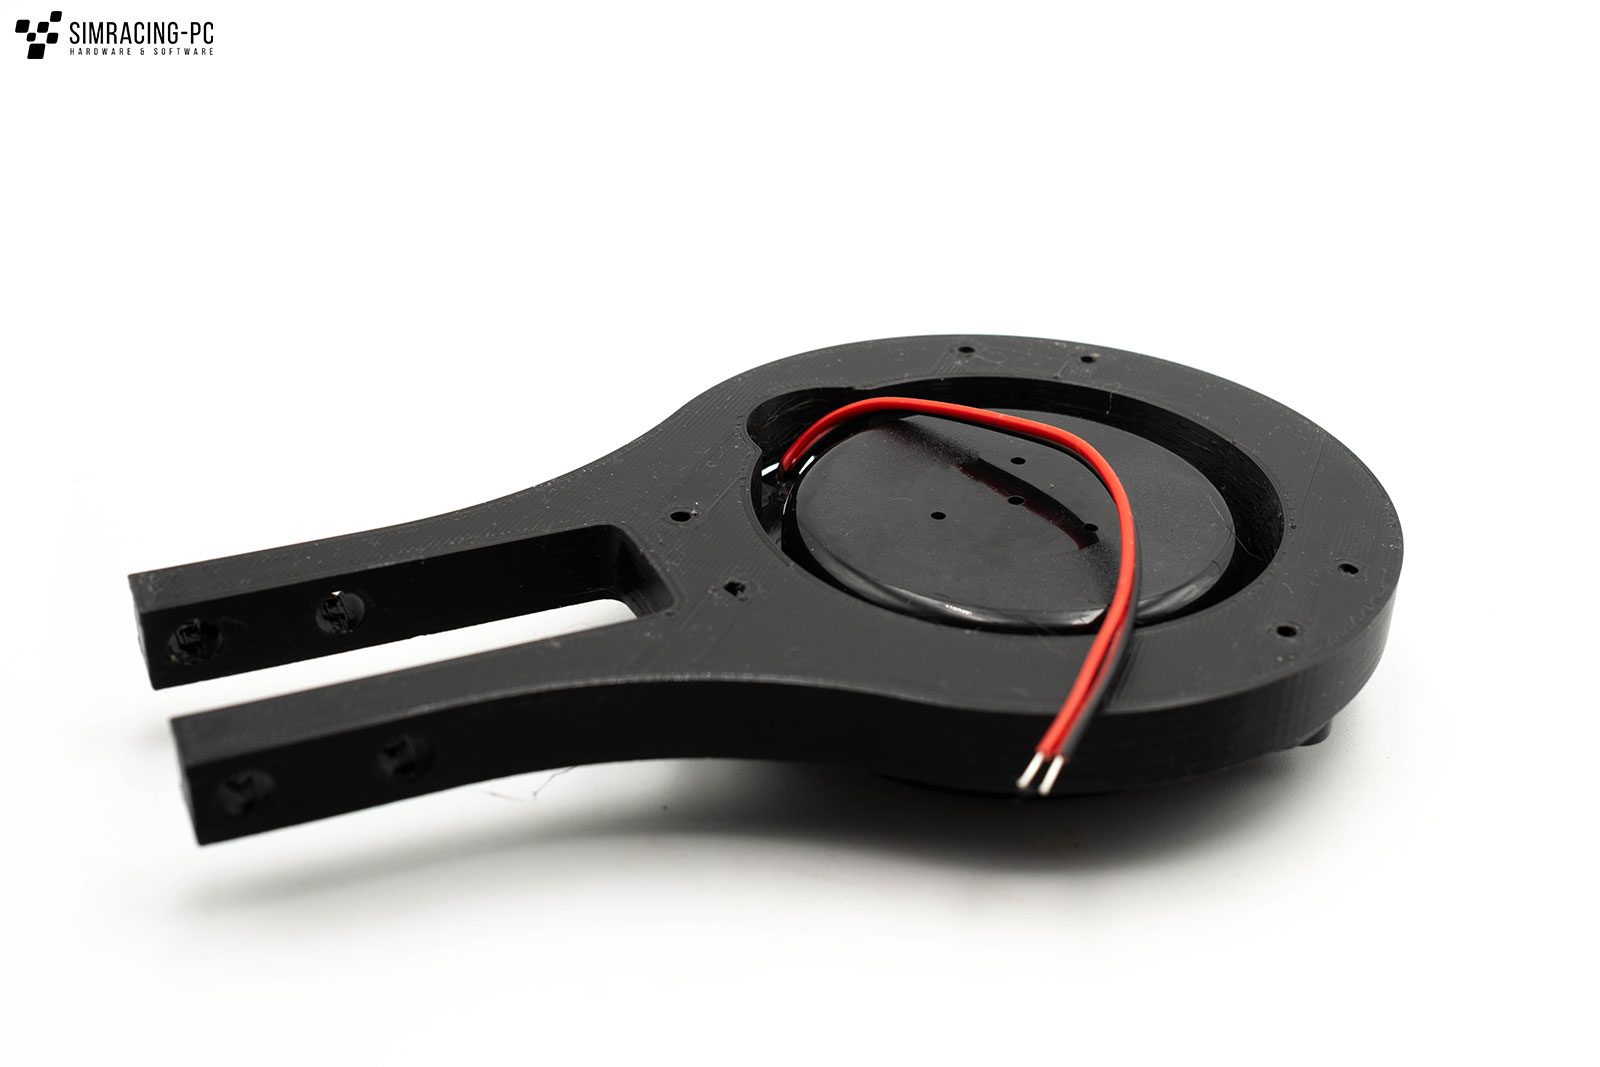
Mounting
The assembly of the components is very simple. The Mini Bass Shaker can be screwed directly onto the mount with the included screws of the SMRK-2 Surface Mounting Ring Kit. If the SMRK-2 is not included (there are various offers on Amazon), you will find matching screws in any well-stocked hardware store. Then you can mount the bracket directly on the pedals from Asetek with the two M6 screws and the matching nuts, for this you need the two printed spacers.
For the cabling, you can either use the banana plugs matching the AMP or attach the cable directly. However, since the length of the already mounted cables is very short, an extension is needed in any case. Once the cables are installed, the amp can be connected with the included USB cables and you’re good to go. Drivers are not required.
Important: All electronic work should only be carried out under the supervision of trained electronics engineers, no liability is accepted for errors / damage. DIY at your own risk.
Simhub
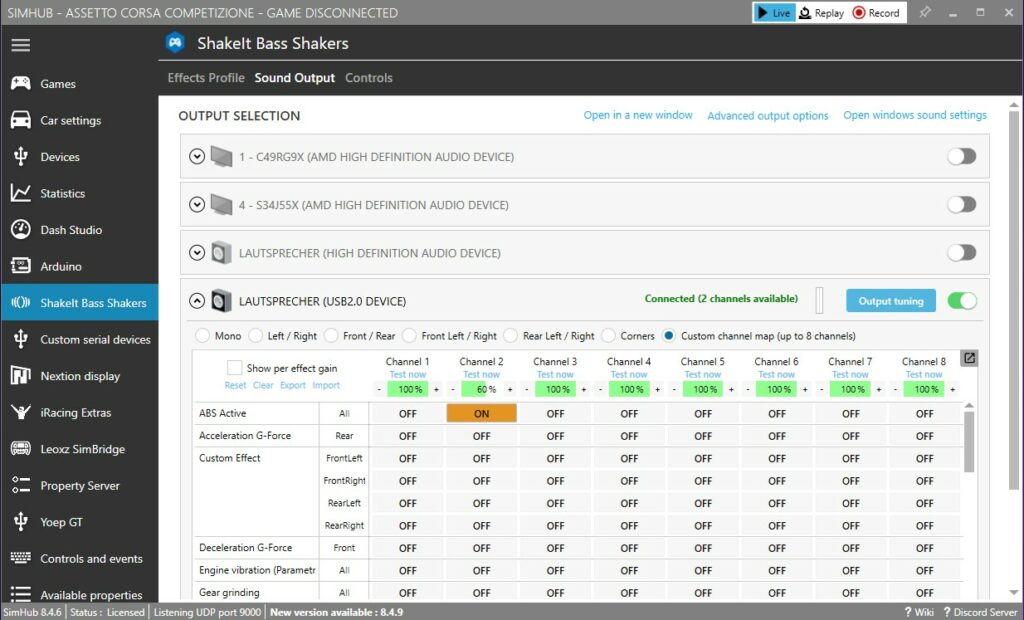
What used to be a small adventure is now done in a few seconds. The USB amplifier is recognized directly by Windows without additional driver installation and can then be selected as an output device in Simhub. Here you just have to make sure to pick the right channel, which is not too difficult with a 1 in 2 chance:
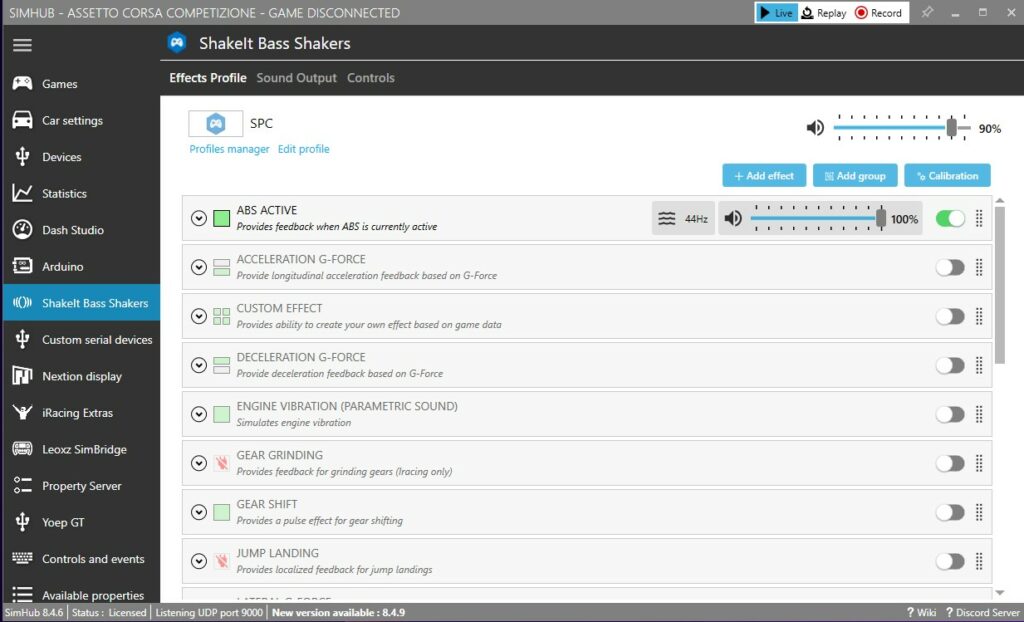
For the start, only the preset ABS effect with a maximum strength of 65% was activated. In combination with a setting of 50% on the amplifier itself, there is still enough space left to go up. Here, too, you should approach carefully so as not to damage the TT25 Shaker.
As soon as you step on the brake and the ABS intervenes in the simulation, the shaker starts to vibrate accordingly and you thus get a haptic feedback directly on the pedal. Other effects like engine or road vibrations are theoretically possible as well.
Video impression
Outlook / Notes
The project presented here should give a small overview of the possibilities of such a system. The main goal was to make it as easy as possible to build a system under 100€ total cost. If you look around in the various simracing forums, you will find many more facets of tactile feedback in simracing on both the hardware and software side. For example, you can fine-tune the frequencies in Simhub and also realize combinations between the effects.
As a second part of the excursion into the tactile world of simracing, an addition of a second TT25 bass shaker is planned, which will be attached directly to the seat.
")


