DIY-Project: VoCore 5 Zoll Dashboard

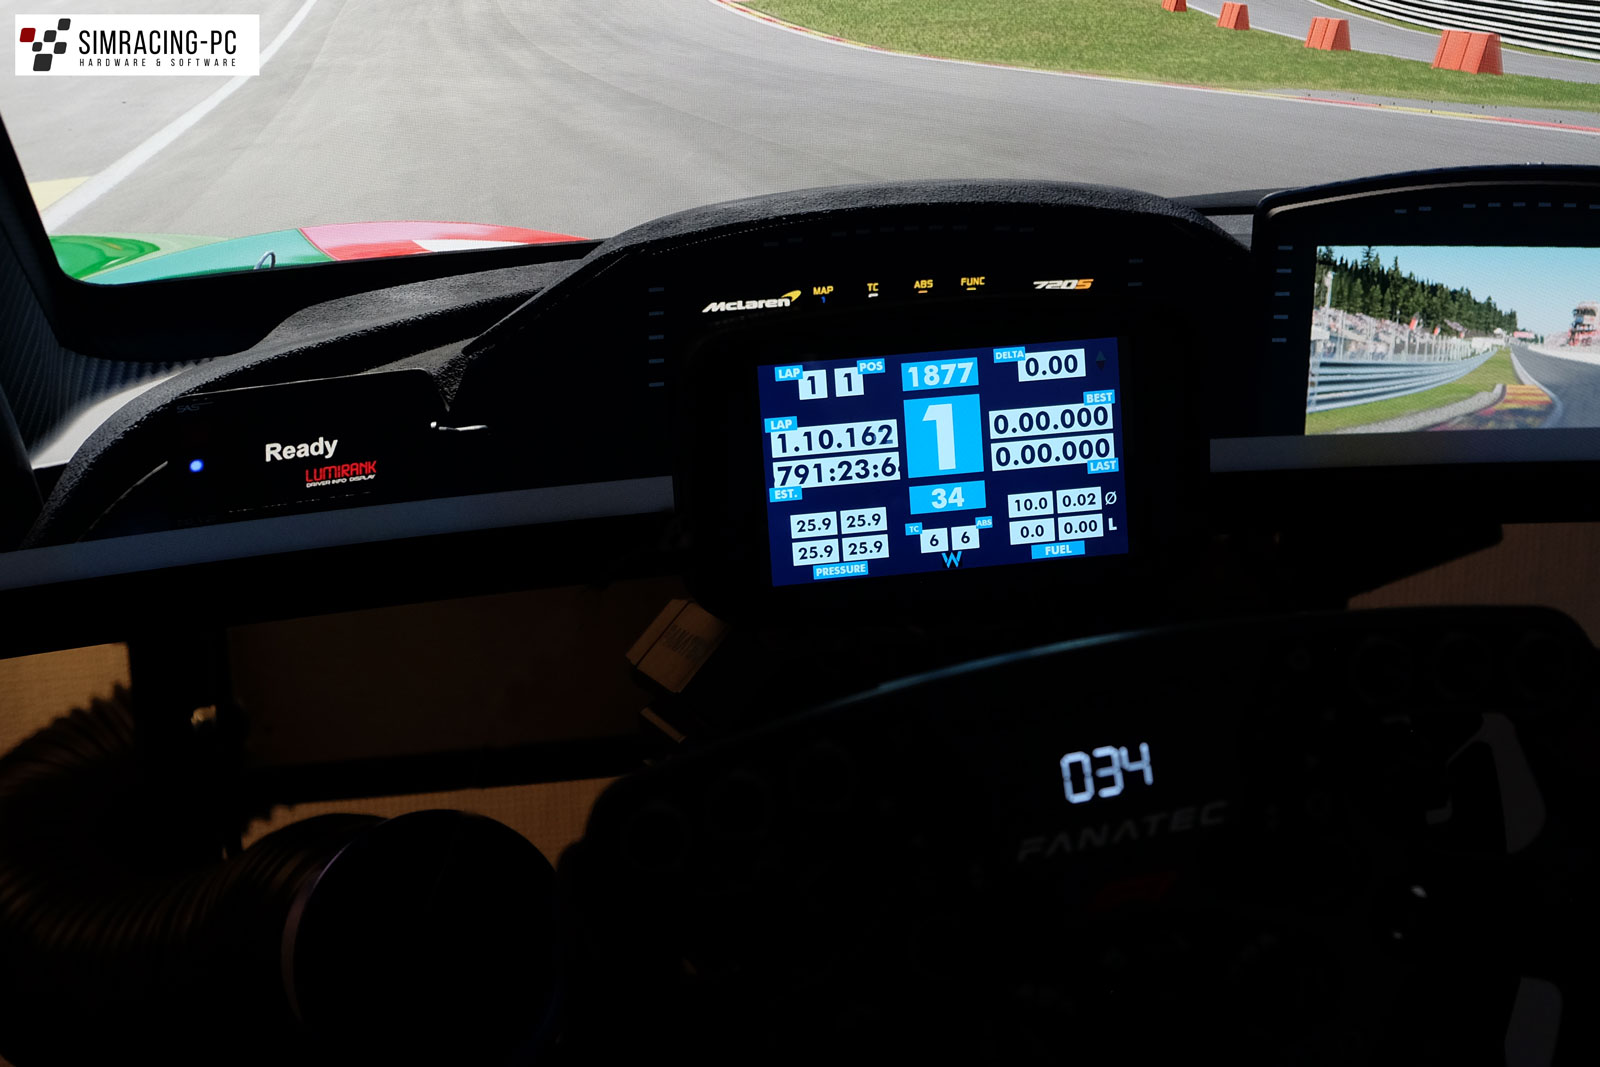
The DIY project featured here consists of VoCore’s popular 5-inch screen and a case that is 3D printed. The result is a compact dashboard with touchscreen support and a very high brightness, which can be put into operation with only one USB
VoCore 5 Zoll Bildschirm
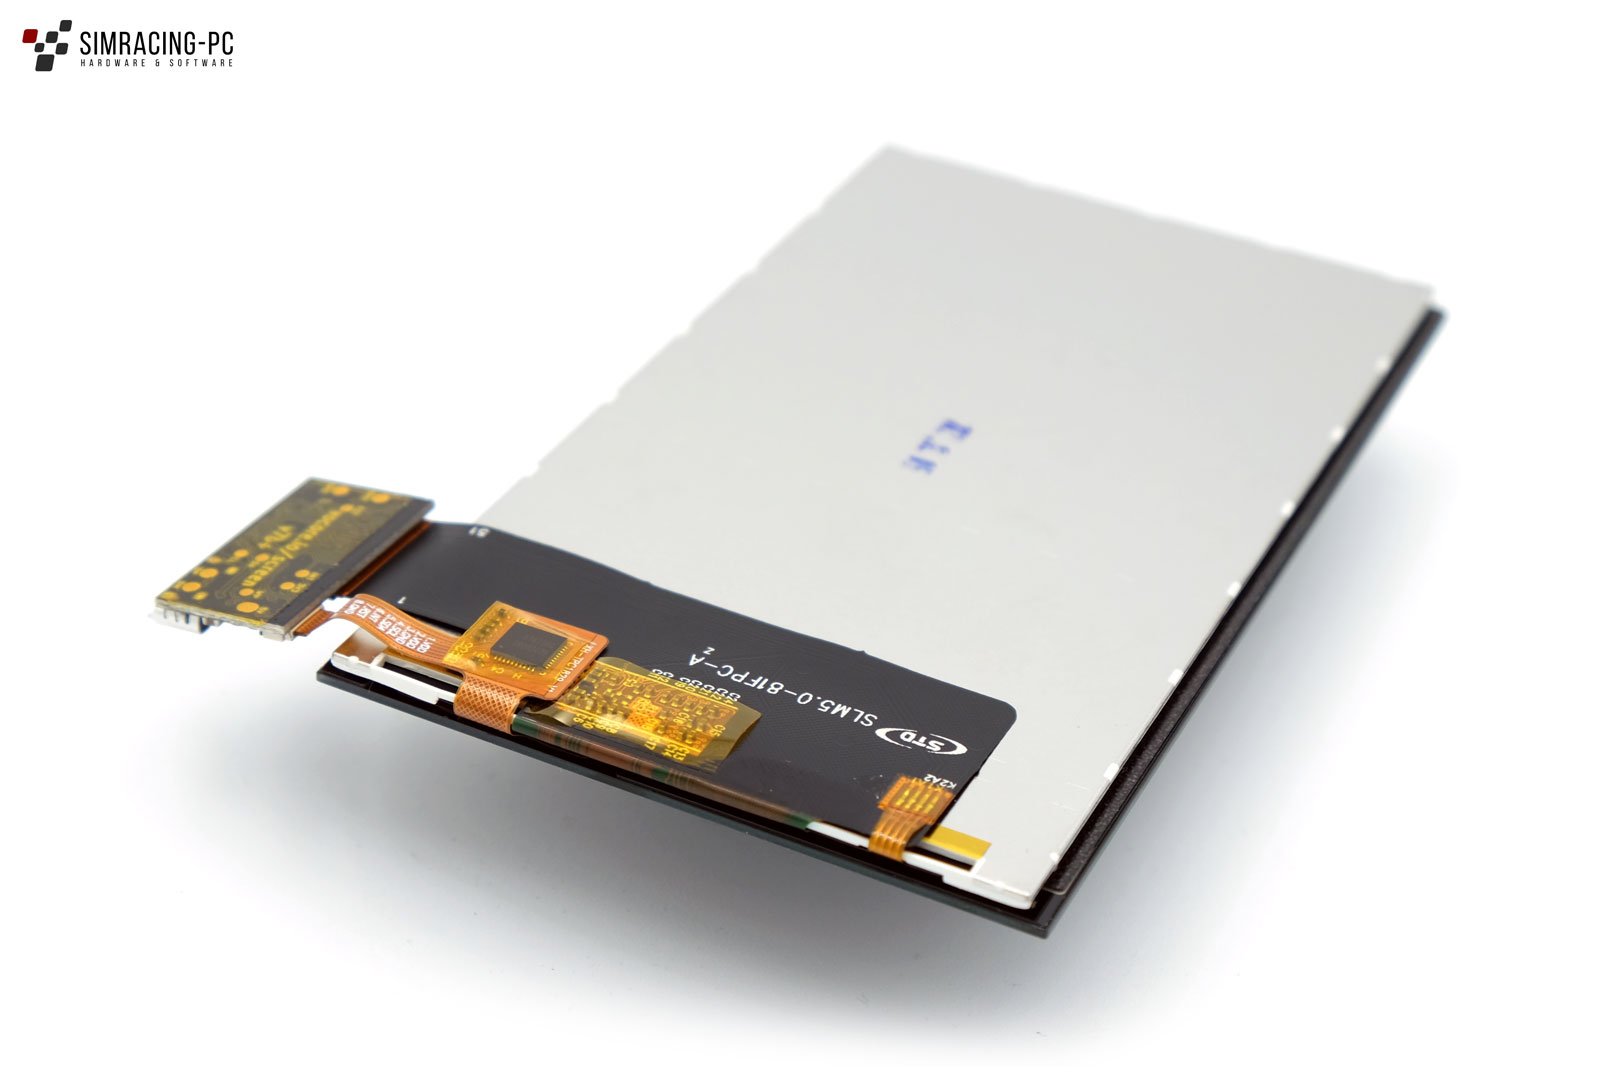

Technische Daten
| SIZE | 119.3mm x 68.7mm x 3.6mm |
|---|---|
| DISPLAY SIZE | 109.6mm x 61.6mm |
| INTERFACE | USB 2.0 480MHz |
| COLORS | 24bit, 16bit |
| RESOLUTION | 480 x 854 |
| FRAME PER SECOND | 24(24bit), 30(16bit) |
| TOUCH PAD | Capacitive, two points |
| DRIVER | framebuffer, libusb |
| POWER SUPPLY | microUSB 5.0V |
| POWER CONSUMPTION | ~0.65W |
| BACKLIGHT | 300LM |
Advantages and disadvantages
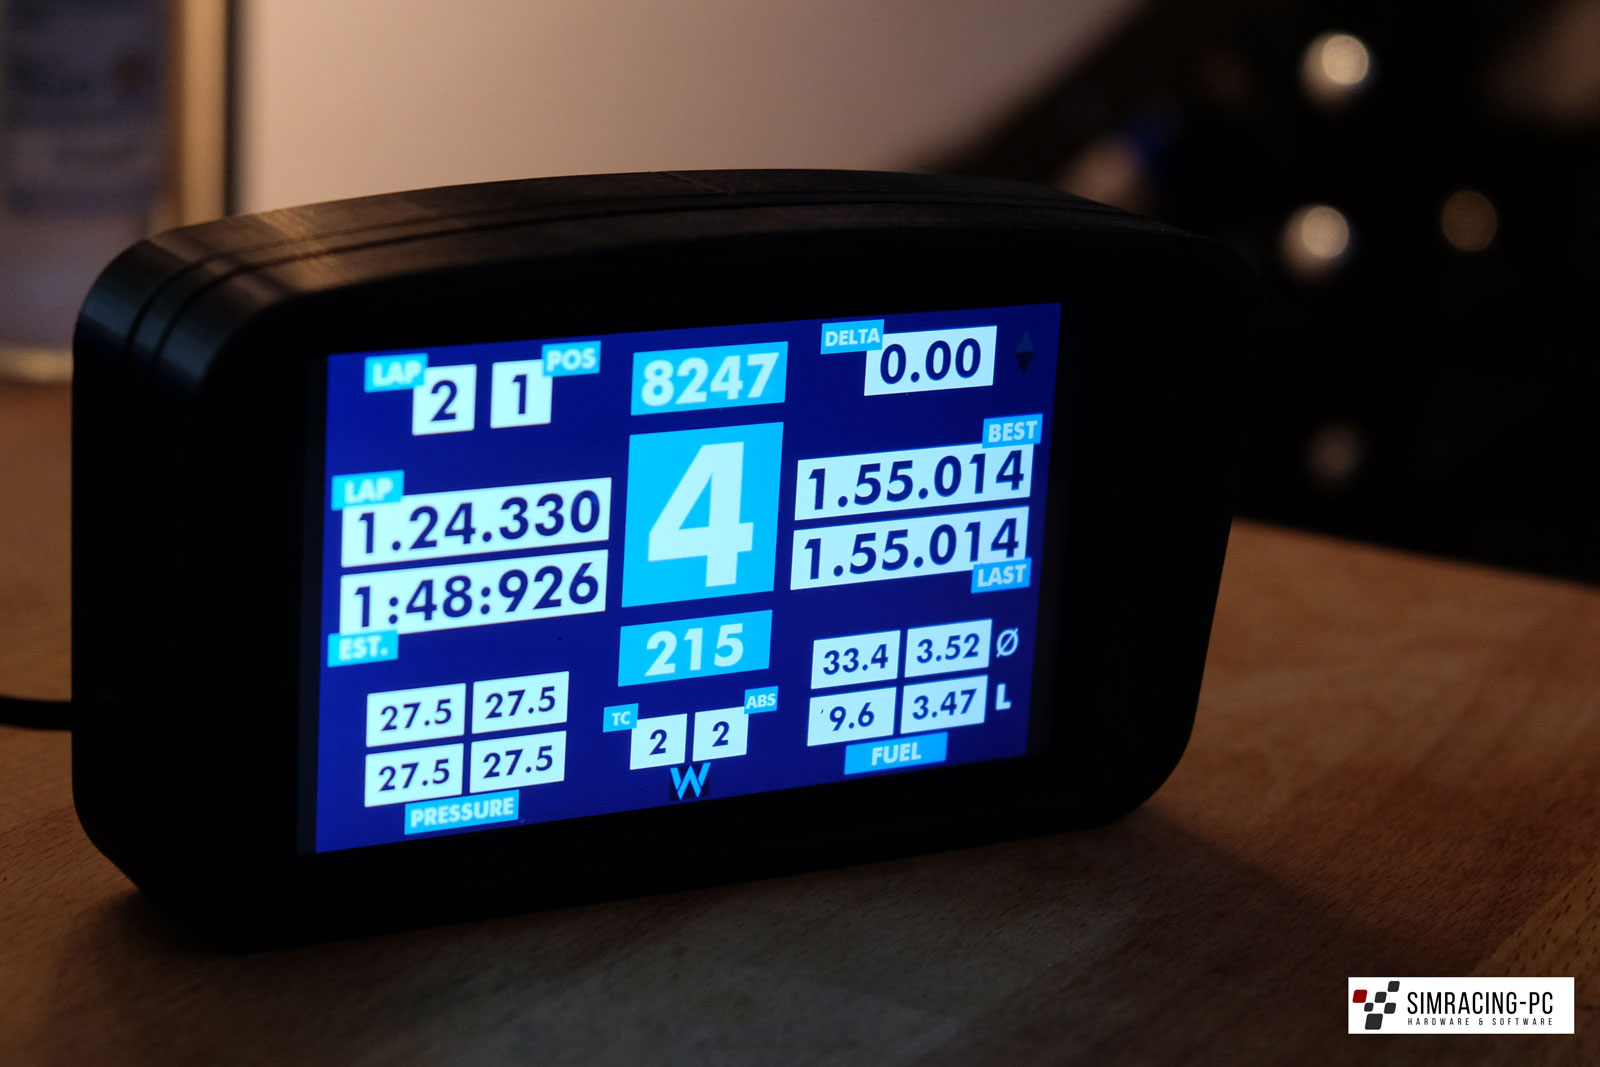
The screen is characterized by both its high brightness and operation via only one USB cable (micro-USB). Additionally, it comes with a very small bezel and is directly compatible with the popular Simhub software. The overall package is rounded off by the touchscreen.
Criticisms include the relatively low refresh rate, which is sufficient for dashboard use, and the susceptible riser cable of the USB port.
Sources of supply
The 5-inch VoCore can be purchased from the manufacturer itself as well as from the German store 3D-Simgear. If you buy it in China, you will end up with a price of about 80 dollars + customs. Buying in Germany is only slightly more expensive with a price of 99.90€, but you get faster shipping and don’t have to worry about customs. 3D-Simgear also offers a ready-made DIY package with a custom design: DIY Kit 5″ Vocore Dashboard*.
A similar offer is also available from Betterparts: DASHBOARD HOUSING FOR FANATEC CSL DD / CSW / DD1 / DD2
3D-Printing
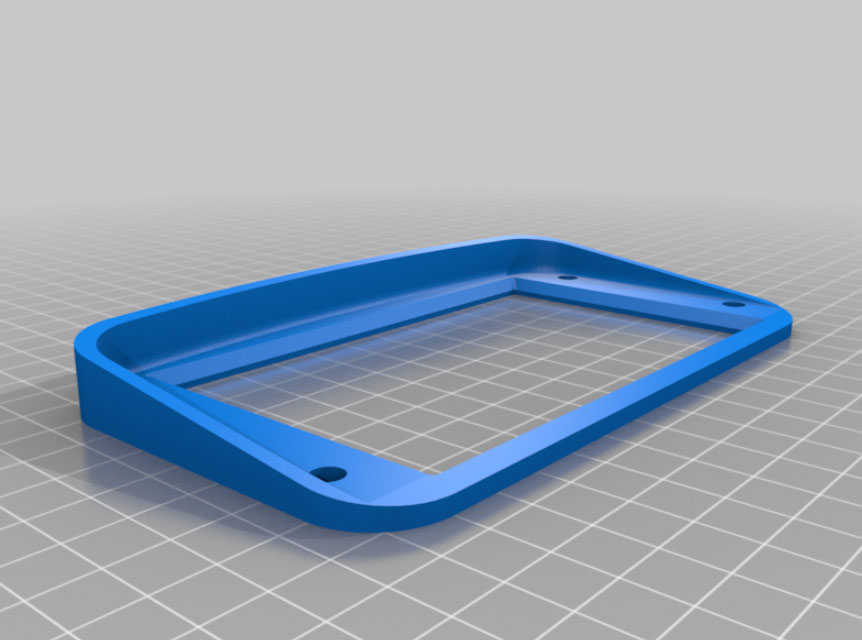
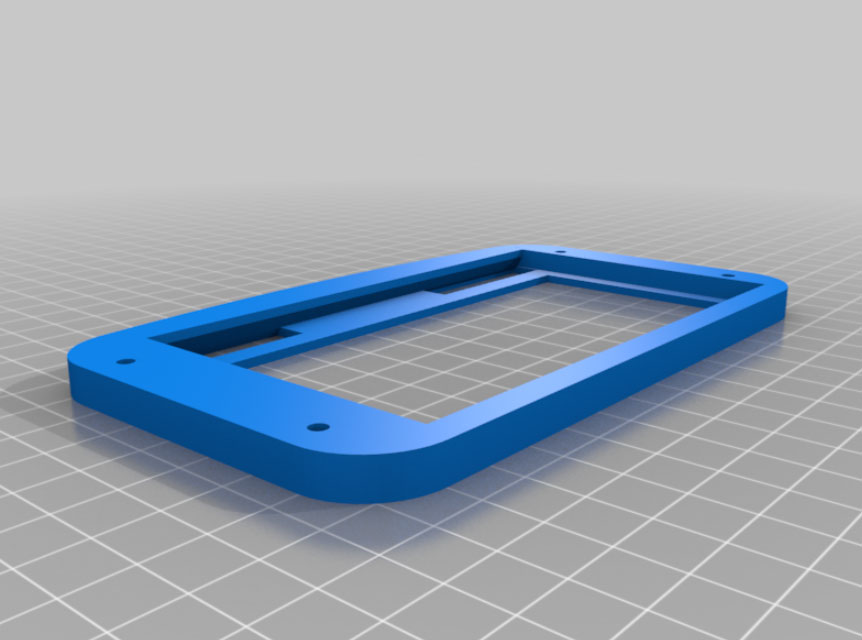
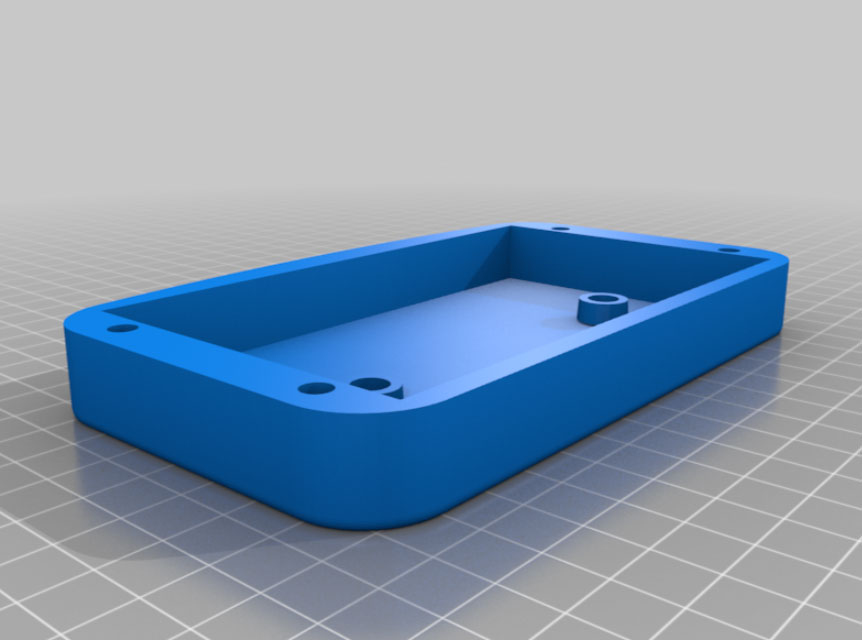
The case consists of three individually printable parts, which can be downloaded from Thingiverse: Download
Printing does not require any support structures and is very easy to carry out thanks to the division into three individual components. All in all, about 7-10 hours of printing time should be planned.
An optional bracket is also available for download. A hole/slot for the cable feed-through must additionally be made in the housing.
Operation with Simhub
Drivers
Only the latest drivers and a USB cable are required to run the dashboard. The drivers can be downloaded here: https://www.simhubdash.com/devices-driver-installation/
Settings
After installing the drivers, the screen can be activated in Simhub and it is now possible to make various settings according to your preferences.

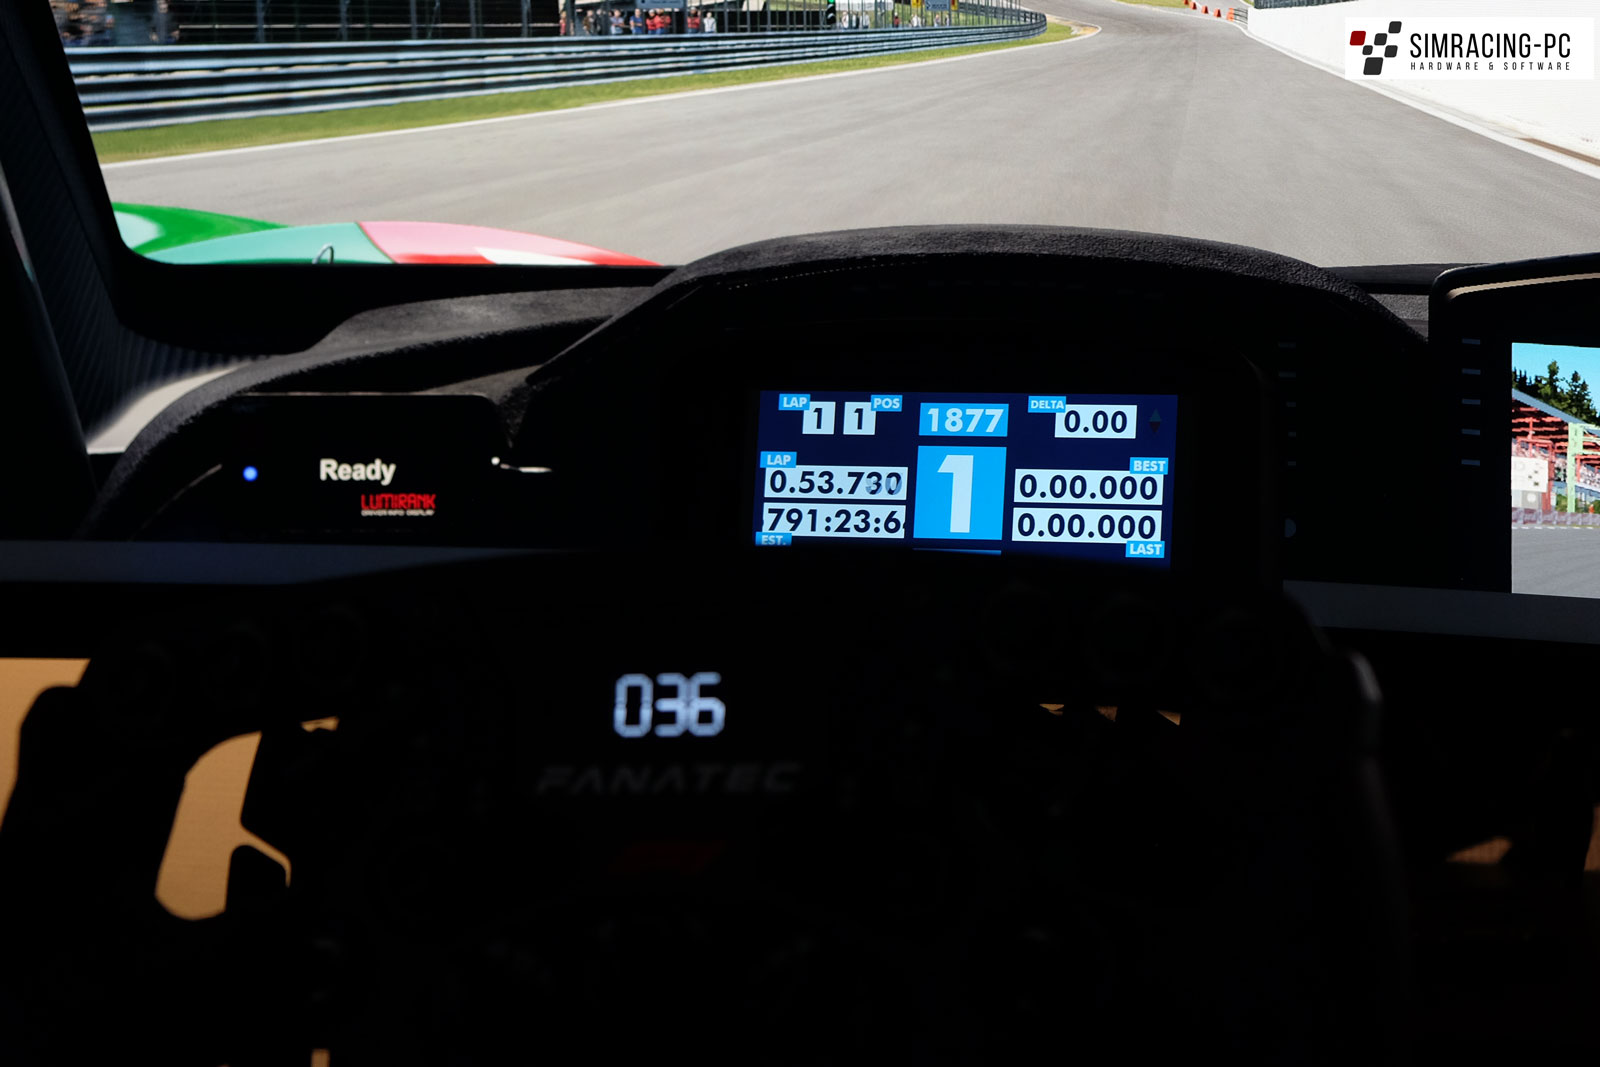
The finished dashboard


 – Review")

